Halloween Porch Decor Ideas on a Budget: 18 Ways to Get Spooky Curb Appeal for $25 or Less
The porch is the first scene of Halloween night, and the one every trick-or-treater judges before they ever ring your bell. The good news is that a porch that looks expensive is not expensive. It is just three or four strong ideas repeated well, with lighting doing half the work after dark.
Every idea below costs $25 or less, most cost under $10, and a few are genuinely free. They are built for real porches — small ones, rental ones, the one you have to decorate between work and dinner. Pick a scare level, stick to one color story, and put your effort into lighting.
1. Pick your scare level before you buy anything — $0
Walk to the curb and look at your porch the way a seven-year-old will on October 31st. Then decide which lane you are in: cute (friendly ghosts, smiling pumpkins), spooky (webs, skeletons, shadows), or scary (tombstones, things that move). One lane. Not all three.
This costs nothing and it is the highest-impact choice you will make. A porch in one clear lane with $15 of dollar-store props reads better than a porch with $80 of props in three clashing moods.
Quick tip: Start from what you own, then add only colors that get along with it. If your street gets lots of small kids, pick cute or spooky over scary.
2. Stack a dollar-store pumpkin topiary by the door — $5–$10
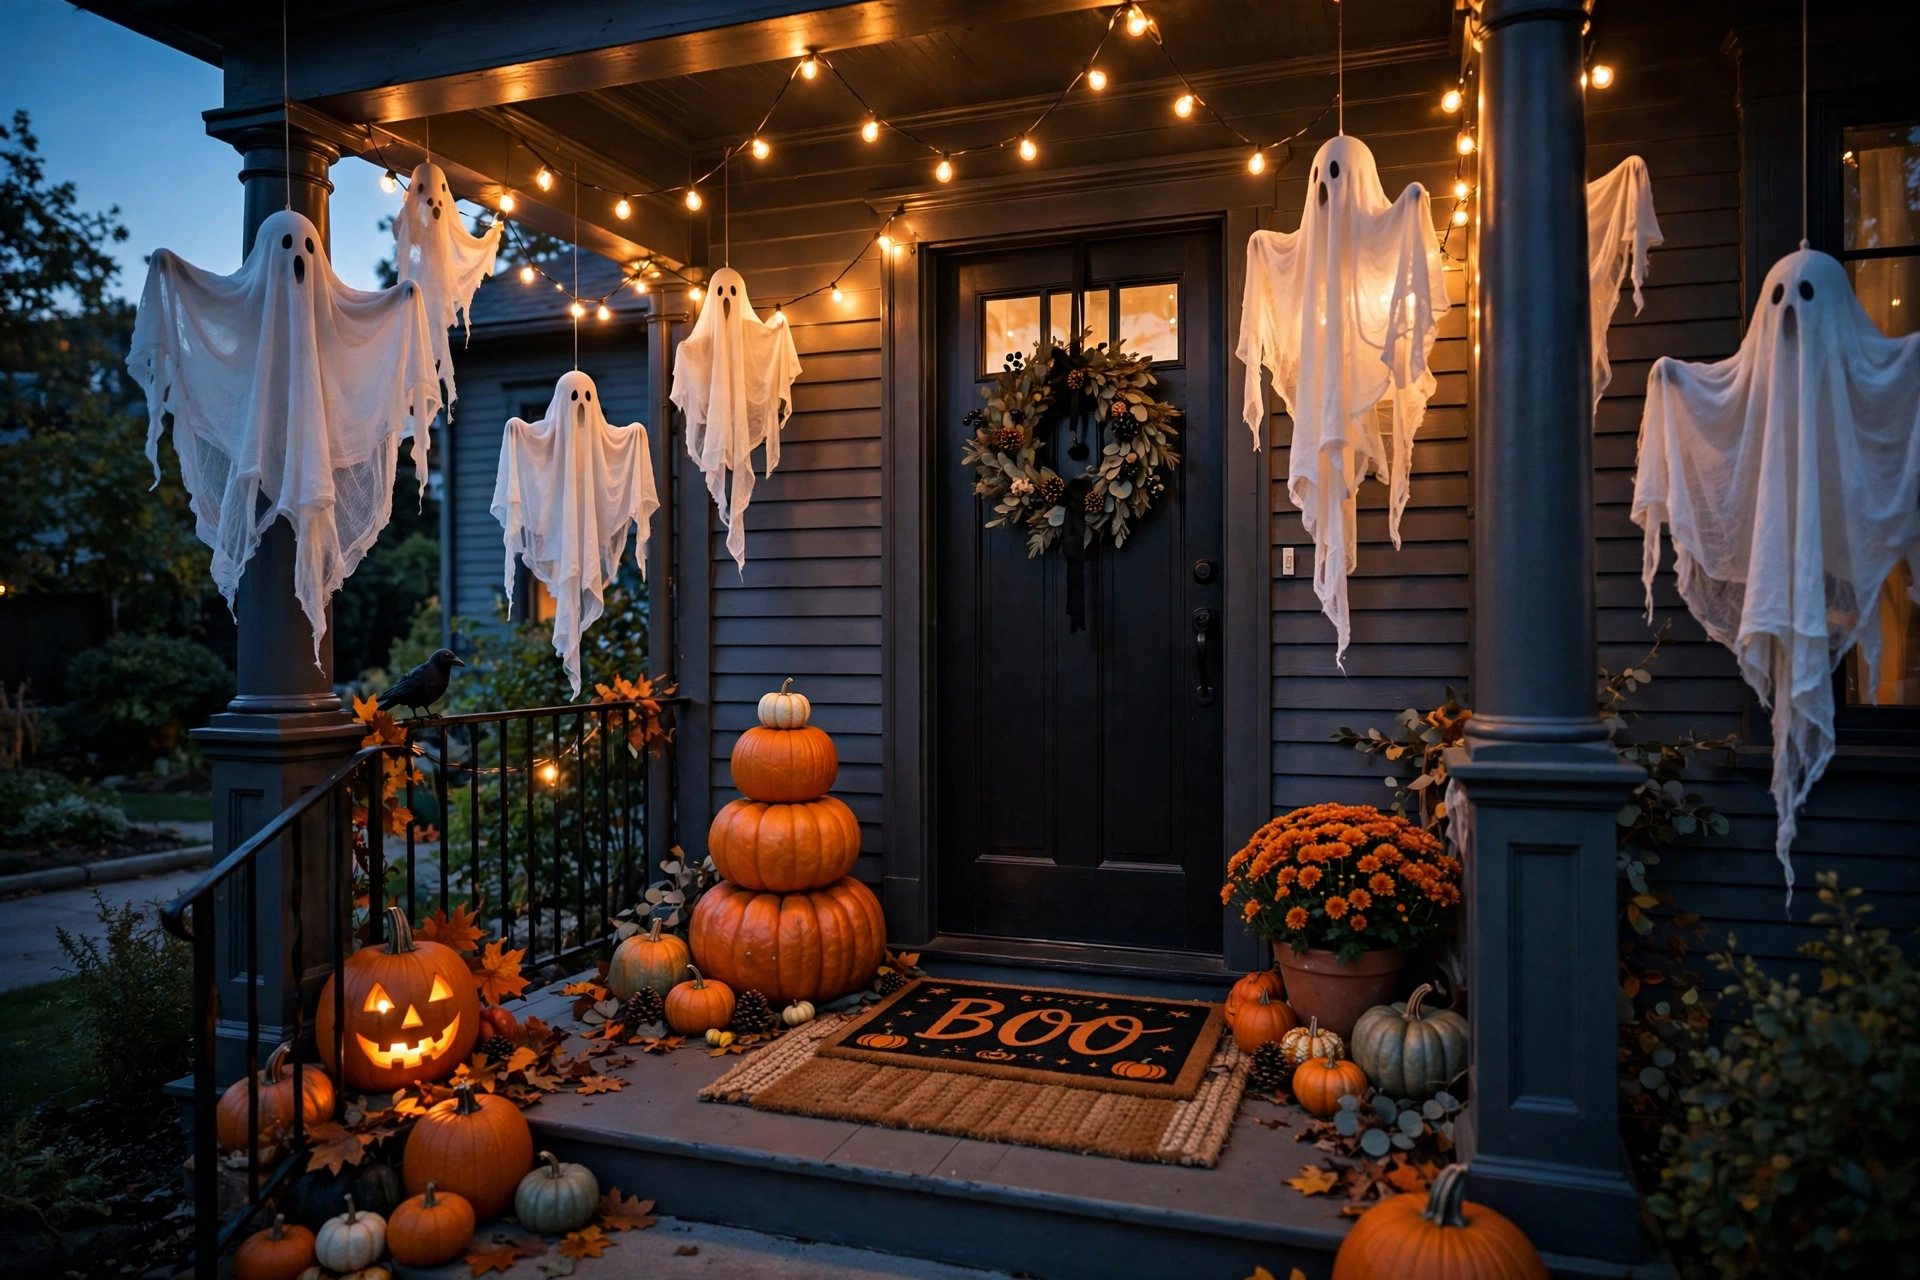
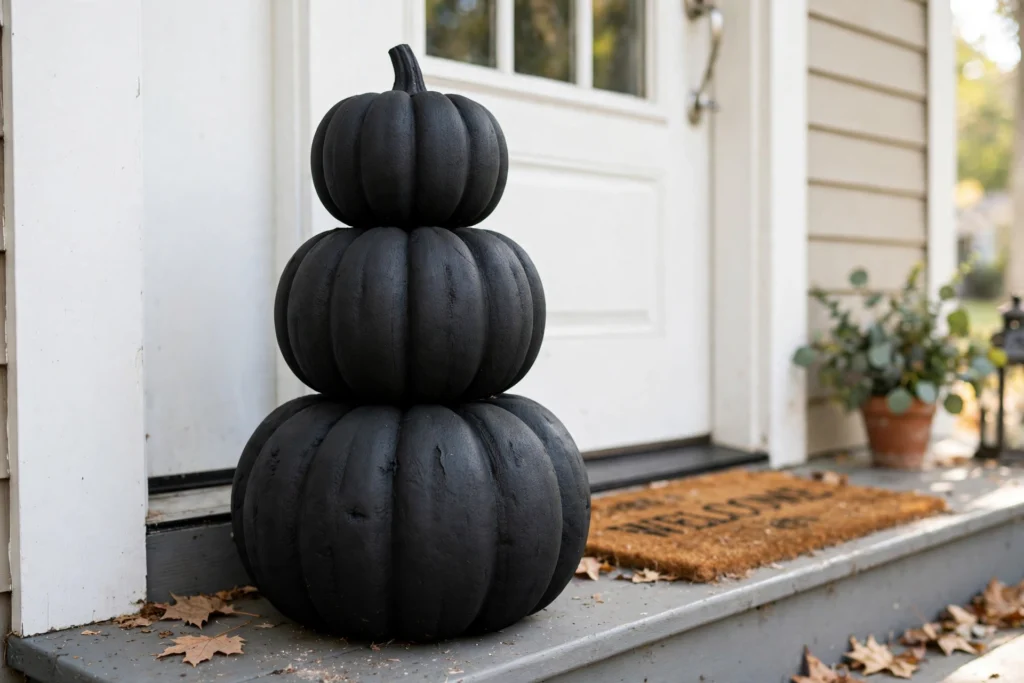
Buy three to five plastic or foam pumpkins in graduating sizes from the dollar store ($1–$3 each) and stack them beside the door, biggest on the bottom. Secure them with a dowel through the centers, or glue in a sheltered spot.
Spray paint the whole stack one color — matte black, ivory, or metallic copper — and it reads as a store-bought piece that would cost $40. Real pumpkins work too, but foam lasts all month with zero rotting.
Do this: Put one stack on each side of the door for symmetry. Symmetry reads as expensive, always.
Skip this: A single pumpkin sitting alone on the step. It looks like you forgot the rest.
3. Layer a spooky doormat over an outdoor rug — $5–$15
You already own a plain outdoor rug, or can get a simple striped one for about $10. Layer a small Halloween doormat on top ($5 at the dollar store) — a witch hat print, a “Boo” greeting, a spiderweb pattern.
The layered-mat look is the fastest way to make an entry feel styled. It takes thirty seconds and it is the thing visitors actually stand on and notice. In November, swap the top mat for a plain fall one and keep the base rug all season.
Quick tip: Anchor the top mat with outdoor rug tape on windy porches. A mat flipped against the door reads as chaos, not charm.
4. Send a swarm of paper bats across the ceiling — $1–$3
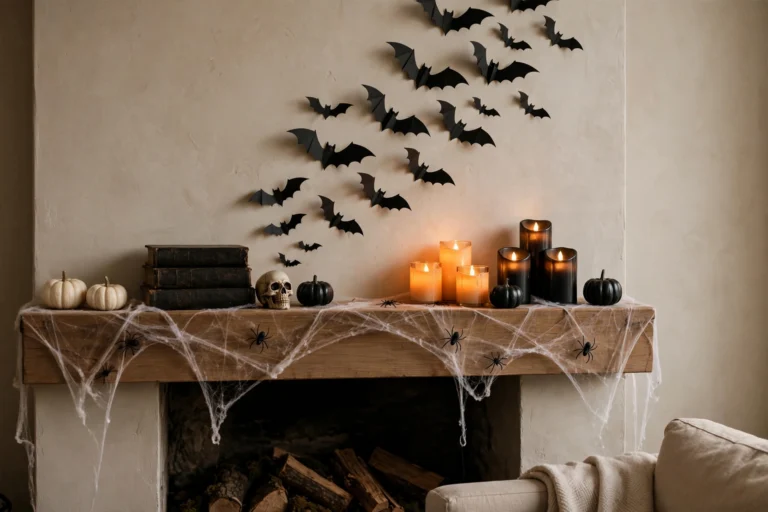
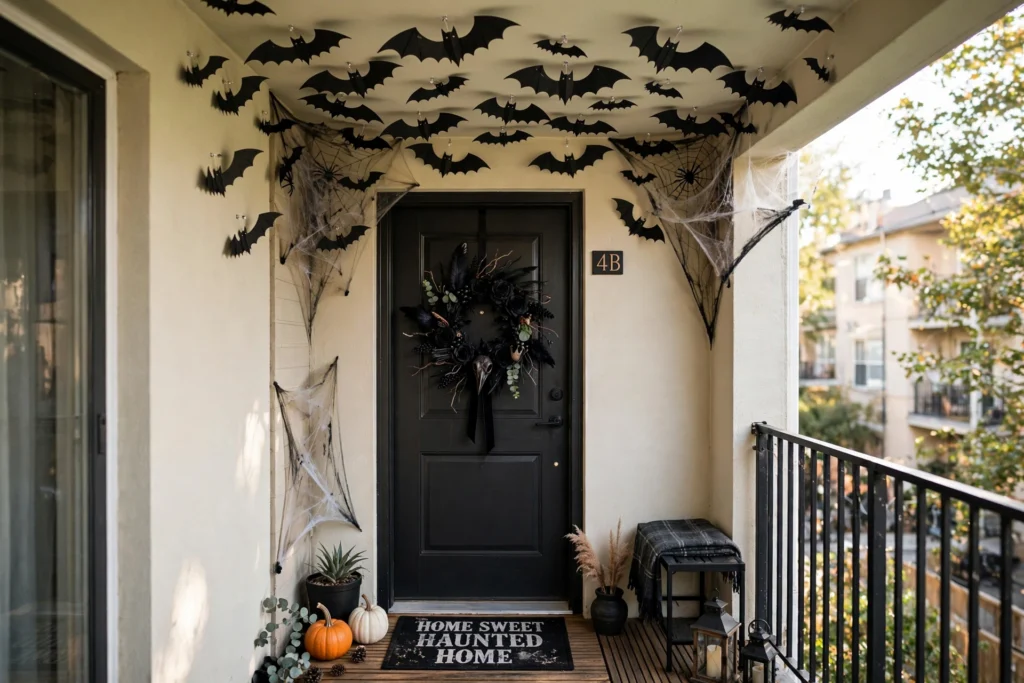
Cut bat shapes out of black cardstock or construction paper, fold each one slightly at the center so the wings lift, and stick them to the porch ceiling, door frame, or siding with painter’s tape or mounting putty. A swarm of 15 to 20 bats costs almost nothing.
The trick is grouping: a tight trail of bats sweeping from one corner toward the door looks designed. Scattered singles look like you ran out of tape. Highest visual impact per dollar on this list.
Do this: Cut bats in three sizes. Size variation is what makes it look intentional instead of craft-class.
Skip this: Glitter paper. It sheds, it looks dated, and it photographs terribly at night.
5. Line the steps with milk-jug ghost lanterns — $3–$5
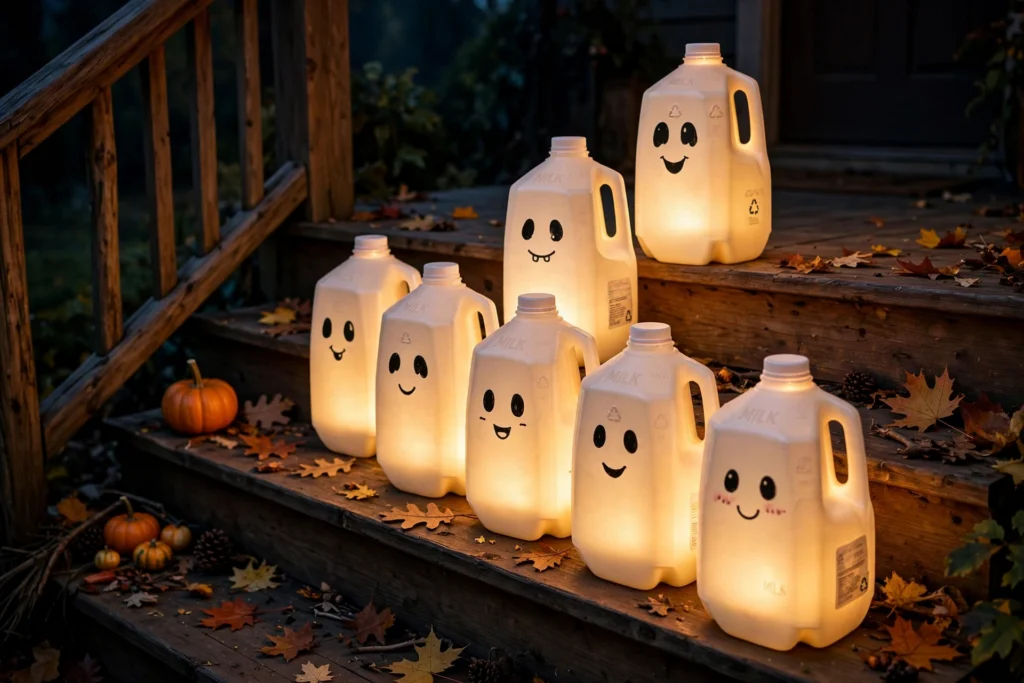
Rinse out plastic milk jugs, draw ghost faces on them with a black marker, and drop a battery tea light or glow stick inside. Line them along the porch steps. By night they glow into a row of little ghosts, for less than the cost of a bag of candy.
Set them back from the path so nobody kicks one over, and use LED lights only — real candles and plastic jugs are a fire risk.
Quick tip: Cut a small hole in the back of each jug and slip the light in that way, so the battery compartment stays hidden from the street.
6. Hang cheesecloth ghosts from the porch ceiling — $3–$6
Drape white cheesecloth over a balloon or foam ball, tie it at the neck with twine, draw a simple face, and hang it from the porch ceiling with fishing line. A yard of cheesecloth makes two ghosts; a bag of balloons costs a dollar.
They move in the wind, which is the entire point. Hang them at different heights, never in a row. After Halloween they store flat and return next year for free.
Do this: Keep faces simple — two oval eyes, one oval mouth. The simpler the face, the cuter the ghost.
Skip this: Hanging them where trick-or-treaters will walk through them. Door-frame corners only, never the path.
7. Fill thrifted candlesticks with LED candles — $4–$10
Thrift stores are full of candlesticks for $0.50 to $2 — brass, black, glass, it does not matter. Buy five to seven mismatched ones, spray paint them matte black, and put battery taper or tea-light candles in them.
Clustered on the porch rail or a side table, they give you the haunted-mansion glow with zero open flame. Black taper candles ($1–$2 each) are worth the tiny splurge; they say Halloween instead of dinner party.
Quick tip: Put the LEDs on a timer so the porch lights itself at dusk. The timed glow is what neighbors photograph.
8. Flank the door with corn stalks — $4–$8
Bundles of dried corn stalks sell for $3–$5 at grocery stores, farm stands, and big-box stores from late September on. Tie two bundles to each side of the door or porch pillars with twine. They add five feet of height instantly and are the fastest way to make a porch read as autumn.
They last the whole season, then become Thanksgiving decor with zero changes — the best value-per-week item on this list.
Quick tip: Lean the stalks slightly inward, tips crossing a little, for a natural arch rather than two stiff sentries.
9. Make cardboard tombstones for the lawn edge — $2–$5
Cut tombstone shapes from cardboard boxes, paint them gray with a $1 bottle of craft paint, and write names in black marker: “RIP Candy Budget,” “Here Lies My Diet,” “Barry M. Deep.” Stake them along the walkway or in the porch planter.
Funny tombstones are the sweet spot for a budget porch — nearly free, funny for adults, safe for small kids. Seal them with clear acrylic spray against rain.
Quick tip: Lean each tombstone back at a slight angle. Perfectly vertical looks new. Slightly crooked looks buried.
10. Turn your fall wreath into a Halloween wreath — $3–$5
If you already have a fall wreath, do not buy a Halloween one. Wrap a few yards of black ribbon or tulle through it, tuck in a few plastic spiders or a small skull ($1 each at the dollar store), and add a tiny black bow. Ten minutes, less than lunch.
This is budget seasonal decorating in one idea: one base, swapped accents. The wreath goes back to plain fall in November, and you never bought a second wreath.
Quick tip: Keep the additions sparse — three spiders, one skull, one bow. You want this wreath to survive three holidays, so glue nothing permanently.
11. Stretch one spider web across a corner — $2–$5
One bag of synthetic spider webbing costs about $2 and covers an entire porch corner if you stretch it properly — the classic mistake is using the whole bag in a ball. Pull it thin, anchor it at five or six points across a railing, column, or window frame, and add one oversized spider ($1–$3) off-center.
The web is a texture, not a filling. Thin and stretched reads as haunted; thick and clumpy reads as a cotton candy accident. It looks best at night with a little light behind it.
Quick tip: Stretch the webbing between two hands until you can nearly see through it, then drape it. You want wisps, not stuffing.
12. Set out witch-hat luminaries on the steps — $2–$4
Buy a few witch hats from the dollar store ($1 each), turn them upside down, and place a battery tea light under each one on the porch steps. The hat glows from inside — a $1 decoration that looks like a $15 prop.
Space them down one side of the steps only so the path stays clear. This pairs well with the milk-jug ghosts from idea 5 — mix the two and the whole stairway glows.
Do this: Choose hats in one color (all black, or all purple) so it reads as a set.
Skip this: Real candles under paper or felt hats. LED only. Always.
13. Cut silhouette shapes for the front windows — $1–$3
Cut witch, cat, or haunted-house silhouettes from black poster board, tape them inside your front windows, and leave one lamp on behind them. From the street, your windows become a shadow show. A $1 sheet makes several silhouettes.
This works best on windows visible from the sidewalk and it is completely weatherproof, since everything lives indoors. Simpler shapes read better from the street — a clean cat beats a detailed haunted house that blurs into a blob at twenty feet.
14. Pose a dollar-store skeleton in a chair — $5–$15
A life-size poseable skeleton runs $8–$15 at discount stores — the best entertainment value in Halloween decor. Sit it in your porch chair with a book, pose it climbing a pillar with zip ties, or park it by the candy bowl like it is handing treats out.
The pose is everything. Change it once a week and the neighbors will watch for it. Bring it inside during rain — these are lightweight, so cable-tie it to the chair.
15. Throw a plaid blanket over the porch chair — $0–$8
Drape the darkest plaid or black-and-orange throw you own over the porch chair or bench, add a pumpkin on the seat, and the vignette reads as styled fall. No throw? Thrift stores sell them for $3–$8, and you will use it all season.
This is the “make it look like someone lives here and has taste” step. A bare plastic chair next to Halloween props looks like a storage problem. The same chair with a throw looks like a scene.
Quick tip: Fold the throw in thirds lengthwise and drape it over the chair back, not the seat. It looks neater and holds in the wind.
16. Build a proper trick-or-treat station — $0–$5
On the 31st, set a table or crate near the door with the candy bowl, a lit candle cluster, and a handwritten sign — “Take two!” or “Trick or treat, friends.” Light the path with your jug ghosts or witch hats, and keep the walkway completely clear of props.
A porch that is easy to approach, well lit, and obviously expecting visitors beats a spooky obstacle course every time. Put the bowl at kid height on a stable surface, not on the ground.
17. Wrap porch plants in purple or orange fairy lights — $4–$8
A $4 string of battery-operated orange or purple fairy lights, wrapped through the shrubs, planters, or railing plants you already have, transforms the porch after dark. Green plants plus purple light is the Halloween color story doing itself.
A porch with $4 of lights and $5 of pumpkins looks better at night than a porch with $50 of props and no light.
Quick tip: Run the string through the middle of the plant, not just around the outside. Depth is what makes it glow instead of outline.
18. Build for the whole month, not just the 31st — $0
The smartest budget move is timing. Put up the fall base in early October — corn stalks, pumpkins, the wreath, the throw, the lights — then layer the spooky accents (bats, ghosts, webs, tombstones) in the last week. After Halloween night, pull the spooky layer and the porch is Thanksgiving-ready.
This is how one $25 budget covers three months of porch. Store the Halloween-only pieces in one labeled bin on November 1st, and next October you start at $0.
Budget quick-start: pick your tier
$0 — the pantry porch. Ideas 1, 13, and 16 use what you already own: a decided color story, window silhouettes from poster board scraps, and a well-set trick-or-treat station. Add foraged branches to a vase and you are decorated.
Under $10 — the dollar-store sprint. Paper bats (idea 4), a spider web corner (idea 11), and a layered doormat (idea 3) come in under ten dollars total and transform the entry in one afternoon.
Under $25 — the full show. Add the pumpkin topiary (idea 2), corn stalks (idea 8), LED candlesticks (idea 7), and fairy lights (idea 17). A porch people slow down to look at, for the price of two takeout dinners.
FAQ
When should I put up Halloween porch decor?
Early October is the sweet spot — the first weekend of the month. A fall-leaning base (pumpkins, corn stalks, mums) can go up earlier since it reads as autumn first. Save the spooky layer — bats, ghosts, webs — for the last week so it feels fresh on the 31st.
How do I decorate a small porch for Halloween without cluttering it?
Pick two or three ideas max and let vertical space do the work: bats on the ceiling, a wreath on the door, one pumpkin stack. Keep the walking path and the door swing completely clear — cluttered small porches look messy, not spooky.
How do I keep outdoor Halloween decorations from blowing away?
Anchor everything. Fishing line for hanging items, outdoor rug tape for mats, zip ties for skeletons and stalks, heavy planters for lightweight props. Bring paper and cardboard pieces inside during storms, and seal cardboard tombstones with clear acrylic spray.
What Halloween porch decor is safest for trick-or-treaters?
Light the steps and the walkway, not just the display — kids look at the decorations, not their feet. Use battery-operated LEDs instead of real candles, keep the path clear of props and cords, and skip anything that jumps or startles at the candy station.
Can I reuse any of this for Thanksgiving?
Most of the fall base, yes. Pumpkins, corn stalks, mums, the wreath (minus the black bits), the throw, and the fairy lights all carry into November. Store the Halloween-only pieces — bats, ghosts, webs, tombstones, witch hats — in one labeled bin, and next October you start from nearly free.