Thanksgiving Table Decor Ideas on a Budget: 17 Ways to Set a Stunning Table for Less
The Thanksgiving table has one job: make people feel welcome before the food even arrives. Not impressed — welcome. And here is the secret nobody tells you while you are standing in the seasonal aisle with a $60 garland in your cart: the tables guests remember are never the most expensive ones. They are the warmest ones. Candlelight, something natural down the center, and a place setting that looks like someone thought about it.
Every idea below costs $25 or less, most cost under $10, and several are free. They are built for real tables — the one you already own, the dishes you already have, the afternoon you actually have free. Pick a handful, keep one color story, and your table will look intentional instead of expensive. That is the whole trick.
1. Pick a three-color harvest palette and stop there — $0
Before anything goes on the table, choose three colors and commit. Rust, cream, and gold. Sage, ivory, and copper. Plum, beige, and brass. The palette does more work than any single decoration — it turns a pile of unrelated items into a tablescape.
This costs nothing and it is the highest-impact decision you will make. A table in three coordinated colors from the dollar store reads better than a table of expensive pieces that do not talk to each other. Restraint is what reads as elegant, not price tags.
Quick tip: Start from what you already own — your plates, your napkins, your wood table itself — then add only colors that get along with them. Repeat each color at least three times down the table so it looks deliberate.
2. Roll out a kraft paper runner with handwritten names — $4–$8
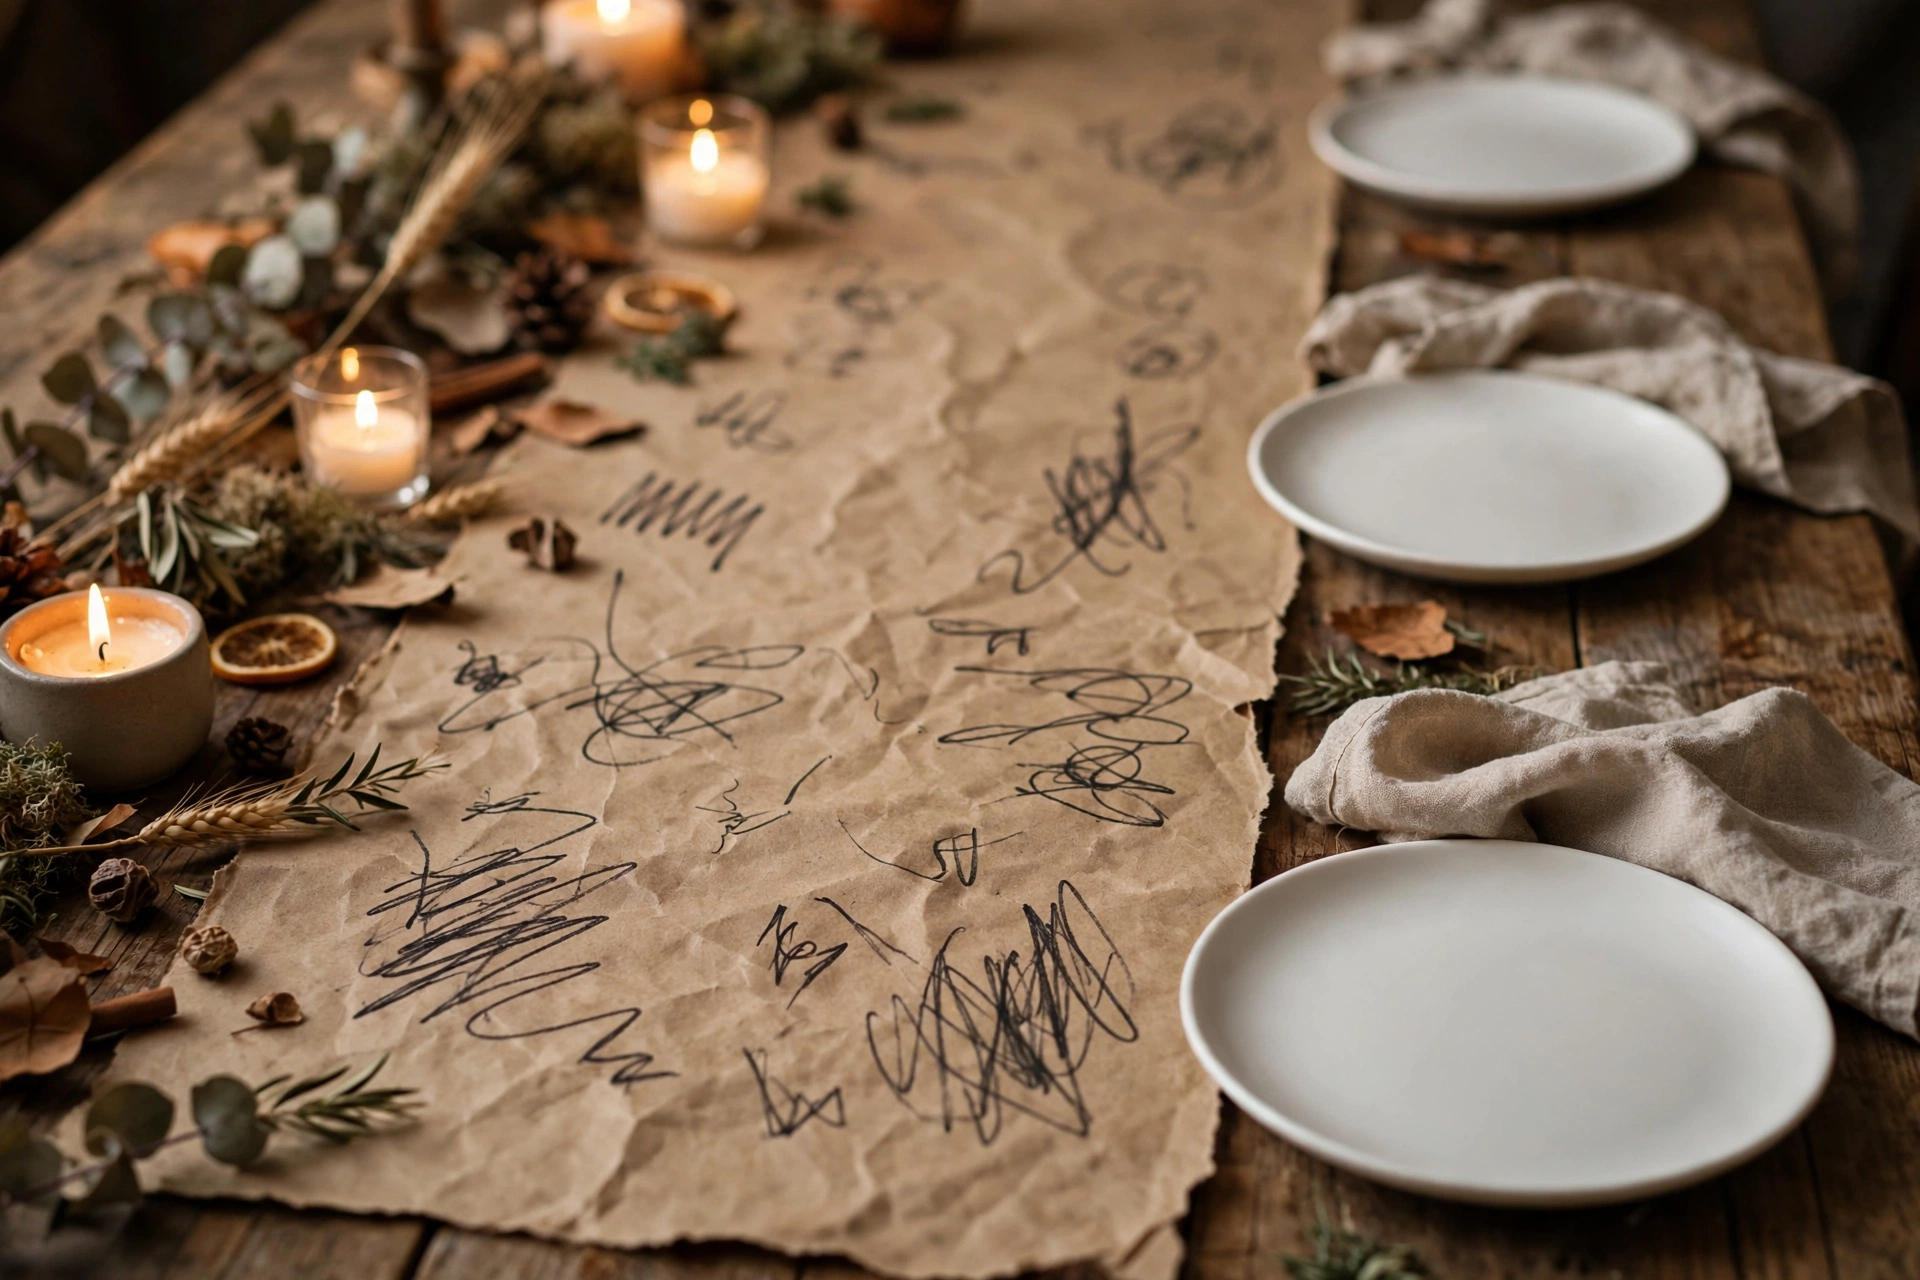
A roll of brown kraft paper down the center of the table replaces both a runner and place cards. Write each guest’s name directly on the paper in front of their seat with a marker — it costs a few dollars, looks charmingly rustic, and doubles as a conversation starter. Kids can doodle on it before dinner, which keeps them busy while you finish the gravy.
Cut the paper a few inches longer than the table on each end and let it drape. One roll covers several dinners.
Do this: Use a thick chisel-tip marker so names read from across the table.
Skip this: Fancy calligraphy pens unless you already own them — a $2 marker does the job.
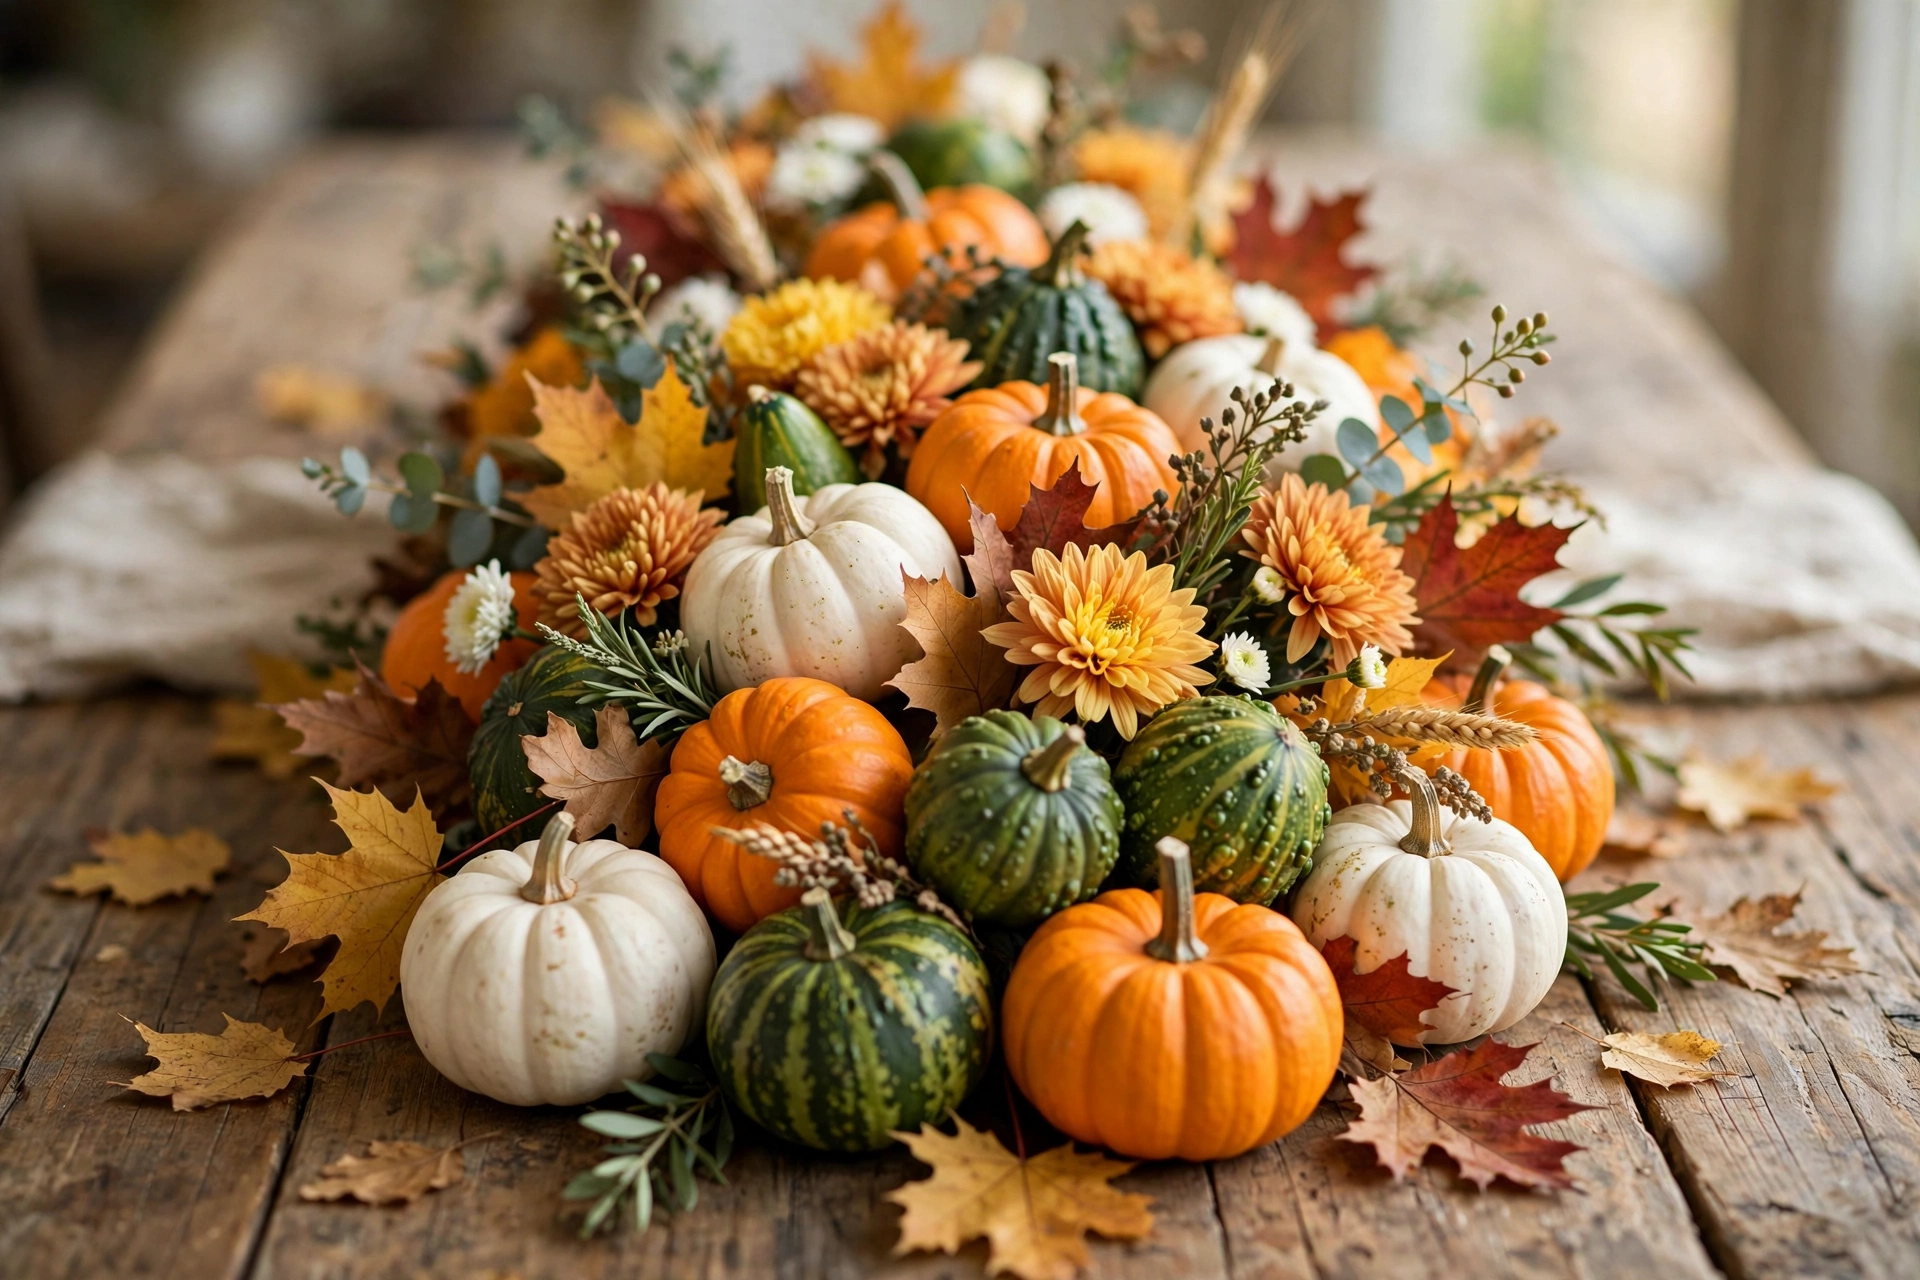
3. Cluster grocery-store pumpkins down the center — $8–$15
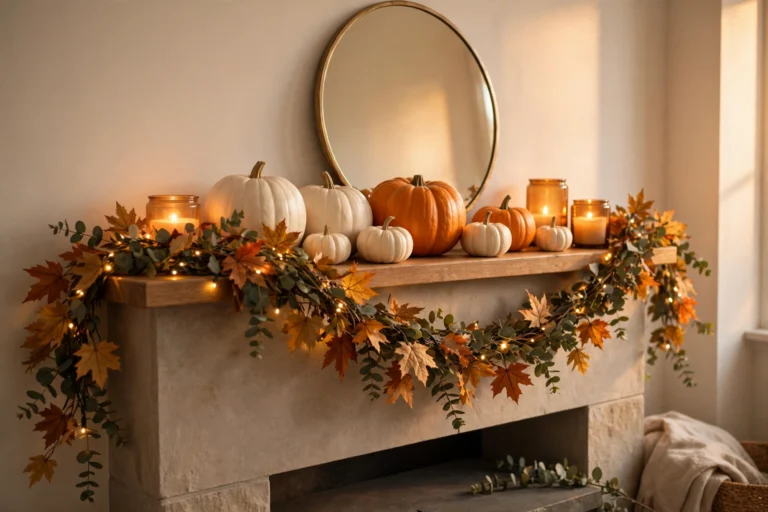
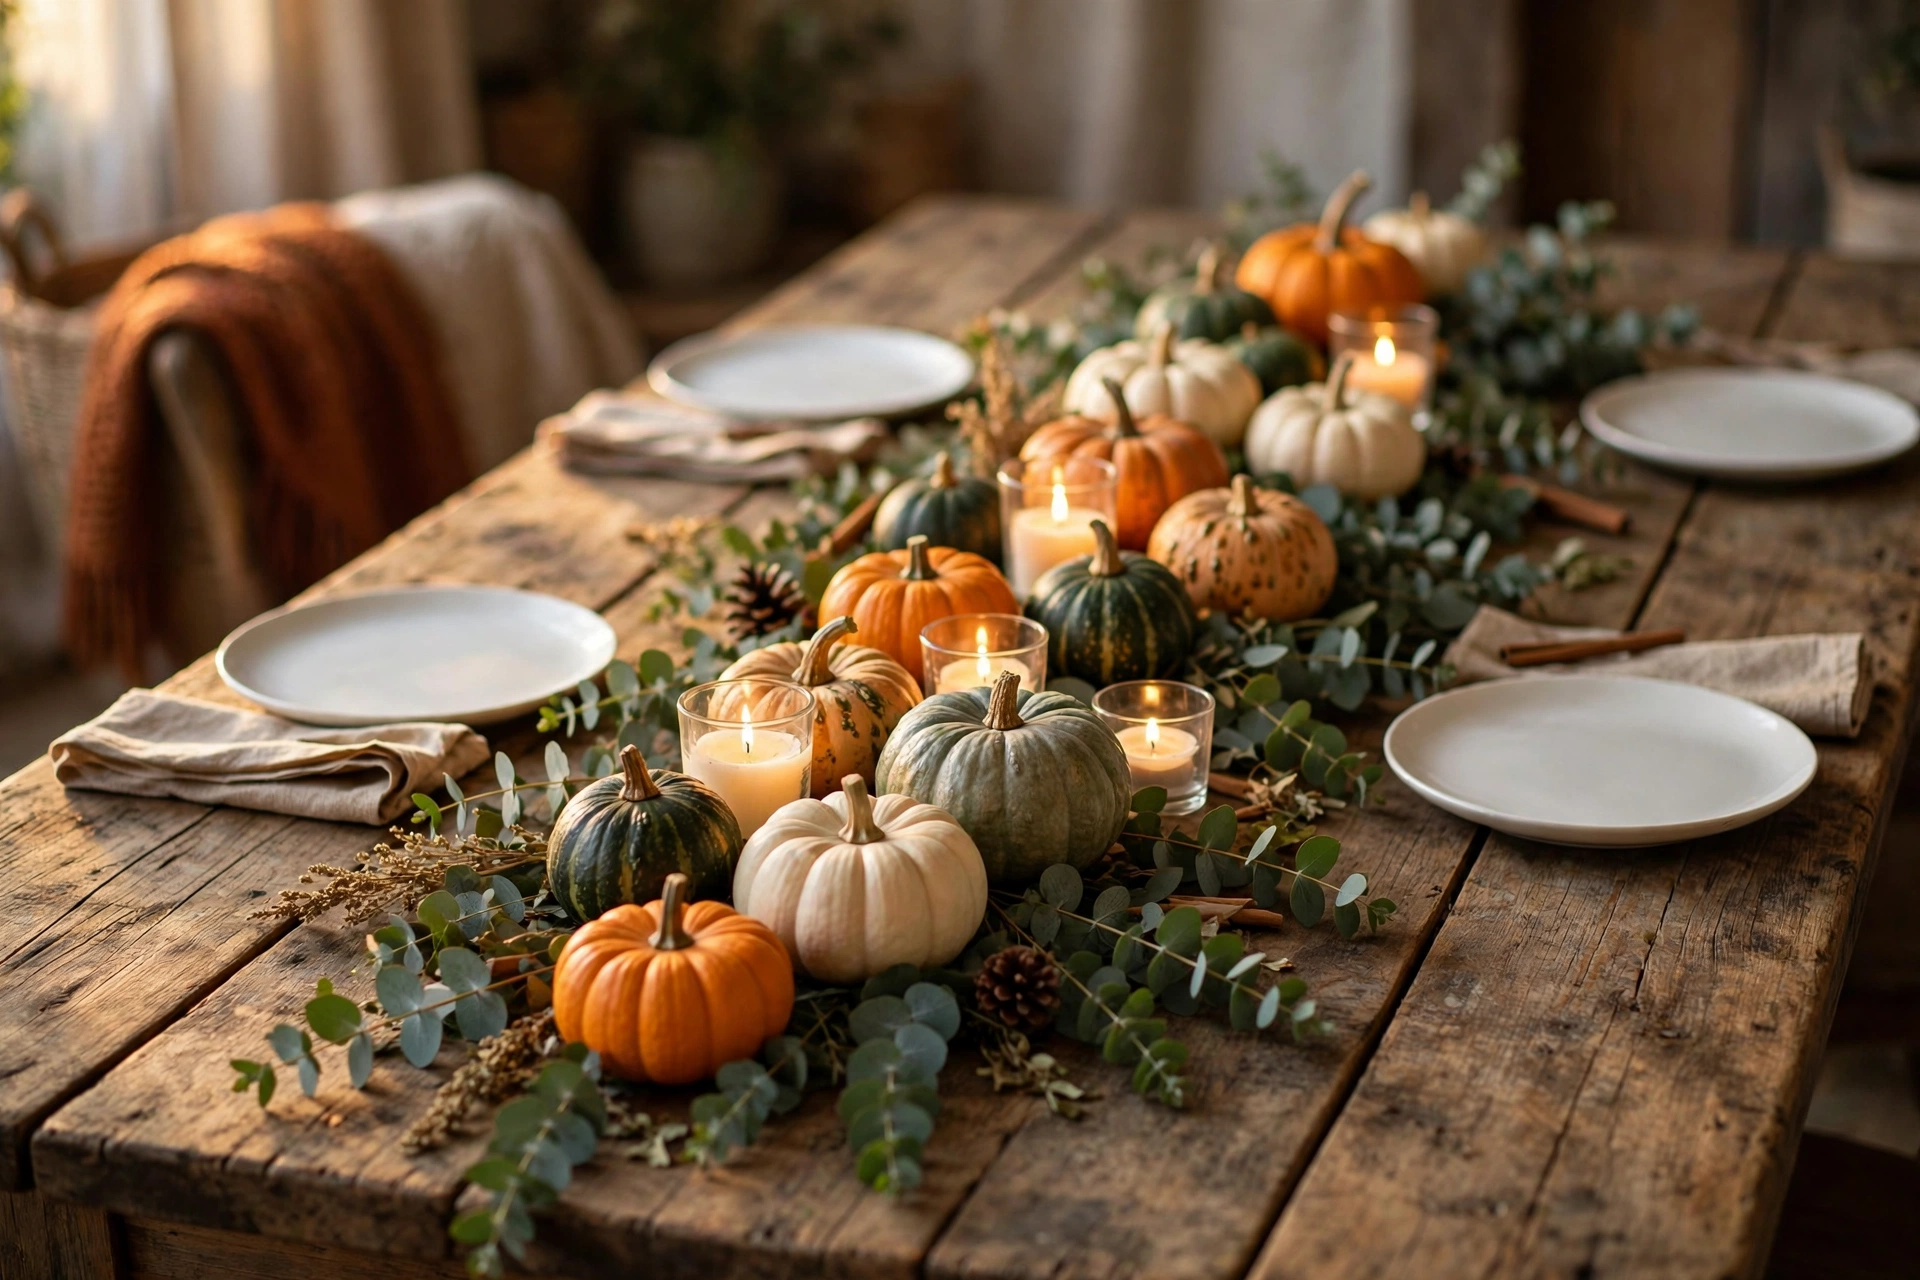
Forget one big expensive centerpiece. Buy five to eight mini pumpkins and gourds at the grocery store ($0.50–$2 each), cluster them down the middle of the table in a loose, uneven row, and tuck in a few real or faux leaves. The cluster reads abundant and harvest-y; a single lonely pumpkin reads like an afterthought.
Mix sizes and colors — white, orange, green-striped — but keep them inside your three-color palette. Odd numbers look natural; even numbers look arranged.
Quick tip: Put the tallest items in the middle and let the cluster taper toward the ends. It draws the eye down the whole table.
4. Forage branches, leaves, and pinecones — $0
A walk around the neighborhood in November is a free centerpiece shopping trip. Interesting bare branches in a tall vase, a scatter of colorful leaves, a bowl of pinecones — nature already styled it, you are just relocating it. Arrange branches in a pitcher you own, pile pinecones in a wooden bowl, tuck leaves around the pumpkin cluster.
Fresh branches last the whole week indoors. Mist leaves lightly if they start to curl.
Do this: Ask before clipping from neighbors’ yards — most people are flattered.
Skip this: Anything with berries if you have toddlers or pets who sample the decor.
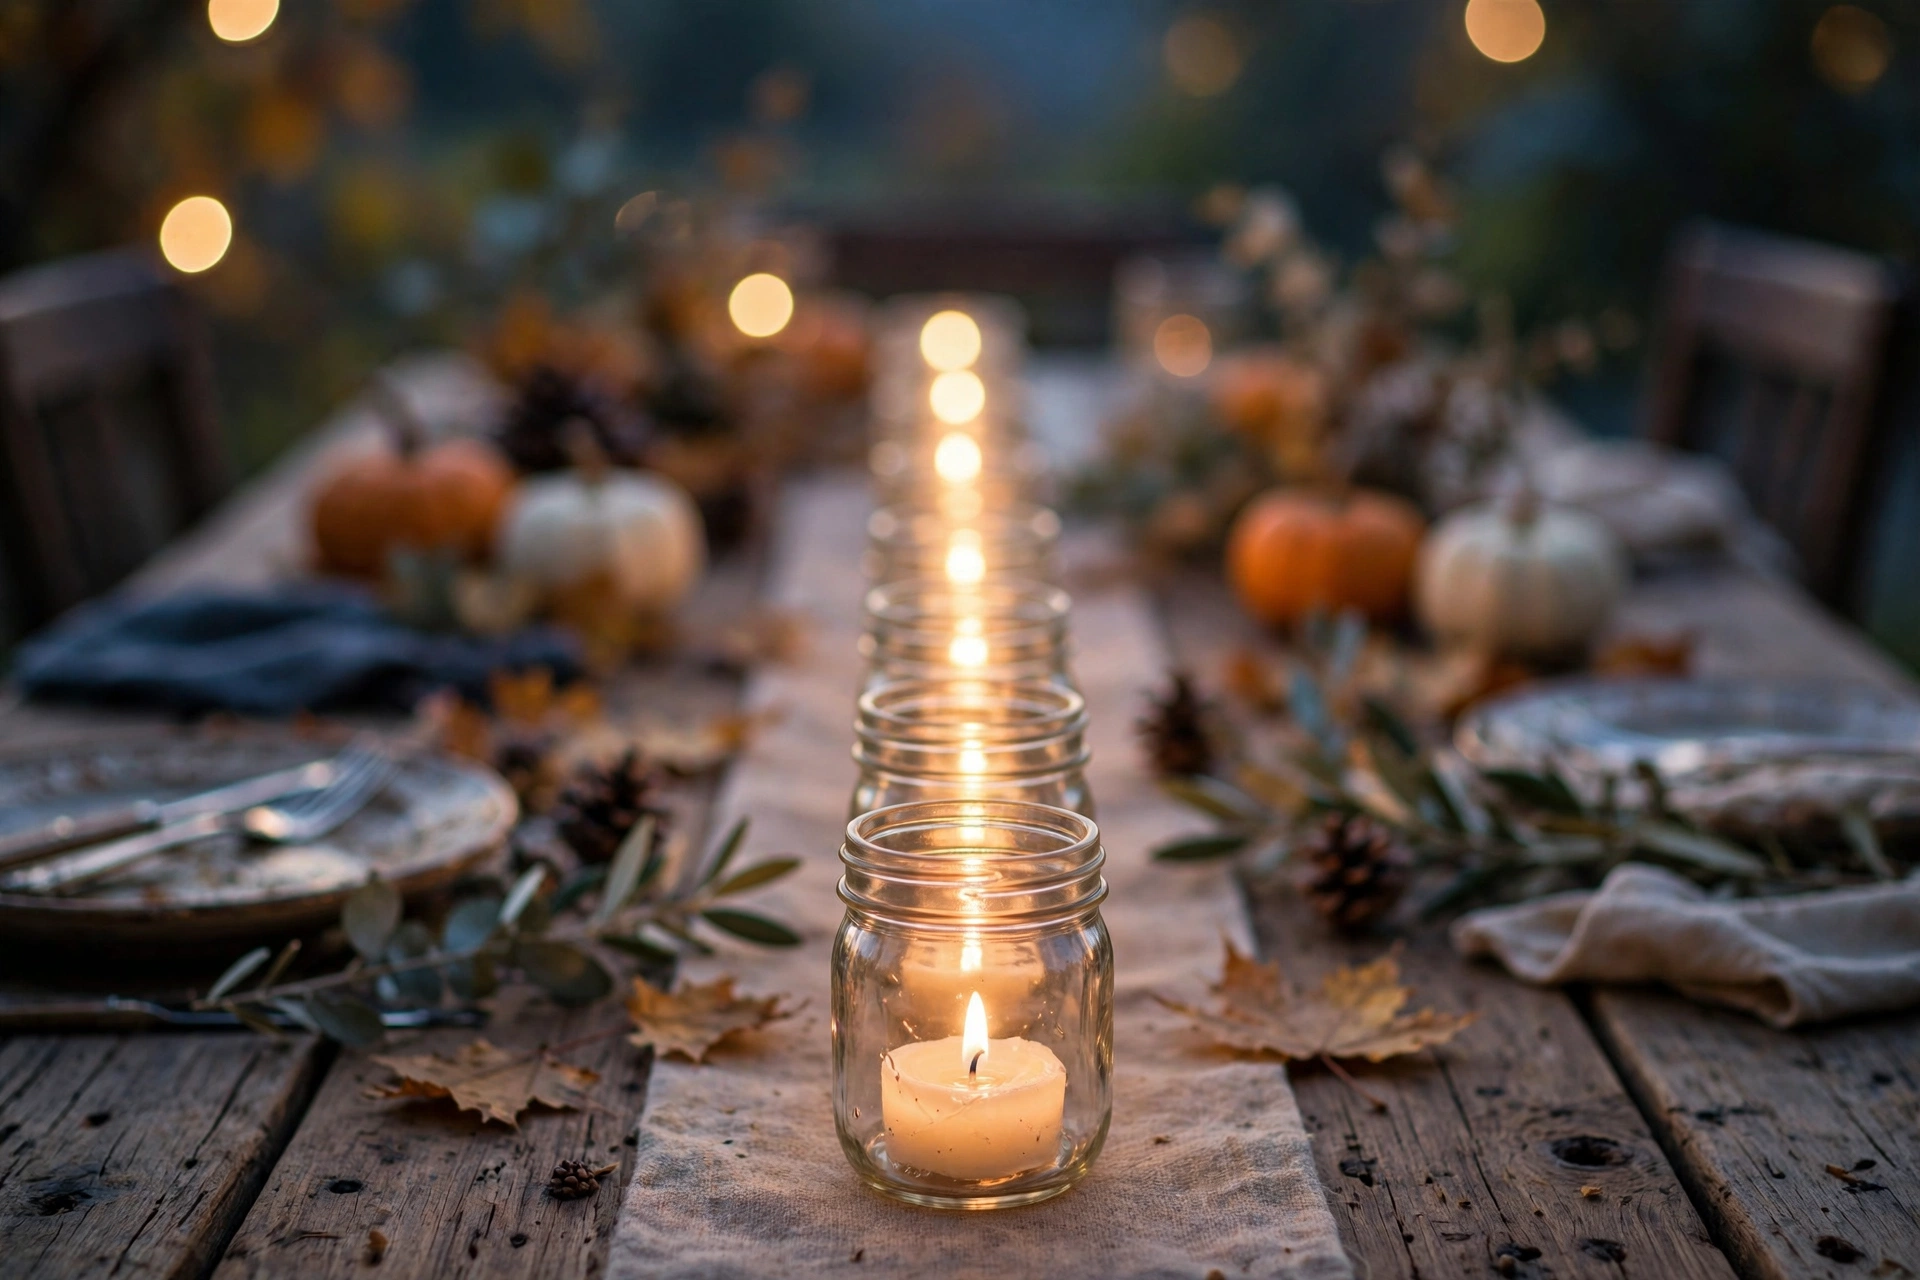
5. Line mason jars with votives down the center — $5–$10
A row of mason jars with a tea light or LED votive in each one gives the table a warm glow for almost nothing. You probably own the jars; a bag of tea lights costs a few dollars. Use jars in slightly different heights for a relaxed look, or all the same for cleaner lines.
Wrap a strip of twine or burlap around each jar for texture. The flicker against glass is the cheapest atmosphere money can buy.
Quick tip: LED flameless votives ($6–$10 for a dozen) are the move with kids and dry leaves on the table — all glow, zero worry.
6. Buy cloth napkins at the thrift store — $4–$10
Cloth napkins are the single fastest way to make a table look dressed up, and thrift stores sell them for $0.50–$1 each. You do not need them to match — twelve napkins in the same color family (all creams, all rusts) look intentional and collected rather than mismatched.
Wash and press them once and they are good for every holiday for years. Paper napkins, even nice ones, never quite get there.
Do this: Stick to one color family so the mismatch reads as curated.
Skip this: Buying a set of 12 new napkins for $30 — the thrifted ones look better anyway.
7. Tie napkin rings from twine and rosemary — $2–$5
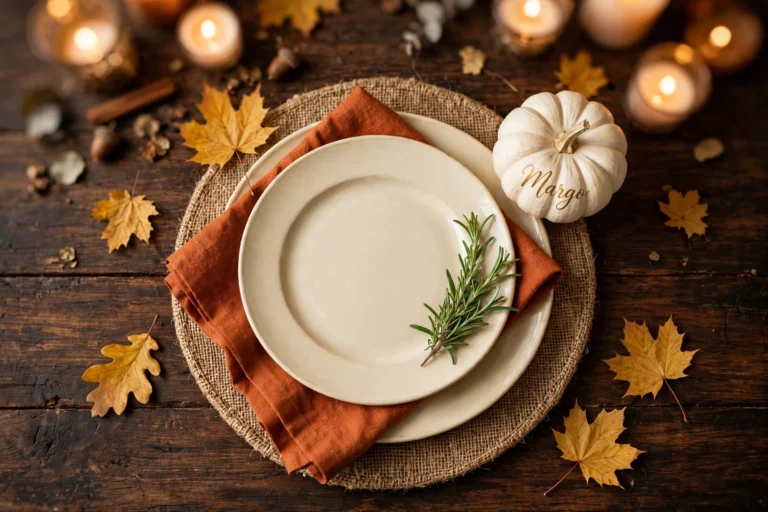
Cut twine into 8-inch lengths, tie a loose knot around each rolled napkin, and tuck in a sprig of fresh rosemary or a small dried leaf. It takes about a minute per napkin, costs pennies, and smells wonderful when guests pick them up.
This is the detail people photograph. Not the turkey — the napkin.
Quick tip: Buy one bunch of fresh rosemary at the grocery store ($2–$3) and it covers 12–16 napkins with sprigs to spare for the potatoes.
8. Use mini pumpkins as place cards — $3–$8
Write each guest’s name on a mini pumpkin with a metallic marker and set one at every plate. It is a place card, a favor, and decor in one — guests take them home, so there is nothing to store. A bag of mini pumpkins runs $3–$8 at grocery and craft stores in November.
Gold or copper marker on a white mini pumpkin is the prettiest combination. Keep the handwriting simple and large.
Do this: Test the marker on the bottom of one pumpkin first — some bleed on waxy skin.
Skip this: Tiny chalkboard stakes at $1 each. The pumpkin IS the card.
9. Group candles in three heights — $8–$15
Three candle holders of different heights clustered together — with a little greenery or a few leaves tucked around the base — creates a glowing focal point that anchors the whole table. The same candles spread out one by one just look like… candles.
Dollar-store glass holders, thrifted brass candlesticks, and a couple of pillar candles you already own. Vary the heights by at least 3 inches so the grouping has shape.
Quick tip: Put each cluster on a small tray, cutting board, or folded linen. The base corrals the grouping and makes it look finished instead of scattered.
10. Decorate with food: apples, pears, and artichokes — $5–$10
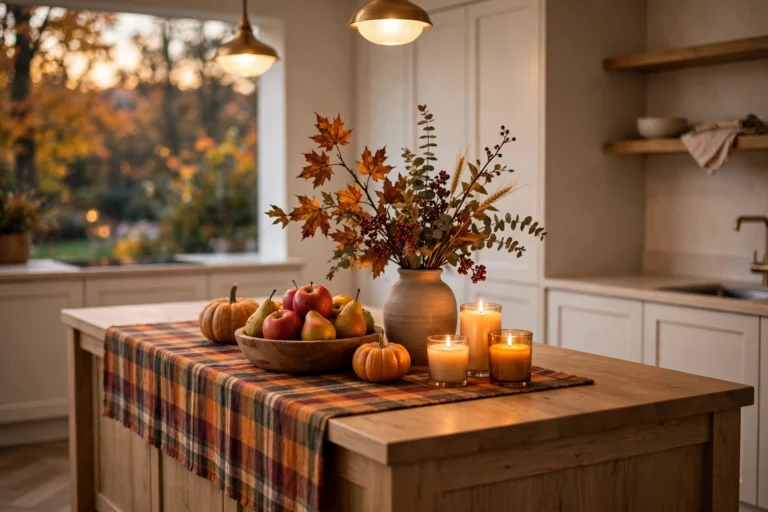
Some of the best-looking centerpieces are edible. A wooden bowl heaped with red apples, a row of green pears marching down the runner, a few artichokes tucked among the pumpkins — it is festive, it is free-ish since you were buying food anyway, and nothing goes to waste.
Choose produce in your palette and polish it with a dry cloth so it shines. Artichokes in particular look like they cost a fortune and cost about a dollar each.
Do this: Buy one extra bag of whatever you are already cooking with — the decor doubles as backup ingredients.
Skip this: Pomegranates for decor unless you are serving them — they stain everything they touch.
11. Add wheat bundles or dried stems — $6–$12
A few bundles of dried wheat, pampas stems, or preserved eucalyptus stuck in a tall vase or laid along the runner gives the table height and texture that fresh flowers cannot match at this price. Dried stems cost $6–$12 a bunch at craft stores and last for years — buy once, use every fall.
Keep arrangements loose and a little wild. Tightly arranged dried stems look like a hotel lobby; loosely gathered ones look like a harvest.
Quick tip: One tall arrangement at the center is enough — dried stems have a big visual footprint, so restraint keeps the table from feeling crowded.
12. Hollow a pumpkin into a flower vase — $6–$12
Cut the top off a medium pumpkin, scoop it out, drop in a jar or cup of water, and fill it with grocery-store fall flowers — mums, sunflowers, or whatever is in season. It is the centerpiece people assume cost $40 at a florist. Total cost: one pumpkin plus one $5–$8 grocery bouquet.
Carve the opening wide enough that the jar sits stable, and keep the flowers low so guests can see each other over them.
Do this: Line the pumpkin with the plastic jar the flowers came in — no leaks, no mess.
Skip this: Tiny sugar pumpkins for this — you need a medium one with room for the jar.
13. Build a gratitude branch — $0–$3
Put a few bare branches in a vase, cut leaf shapes from kraft paper or cardstock, and invite each guest to write something they are grateful for and hang it on the branches. It is decor, an activity, and the emotional centerpiece of the evening all at once.
Set it up before guests arrive with a few leaves already hung so people understand the idea. By dessert, the branch is full — and nobody remembers what the napkins looked like, but everyone remembers this.
Quick tip: Pre-cut the leaves and leave a cup of pens beside the vase. Friction kills participation; make it effortless.
14. Lay a eucalyptus garland runner — $10–$18
A garland of fresh eucalyptus laid straight down the center of the table — no vase, no arranging, just laid there — is the easiest dramatic centerpiece there is. One or two bunches ($10–$18 at grocery or craft stores) make a 6-foot garland, and it smells incredible.
Let it sprawl naturally and tuck pumpkins, candles, and pinecones into it. The garland is the base layer; everything else sits on top.
Do this: Buy it two days early and keep it in water — it stays fresh-looking for a week.
Skip this: The $40 pre-made garland. Two loose bunches laid end to end look identical.
15. Add one warm metallic — $5–$12
Brass candlesticks from the thrift store, a copper mug holding utensils, gold-rimmed glasses from the dollar store — one warm metallic repeated three or four times down the table makes everything look richer. Metallics catch candlelight in a way nothing else does.
Pick ONE metal and repeat it. Brass and gold together are fine; brass, gold, silver, and copper together are a hardware store.
Quick tip: A $4 can of gold spray paint unifies mismatched thrifted candlesticks into a set in one afternoon.
16. Give the kids their own decorated table — $3–$6
If you have kids coming, set them a small table (or one end of the big one) with a kraft paper tablecloth and a cup of crayons. Draw a turkey outline, write their names big, let them go. It keeps little hands busy, protects your nice runner, and the kids’ table always ends up being the most joyful spot in the room.
Total cost: paper you already have plus crayons. The drawings become keepsakes.
Do this: Put the kids’ table near but slightly separate — close enough to feel included, far enough that a knocked-over cup does not reach the good tablecloth.
Skip this: Elaborate kids’ crafts that need your supervision. The whole point is that this runs itself.
17. Clear the table before you decorate — $0
Before a single pumpkin goes down, remove everything that lives on the table normally — the mail pile, the fruit bowl, the candle that has been there since spring. Decorating on top of everyday clutter just looks like clutter with pumpkins on it. Ten minutes of clearing makes every other idea on this list work twice as hard.
Then stand back and look at the empty table for a minute. Decide where the eye should land first — that is where your best piece goes.
Quick-start: three budgets, one table
Overwhelmed? Pick a tier and do only those items. A finished small plan beats an abandoned big one every time.
Under $25: Ideas 1, 4, 7, 13, 17. Palette discipline, foraged branches and leaves, twine-and-rosemary napkin rings, the gratitude branch, and the great clear-off. Total outlay: roughly $3–$8.
Under $60: Add ideas 2, 5, 6, 8, 10. Kraft paper runner with names, mason jar votives, thrifted cloth napkins, mini pumpkin place cards, and edible produce accents. Total outlay: roughly $35–$55.
Under $100: Add ideas 3, 9, 12, 14, 15. The pumpkin cluster, three-height candle groupings, pumpkin flower vase, eucalyptus garland runner, and one warm metallic repeated. Total outlay: roughly $75–$95.
Frequently asked questions
How do I decorate my Thanksgiving table on a tight budget?
Start with what costs nothing: choose a three-color palette, clear the table completely, and forage branches, leaves, and pinecones. Then spend small on high-impact items — a kraft paper runner, tea lights in jars you own, and one grocery-store pumpkin cluster — before buying anything decorative.
What is a cheap Thanksgiving centerpiece that still looks good?
A hollowed pumpkin filled with grocery-store mums, a cluster of mini pumpkins and gourds down the table’s center, or a eucalyptus garland laid flat as a runner. All cost under $18 and look abundant because they use natural materials at scale rather than one small fussy arrangement.
How do I keep the centerpiece low enough for conversation?
Keep everything except candlesticks under 12 inches tall, and use slim taper candles rather than wide pillars for height without bulk. If you cannot see the person across from you, remove one layer — usually the tallest thing that is not a candle.
What colors work best for a budget Thanksgiving table?
Whatever coordinates with what you already own. Rust, cream, and gold is classic; sage, ivory, and copper feels modern; plum, beige, and brass reads moody and rich. The specific colors matter less than repeating only three of them everywhere.
When should I set up my Thanksgiving table decorations?
Decorate the table the morning of or the night before — never earlier, since you need the surface for prep. Buy pumpkins and dried stems up to two weeks ahead, grocery flowers two days ahead, and forage branches the week of so everything looks fresh.
A beautiful Thanksgiving table is not about spending more on the same stuff — it is about letting the season do the decorating for you. Natural materials, warm light, a restrained palette, and one personal touch like the gratitude branch will take you further than a cart full of matching decor ever will. Pick your tier, start with the clear-off, and enjoy the part where the candles get lit and the whole table glows.