Christmas Tree Decor Ideas on a Budget: 17 Ways to Make a Cheap Tree Look Designer for Under $75
The Christmas tree is the single most photographed corner of your house every December — it’s in every holiday photo, every Christmas morning video, every “the kids by the tree” shot. And yet most budget trees look exactly like what they are: a few dozen ornaments hung one-by-one on a skinny artificial tree, with a bare base and a lopsided star on top.
Here’s the good news: the gap between a $50 tree and a $500 tree is not money. It’s technique. A $35 artificial tree decorated in the right order — lights first, then ribbon, then big ornaments, then small ones, then the topper — looks richer than an expensive tree decorated randomly. Every idea below costs $15 or less, most cost under $5, and you can do the whole tree, lights to topper, for under $75.
One rule before we start: work from the inside out. Lights deep in the branches, filler elements (ribbon, picks) in the middle layer, and ornaments on the branch tips. That layering is what makes a tree look full instead of decorated.
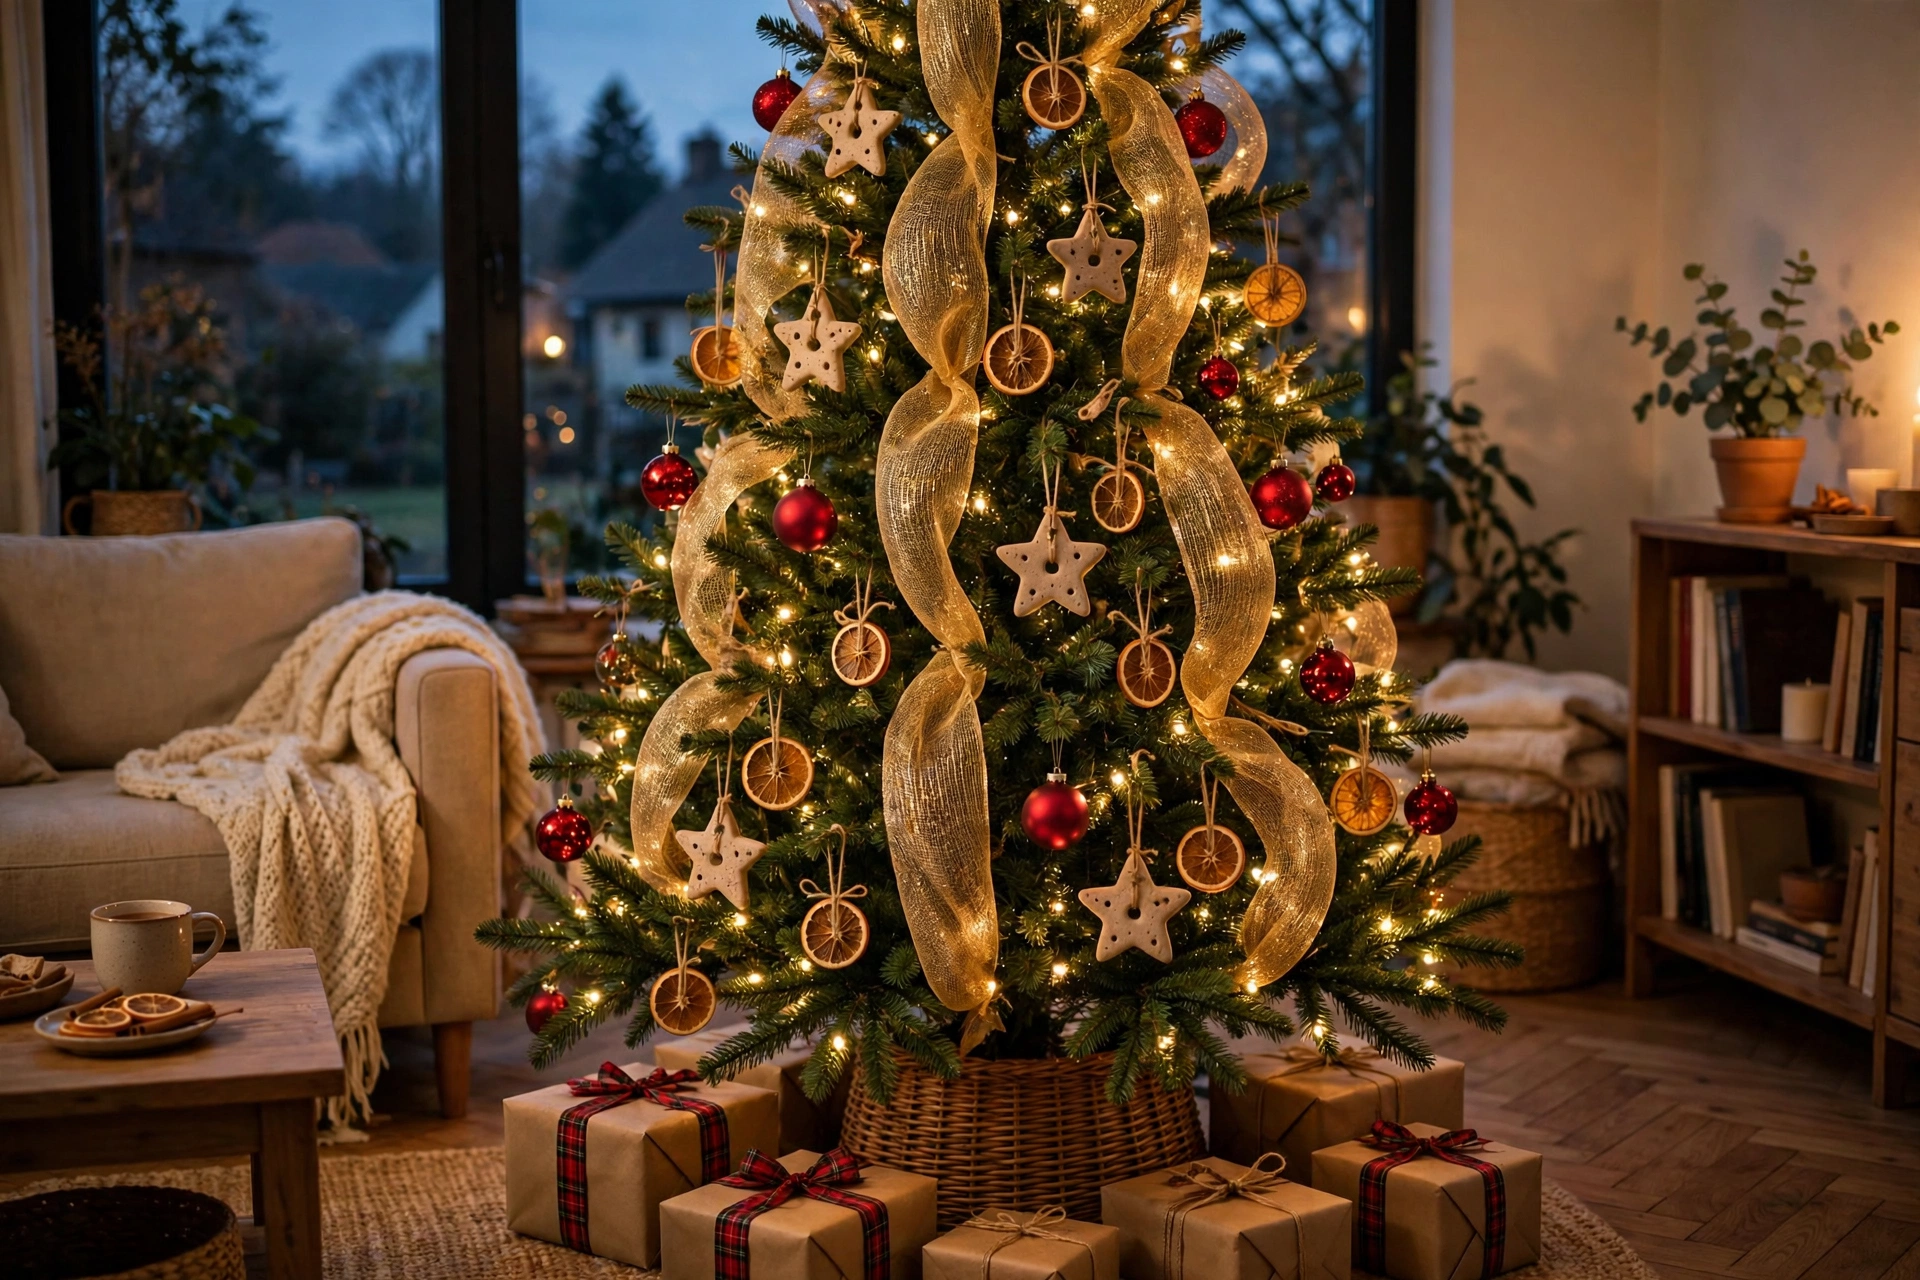
Quick-Start: Pick Your Budget Tier
$0 — Shop your house and yard. Raid: last year’s ornaments and lights, any ribbon or fabric scraps, pinecones from the yard, cinnamon sticks from the spice rack, orange slices from the fruit bowl (dried in a low oven), paper and twine, and any old Christmas cards for a paper garland. Yard greenery and kitchen supplies are free and make the tree smell like Christmas.
$25–$35 — The one-trip tier. One targeted run at the dollar store or craft store: one or two rolls of wide ribbon, a box of warm-white lights if yours are dead, a bag of shatterproof ornaments in your accent color, and floral wire. This gets you the ribbon and lighting that do 80% of the visual work.
$60–$75 — The full glow-up. Add a second set of lights (layered light is the designer secret), a large ornament multipack for volume, a woven basket or tree collar to replace the tired tree skirt, a tree topper you’ll actually keep, and picks (berries, eucalyptus, or pine sprays) to fill gaps. Nearly all of it stores flat and comes back out next year.
Now the ideas.
Lighting: The Layer Everything Else Sits On
A tree with bad lighting and great ornaments still looks dim. A tree with great lighting and mediocre ornaments glows. Start here.
1. Wrap lights deep inside the branches — $10–$15
Most people wind lights around the outer edge of the tree, which is why budget trees look thin — the dark center shows through. Instead, push each light strand into the tree, weaving it around the trunk and inner branches so the glow comes from inside out. One 100-light strand per foot of tree height is the rule of thumb (a 6-foot tree wants 600 lights).
Quick tip: Use warm white, not cool white. Cool white on an artificial tree reads as office lighting; warm white makes green plastic look like evening light on real pine.
2. Do a second pass with a different light color — $8–$12
Pros layer light. One strand of warm-white minis deep in the branches plus one strand of slightly larger warm-glow lights (or champagne LEDs) around the middle layer gives the tree depth — highlights and shadows instead of one flat wash. If money is tight, split one old strand: use the working half deep inside and a new $8 strand on the outer branches.
Do this: Plug in and check every strand before it goes on the tree. One dark section ruins the whole effect.
Skip this: Twinkle-only or multicolor lights on a budget tree you’re trying to make look designer. Multicolor is charming and festive, but it fights a cohesive palette — pick a lane.
3. Use battery fairy lights as gap-fillers — $5–$8
Every tree has dark patches — usually low on one side or deep in the back. A $5 strand of battery fairy lights (50–100 tiny warm lights) tucked into just those spots fixes the problem without rewiring the whole tree. The battery pack hides inside the branches; set a phone timer to switch them off at night.
Ribbon: The $6 Secret That Fakes a Designer Tree
Ribbon is the single highest-impact item on a budget tree. It covers gaps, adds color volume, and reads as “professionally decorated” from across the room.
4. Weave wide ribbon vertically through the tree — $4–$8
Wide wired ribbon (2.5–4 inches) tucked into the branches in loose vertical waves — top to bottom, four to six waves around the tree — does more visual work than $30 of ornaments. Cut it in 3-foot lengths, tuck each end deep into the branches, and let the middle billow out slightly. Dollar and craft stores sell wired ribbon for $2–$4 a roll; two rolls do a 6-foot tree.
Quick tip: Mesh ribbon is the forgiving choice — it holds its shape when tucked and doesn’t need bows or curls. Satin ribbon looks lush but slides; secure it with a branch twist or a small piece of floral wire.
5. Tie ribbon tufts instead of bows — free with scrap ribbon
Big perfect bows are fiddly. Instead, cut ribbon into 8-inch strips, fold each in half, pinch the center, and tuck the pinched middle into the branches so the two tails stick out. Clustered in groups of three, these “tufts” fill gaps and add color with zero bow-tying skill required.
Do this: Keep tufts at consistent depths — all slightly inside the branch tips — so they read as one texture, not confetti.
Skip this: Mixing more than two ribbon styles. One hero ribbon plus one accent is the max before it gets busy.
6. Let ribbon tails cascade from the top — $2–$4
Cut three or four long ribbon strips (3–4 feet each), anchor one end near the tree top, and let them stream straight down through the branches, tucking in lightly so they stay. The long vertical lines make a short tree look taller and give a boutique-tree feel for the cost of one ribbon roll.
Ornaments: Spend Where It Shows
You do not need a hundred ornaments. You need three sizes, one palette, and placement that follows a rule: big ornaments deep, small ornaments on the tips.
7. Buy one big multipack in a single accent color — $8–$15
One 60–80 count box of shatterproof ornaments in a single color (red, gold, champagne, or deep green) gives you volume — the thing budget trees lack most. Hang the largest ones deep in the branches where they catch light and create depth, mediums in the middle, and leave the tips for your special or handmade ones.
Quick tip: Dollar-store ornament multipacks ($1.25 per box of 6–12) in one color beat a mixed “designer” set. Uniform color reads as intentional; rainbow reads as leftover.
8. Make salt-dough star ornaments — $1–$3
Flour, salt, and water, rolled out and cut with a star cookie cutter, baked low and slow — these cost pennies each and look like something from a Scandinavian design catalog once you tie them with jute twine and hang them at the branch tips. A batch of twenty takes an afternoon and stores flat in a box for years.
9. Dry orange slices for the tree — $2–$4
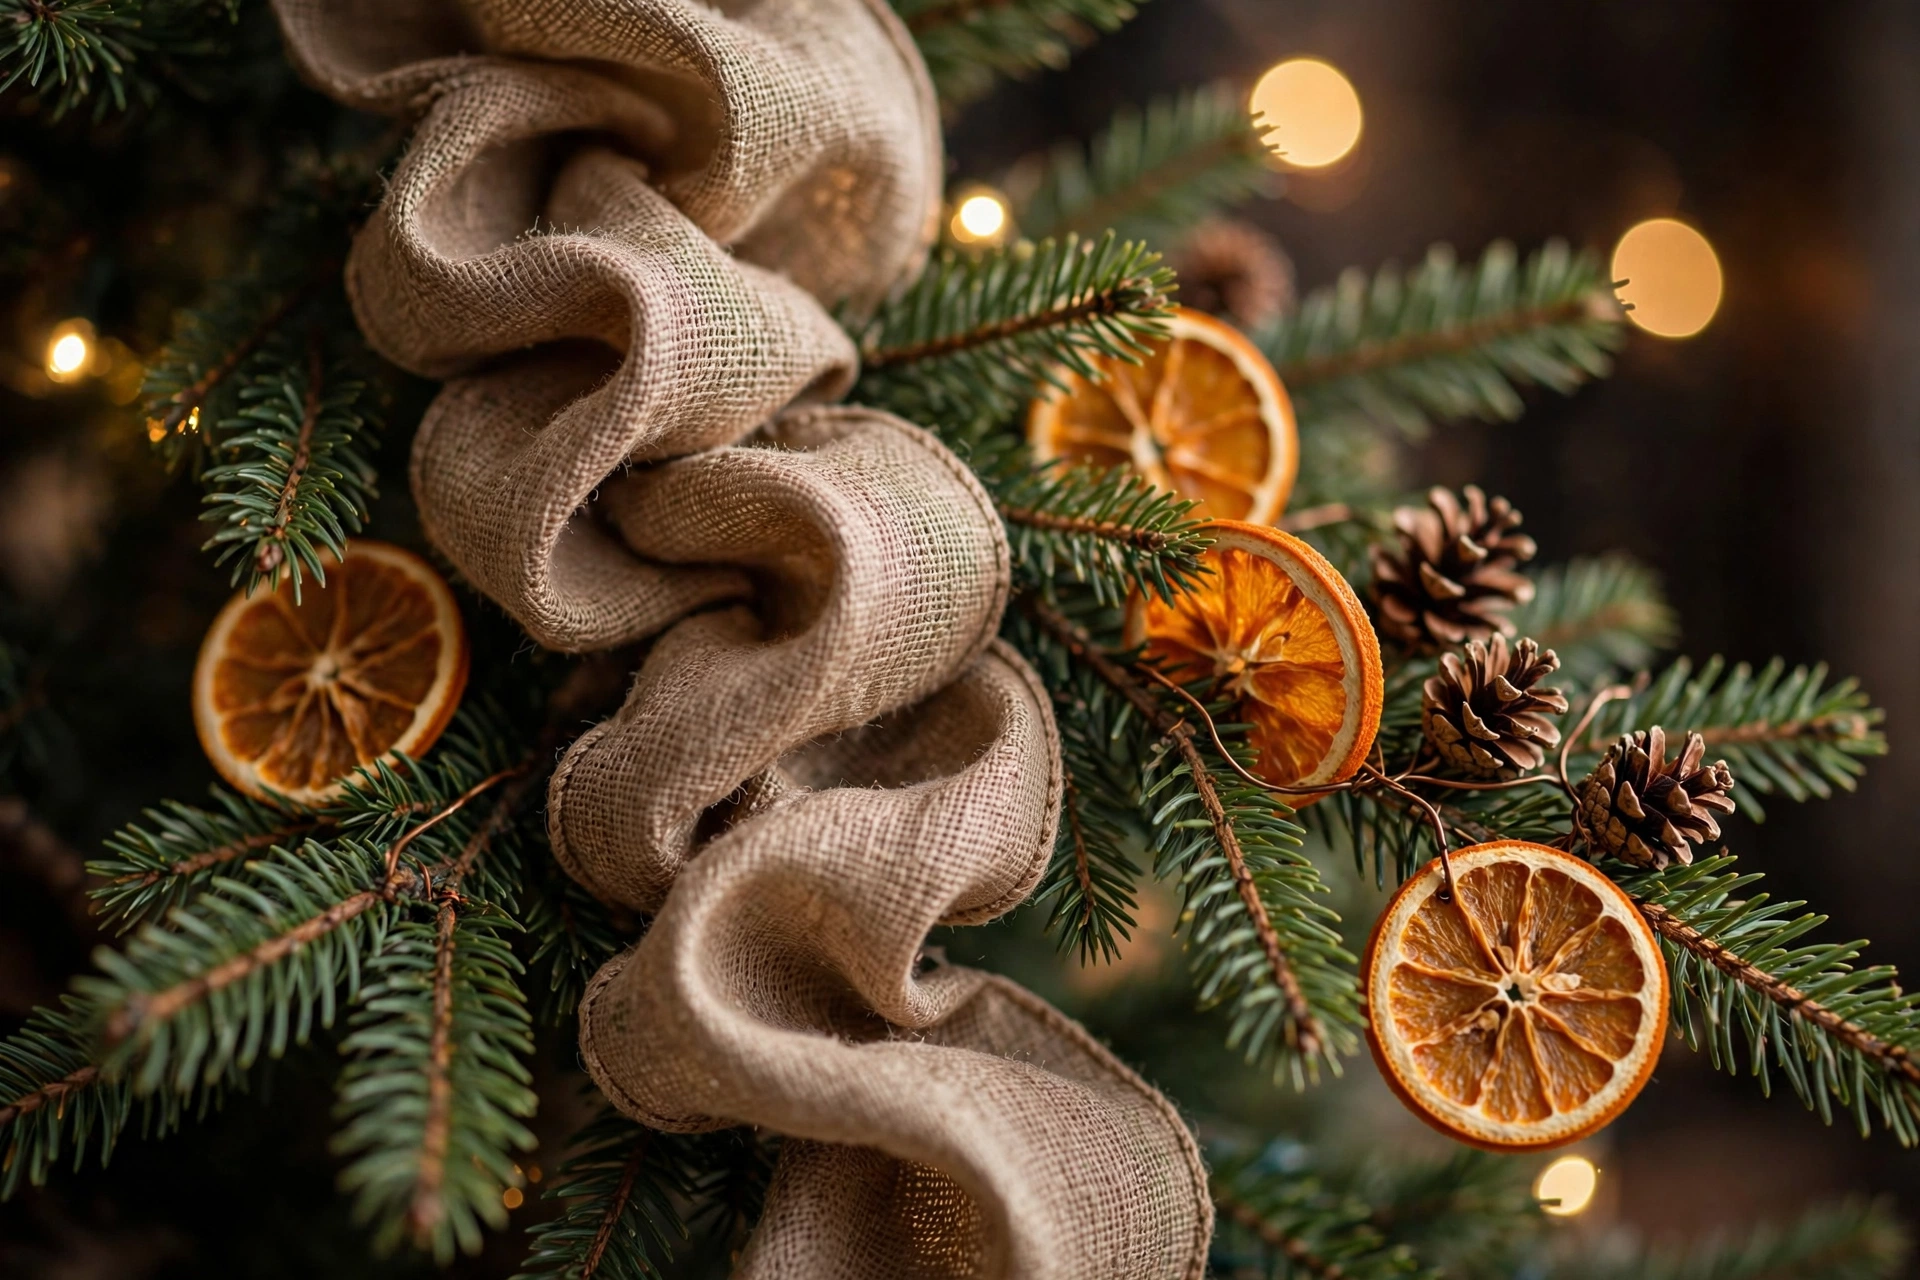
Slice oranges a quarter-inch thick, dry them in a low oven (about 200°F for 2–3 hours, flipping once), and hang them with twine or ribbon. The translucent amber slices glow when backlit by tree lights — the single most beautiful budget ornament there is, and they double as air freshener for the room.
Do this: Let slices cool fully, then seal in a bag between paper towels — they’ll keep for two seasons.
Skip this: Hanging them where they’ll touch a real fireplace or hot lights. On artificial trees with cool LED strings, no issue.
10. Spray-paint pinecones gold or white — $1–$3
A bag of yard pinecones plus a $4 can of metallic spray paint (one can does 40+ pinecones) gives you textured ornaments that fill the middle layer of the tree beautifully. Gold reads festive-luxe; white reads snowy-Scandinavian. Wire them onto branches rather than hanging — they sit better.
11. Bundle cinnamon sticks with twine — $2–$5
Three cinnamon sticks tied with jute twine and a small sprig of greenery, hung like a little firecracker from a branch — rustic, fragrant, and costs about 20 cents each. Tuck a dozen around the tree and the whole living room smells like Christmas without a scented candle in sight.
12. Turn old Christmas cards into a paper garland — free
Cut last year’s cards into circles or star shapes, punch a hole, string them on twine, and drape the garland horizontally around the tree’s middle layer. It’s free, it’s personal, and guests always ask about it. Card-stock garland survives three or four seasons if stored in a box.

The Topper: Finish the Tree on Purpose
A lopsided star from 1998 is dragging the whole tree down. Fix the top — it’s the first thing anyone sees from the hallway.
13. Replace the star with an oversized bow — $3–$6
A big ribbon bow (or three ribbon tufts tied together with long tails streaming down the top branches) makes a more forgiving topper than a star that won’t stand straight. Use your hero ribbon, make it oversized — 10–12 inches across — and wire it to the top branch. For $4 in ribbon, the tree looks intentionally finished.
Do this: Angle the bow slightly toward the room’s main viewing spot, not dead-center. Trees are viewed from one side 90% of the time.
14. Make a cardboard-and-gold star topper — $1–$2
Cut two stars from cardboard, glue them back-to-back around a wooden skewer, spray gold, and wire it to the top. Ten minutes of work, one can of spray paint you already own from the pinecones, and a topper that stands straight every time because it’s nearly weightless.
The Base: The Part Everyone Forgets
A beautiful tree floating over a bare stand or a wrinkled 2005 tree skirt looks unfinished. The base takes thirty seconds and costs almost nothing.
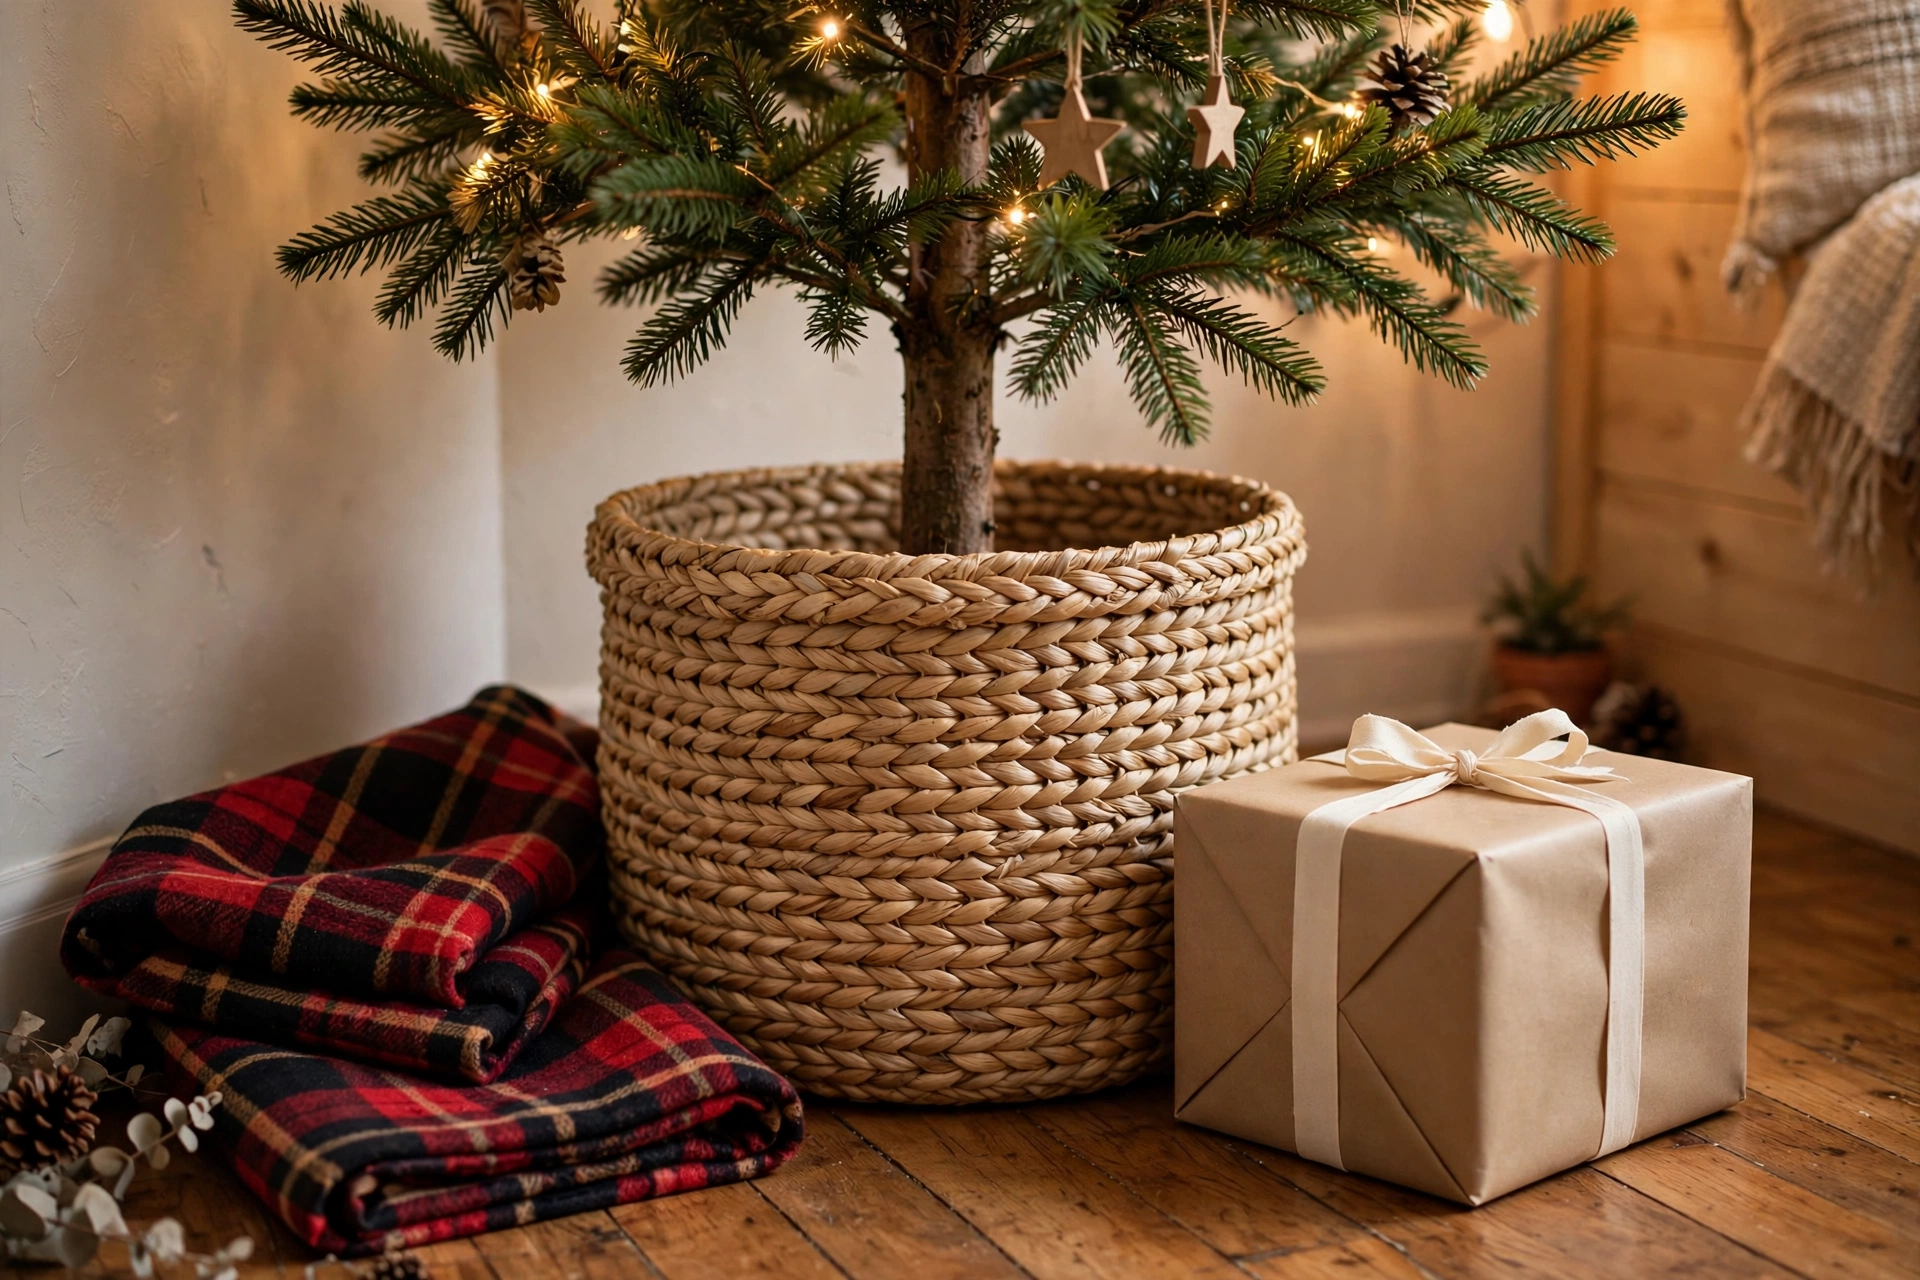
15. Use a woven basket as a tree collar — $5–$12
A laundry basket, storage basket, or planter basket (thrift stores are full of them for $5–$10) with the stand tucked inside looks like the trendy tree collars sold for $60. Line the inside with a towel so the stand doesn’t scratch the basket, and let the tree trunk rise out of it. Rustic-modern and basically indestructible.
16. Wrap a box in kraft paper for a faux tree skirt — $1–$3
No basket? Cut the top and bottom off a large cardboard box, wrap it in kraft paper, tie a ribbon around it, and set it around the stand. It reads as a structured tree collar and doubles as gift-wrap storage in January. Under $3 if you have the paper.
Do this: Whichever base you choose, set a $2 timer outlet on the tree lights — the glow spilling over a styled base at dusk is half the magic.
Skip this: A bunched-up sheet or blanket as a tree skirt. It always looks like a bunched-up sheet, no matter how you arrange it.
The 10-Minute Fuller-Tree Fix
17. Fill the holes with greenery picks — $5–$10
Every budget tree, real or fake, has bald spots. A $5 bundle of pine or eucalyptus picks (floral department, craft store, or wired-in yard trimmings) pushed into the gaps at a downward angle fills them instantly. Work in threes — three picks per hole, angled slightly apart — and nobody will ever know the tree had a thin spot.
Quick tip: Do this step last, after ornaments, standing back ten feet and squinting. The spots you can’t see up close are the ones that show in photos.
Frequently Asked Questions
How much does it cost to decorate a Christmas tree on a budget?
A great-looking tree runs $60–$75 total if you’re starting from scratch: lights ($15–$25), ribbon ($6–$8), one ornament multipack ($8–$15), a basket or box base ($5–$12), and handmade ornaments for a few dollars. If you already own lights and ornaments, ribbon and a few DIY projects can transform your tree for under $20.
How many ornaments do I need for a 6-foot tree?
About 60–80, but the number matters less than the mix. Use three sizes — big ones deep in the branches, mediums in the middle, small and handmade ones on the tips — and one cohesive color palette. A 60-count single-color multipack plus a dozen DIY ornaments fills a 6-foot tree comfortably.
How do you make a cheap artificial tree look fuller?
Three things: push the lights deep into the branches so the tree glows from inside, weave wide ribbon vertically through it to cover gaps, and fill bald spots with greenery picks at the end. Fluffing the branches first — pulling each one out and apart — makes the biggest difference of all and costs nothing.
What is the cheapest way to make a Christmas tree look expensive?
Consistency. One color palette (two colors max, plus metallics), one ribbon style, warm-white lights only, and a styled base. A $40 tree with a tight palette looks far more expensive than a $200 tree decorated in five colors with a wrinkled tree skirt.
Can I decorate a Christmas tree with no money?
Yes — raided from your house and yard: last year’s ornaments and ribbon, pinecones spray-painted or left natural, dried orange slices, cinnamon stick bundles, salt-dough stars, a paper garland from old Christmas cards, and a blanket-draped or box-wrapped base. The only thing you truly need to buy is nothing, if you shop your home first.