17 Garden Inspiration Ideas That Actually Work in a Real Yard
Every backyard has a chair nobody sits in. It is usually the one facing the fence, half in the sun, with a worn ring in the grass beside one leg where the hose gets dragged past. You keep meaning to do something about that corner. Three summers go by.
The distance between a yard you look at and a yard you use is shorter than it seems, and it almost never gets closed by buying more plants. It closes when a few decisions get made in the right order. Where the sun actually falls. How wide the path is. How far into a bed you can reach without stepping in it.
Most garden inspiration ideas show you a finished border in June and skip every one of those decisions. This list runs the other way. Each idea comes with the number that makes it work: the spacing, the width, the clearance, the hours of sun, and roughly what it costs.
Start with number one even though it sounds dull. It is the one that saves plants.
1. Map Your Sun Before You Buy a Single Plant
Plant tags are honest about what a plant needs. The guessing happens on your side of the transaction, when you decide what your yard actually gives it. Most garden inspiration ideas assume you already know your light, and almost nobody does.
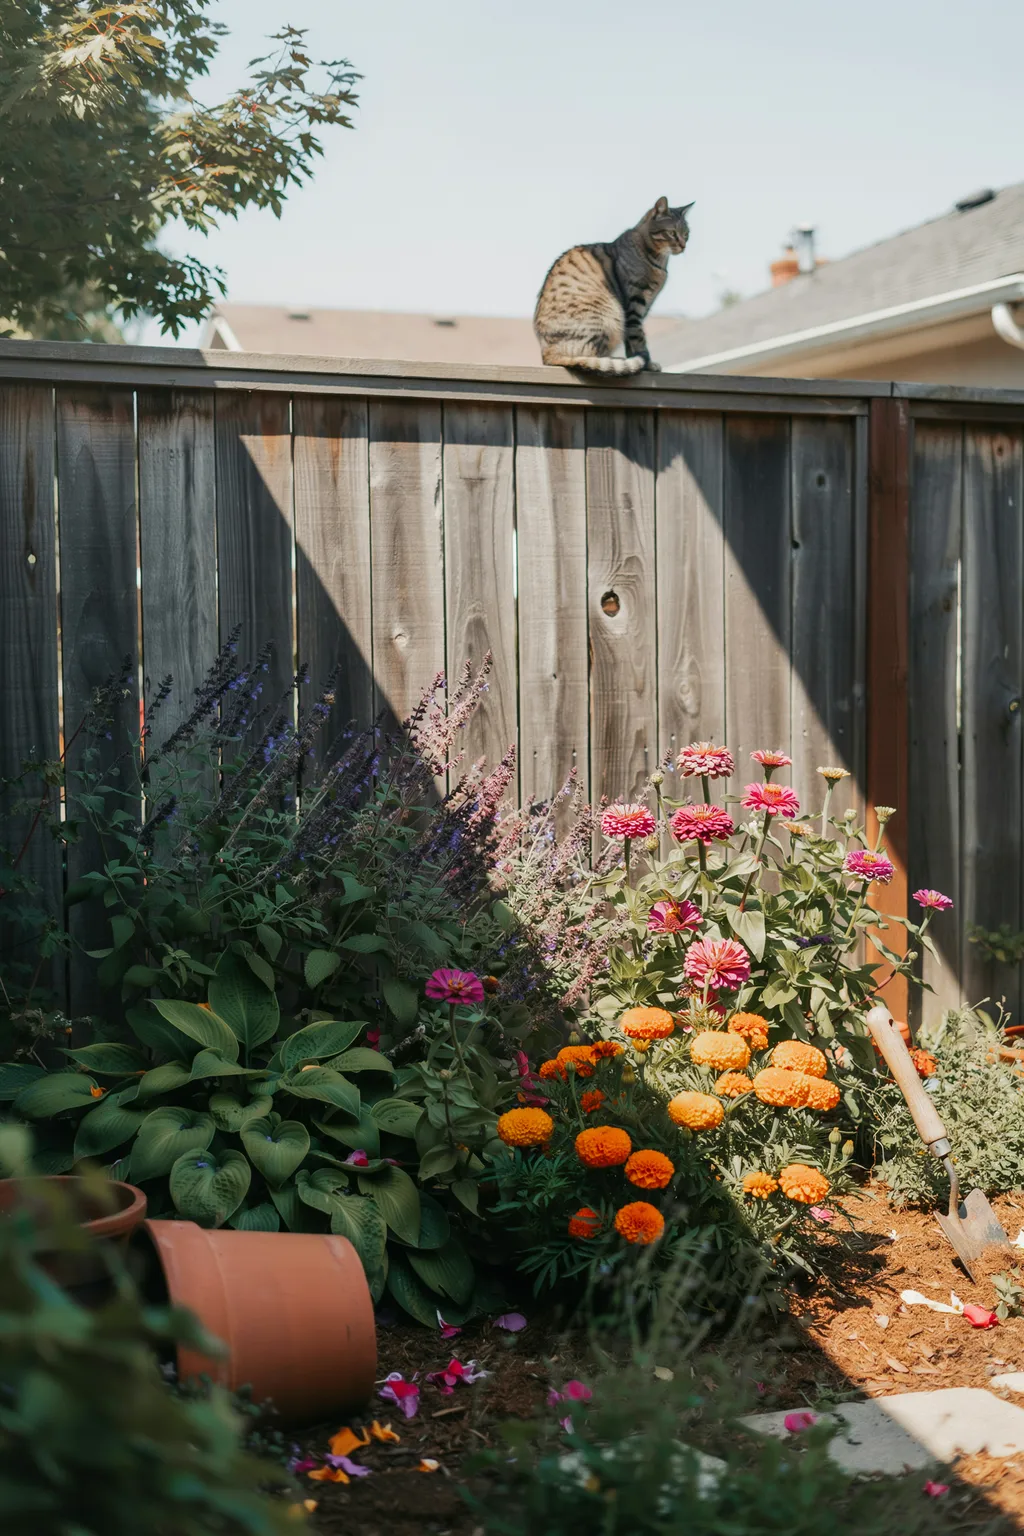
Spend one Saturday finding out. Step outside at 9am, at 1pm, and again at 5pm, and note which parts of the yard sit in direct sun each time. Photograph it each round if you think you will remember, because you will not.
Two things catch almost everyone out:
- The south side of a fence gets far more sun than the north side, even six feet apart
- A tree that looks bare and harmless in April will shade half that bed by late June
Do this before any money changes hands. A shade plant in full sun scorches inside two weeks, and it is never the plant’s fault.
2. Layer Beds Back to Front, With Real Heights and Spacing
The most common mistake in a new bed is buying everything at the same size and setting it out in a line.
Nursery plants mislead you about scale. They are sold at a fraction of mature size, so a bed that looks properly full in May becomes a tangle by August. Read the mature spread printed on the tag, not the pot in your hand.
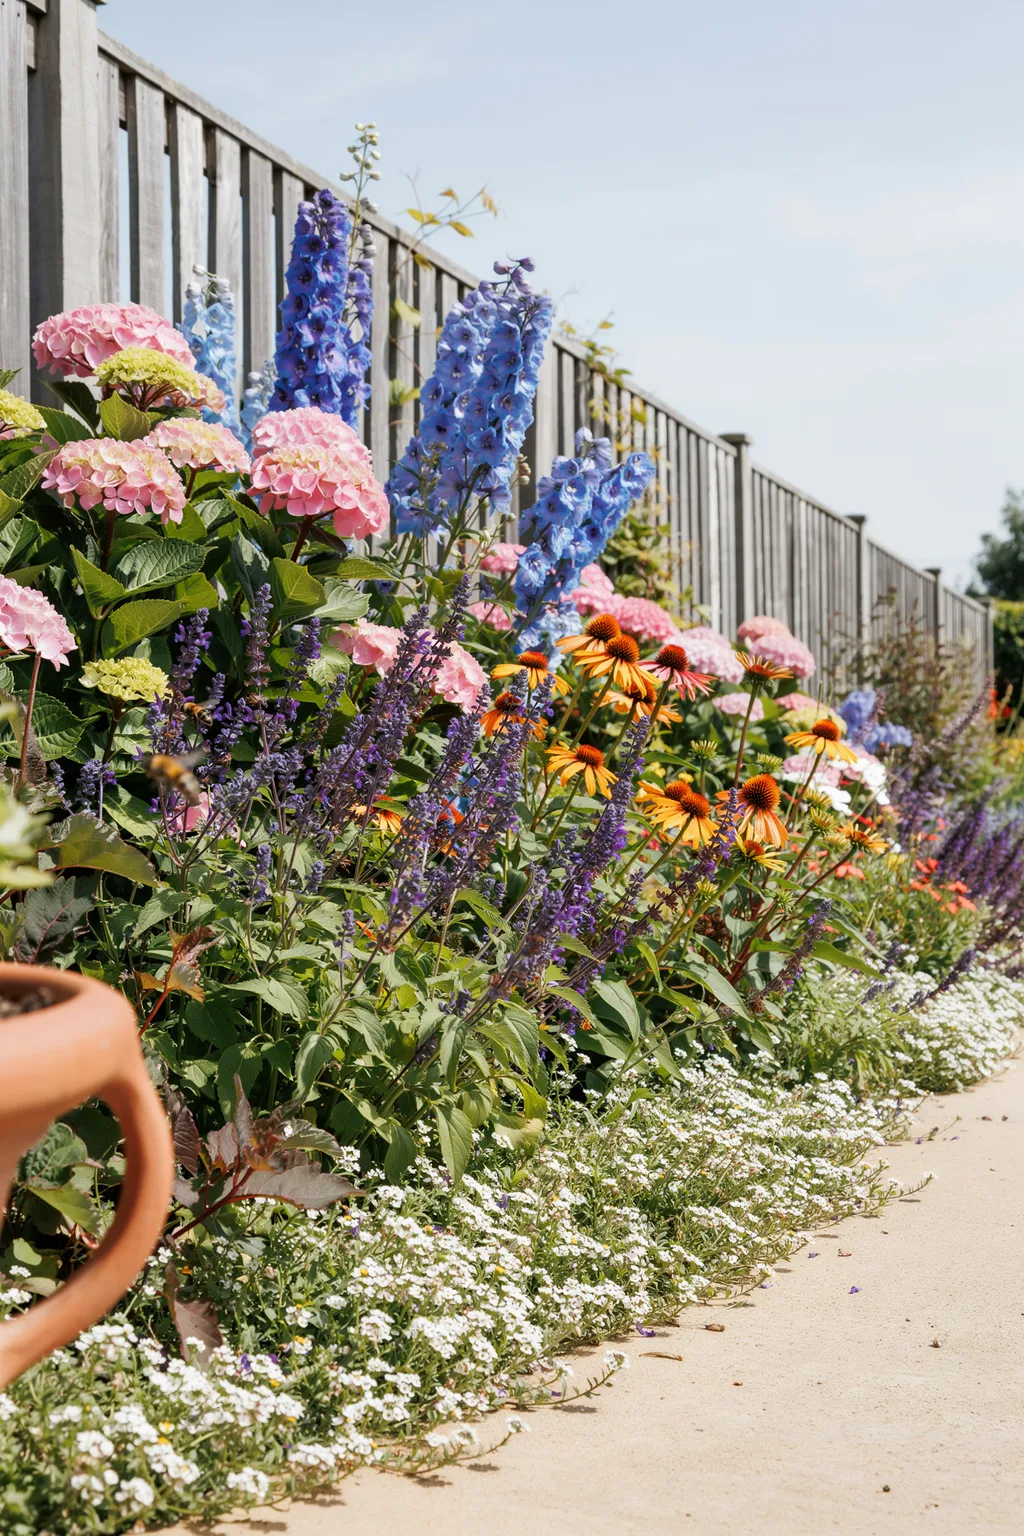
Then plant in three loose rows, tallest at the back. Leave gaps that feel wrong to you. A bed that looks slightly sparse in year one looks right in year two, while a bed that looks perfect in year one needs dividing by year three.
Stagger the rows rather than lining them up. Straight rows read as a hedge, not a border.
| Row | Height and spacing |
|---|---|
| Back row structure and screening | 3 to 6 ft tall, set 30 to 36 in apart. Hydrangea, delphinium, tall grasses, viburnum. |
| Middle row the working layer | 18 to 30 in tall, set 18 to 24 in apart. Salvia, coneflower, daylily, catmint. |
| Front row the edge softener | Under 12 in, set 10 to 12 in apart. Alyssum, creeping thyme, low sedum, pansies. |
| Bed depth the number nobody plans | 4 ft minimum for three rows. Under 3 ft you get two rows, and that is fine. |
3. Make Paths Wide Enough for a Wheelbarrow, Not Just a Foot
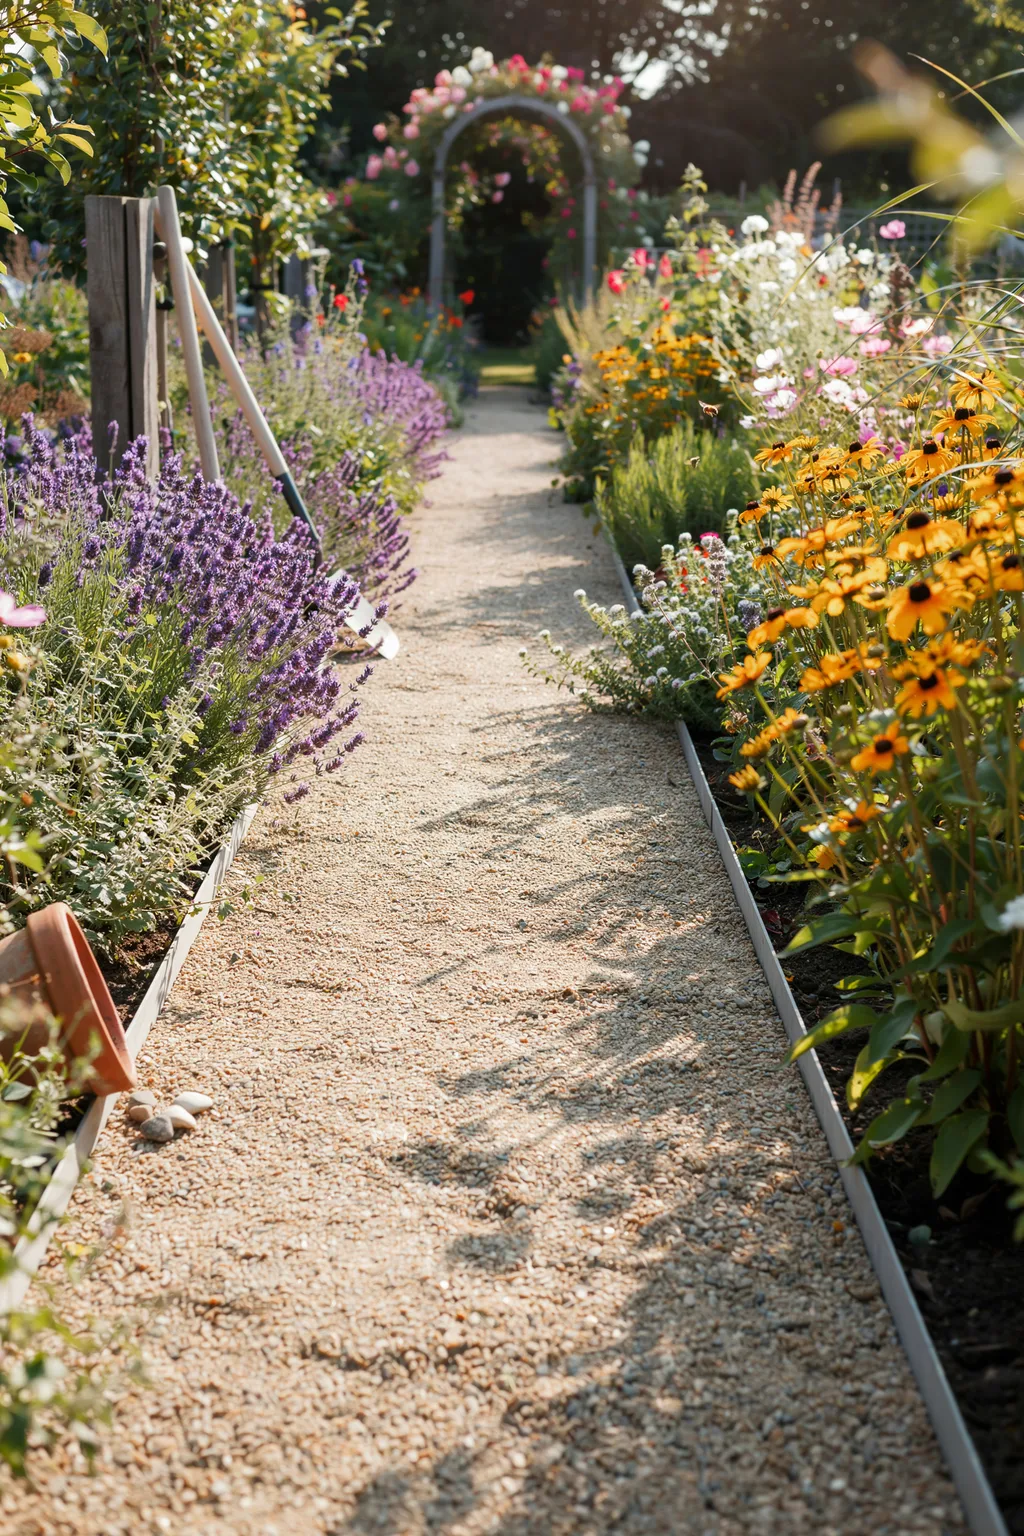
Paths tend to get built to the width of one person walking alone. Then you try to move a barrow of mulch to the back corner and discover the error permanently. Paths are the least photogenic of the garden inspiration ideas on this list and the one you use every single day.
Gravel is the cheapest way to do this properly, but it needs two things people leave out. Edging, or the stones migrate into the beds within a single season. And a compacted base, or you are walking on a soft trench by the second spring.
The choice between the two common gravels comes down to which annoyance you prefer:
- Pea gravel is rounded and comfortable underfoot, and it rolls and scatters
- Decomposed granite packs down firm and stays put, and it tracks indoors on wet shoes
Either way, lay landscape fabric underneath. Weeds coming up through gravel are miserable to pull.
4. Anchor the Outdoor Living Room With a Rug Sized to the Seating
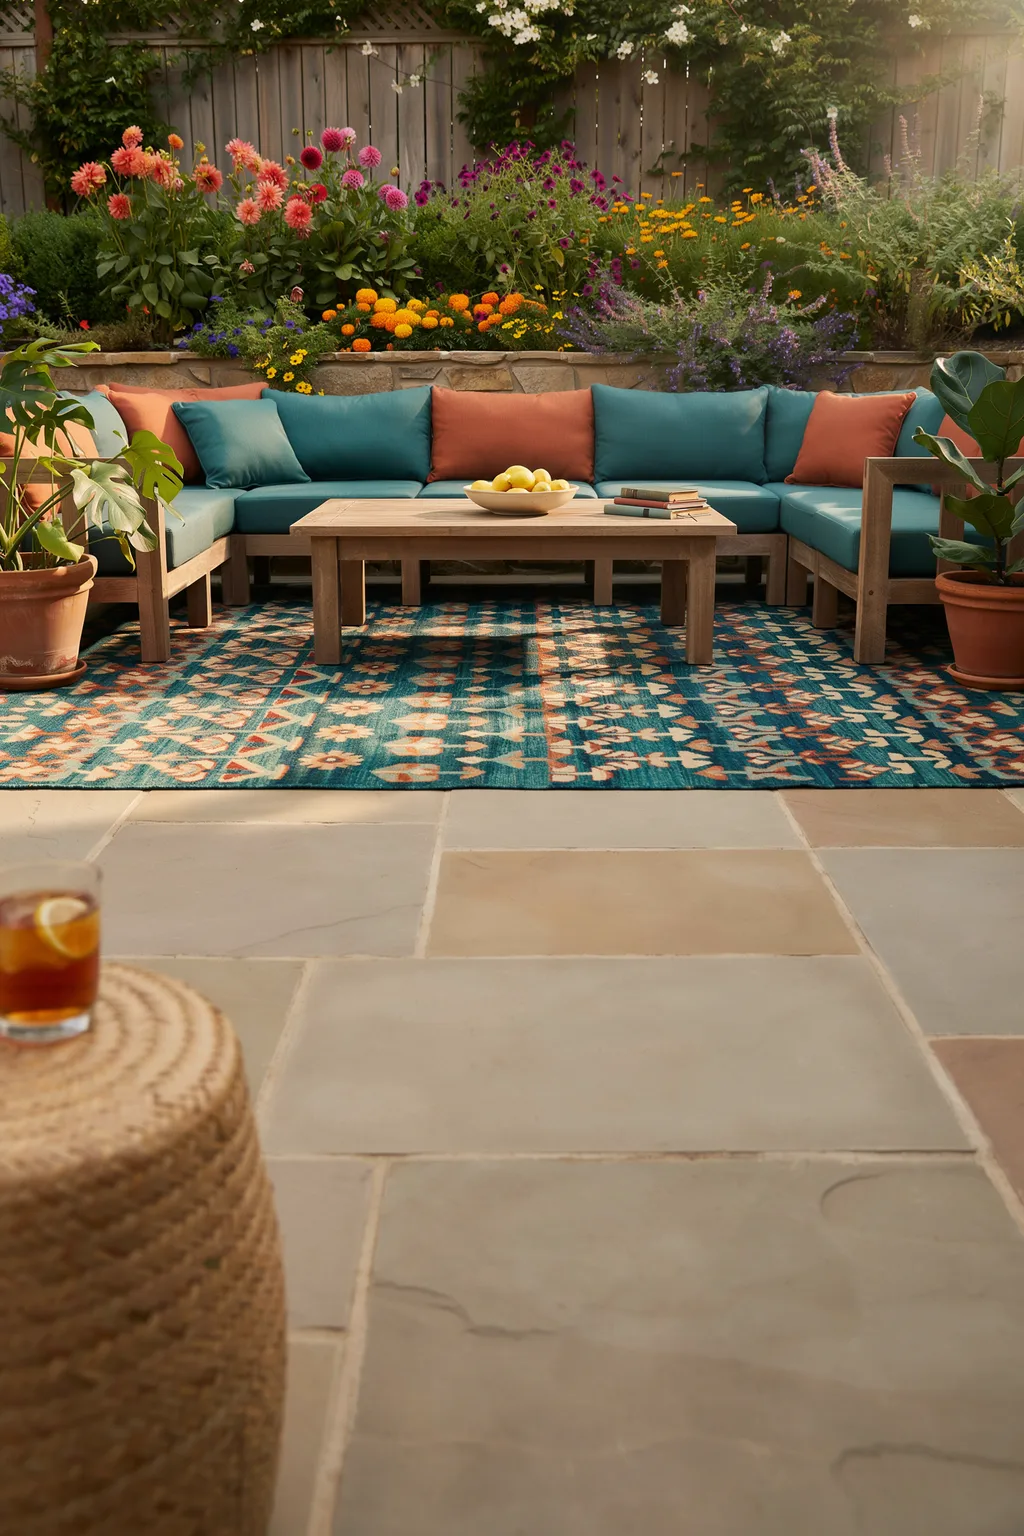
An outdoor rug turns a patio into a room faster than any piece of furniture standing on it. It draws the edge of the space, and everything inside that edge starts reading as deliberate.
Polypropylene is the material worth your money. It shrugs off rain, it does not hold water the way natural fiber does, and it can be hosed down and stood on its edge to dry in an afternoon.
Skip jute and sisal outdoors however good they look in the photo. They soak, they stay damp underneath long after the surface feels dry, and they will print a mildew shadow onto the patio within one wet month.
💡 Quick Tip
Size it so that at least the front legs of every seat land on the rug. A small sectional and a coffee table usually needs 8 by 10 ft, and a bistro set for two needs about 5 by 7 ft. A rug that floats between the furniture makes the patio look smaller than bare paving would.
5. Pick One Color Story and Repeat It Three Times
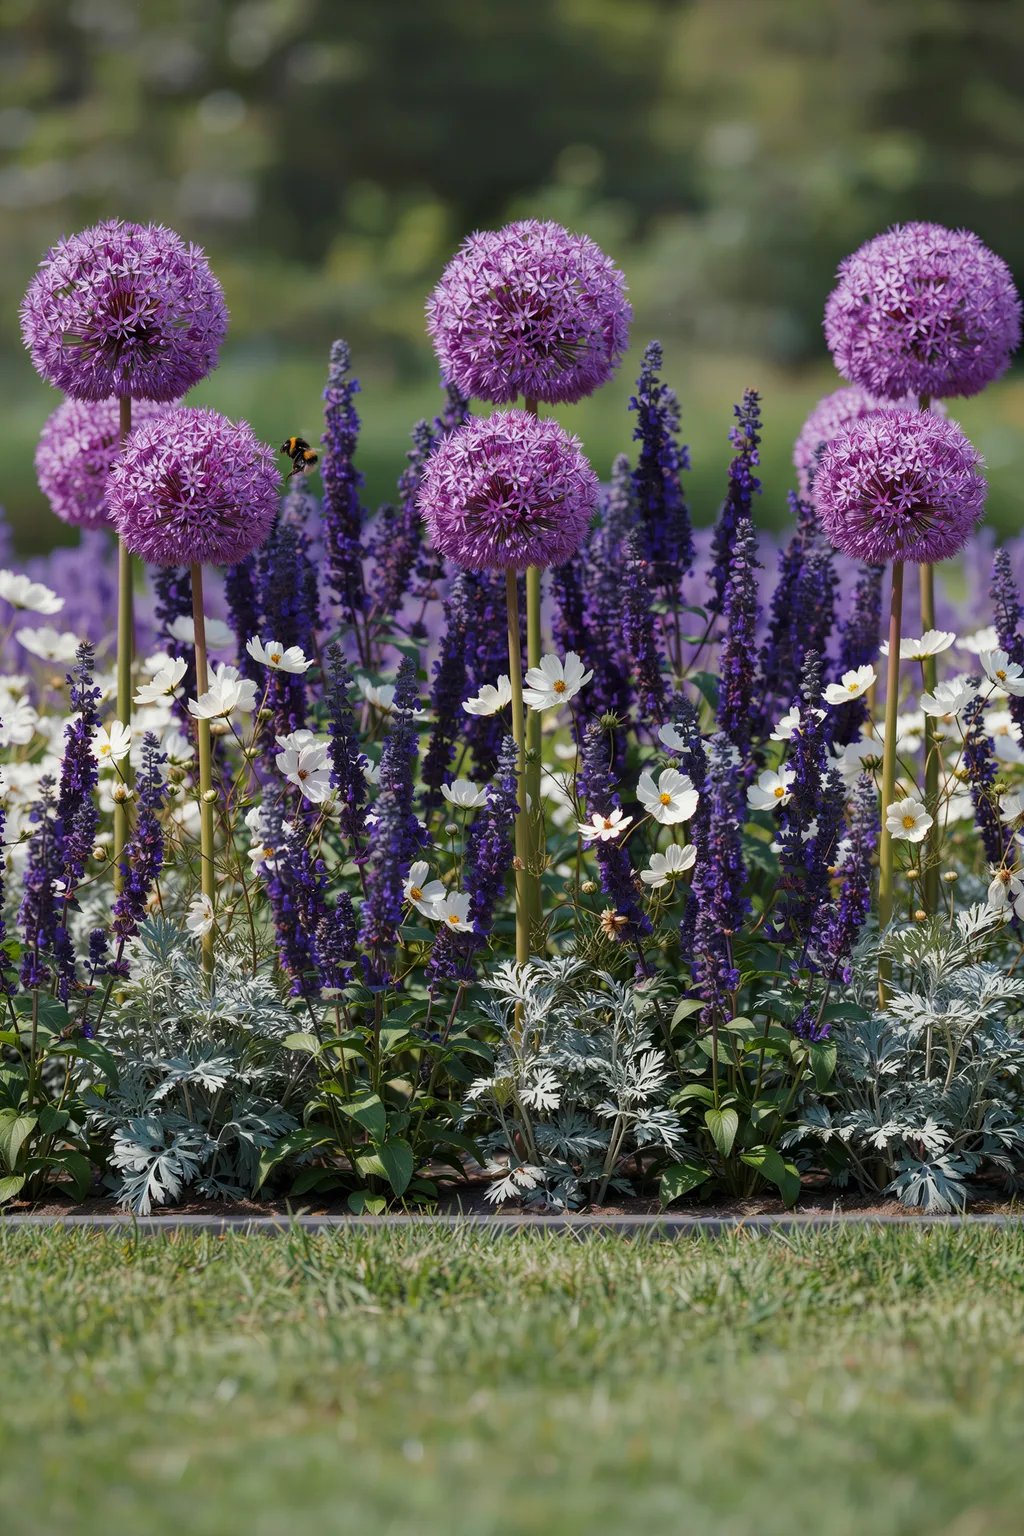
A garden containing every color reads as no color at all. The eye stops sorting and just sees green with confetti scattered through it.
Choose two colors and one neutral. White and deep purple with silver foliage. Coral and soft peach against grey-green. Whatever you land on, repeat each one at least three times across the yard, spaced well apart rather than bunched in a single bed.
Repetition is what turns a plant collection into a design decision. One unusual specimen alone in a corner reads as something you were given rather than something you chose.
Count foliage as color. Silver, burgundy, and chartreuse leaves carry the scheme for months after the flowers finish, which is most of the year.
Every color that looked nice at the garden centre, each bought once. Nothing repeats, so nothing connects. Reads as busy from the house and flat in photos.
The same two colors appearing three times each, spread across the yard. Your eye travels between them, the space feels bigger, and it holds together even out of bloom.
6. Add a Small Recirculating Water Feature and Keep the Water Moving
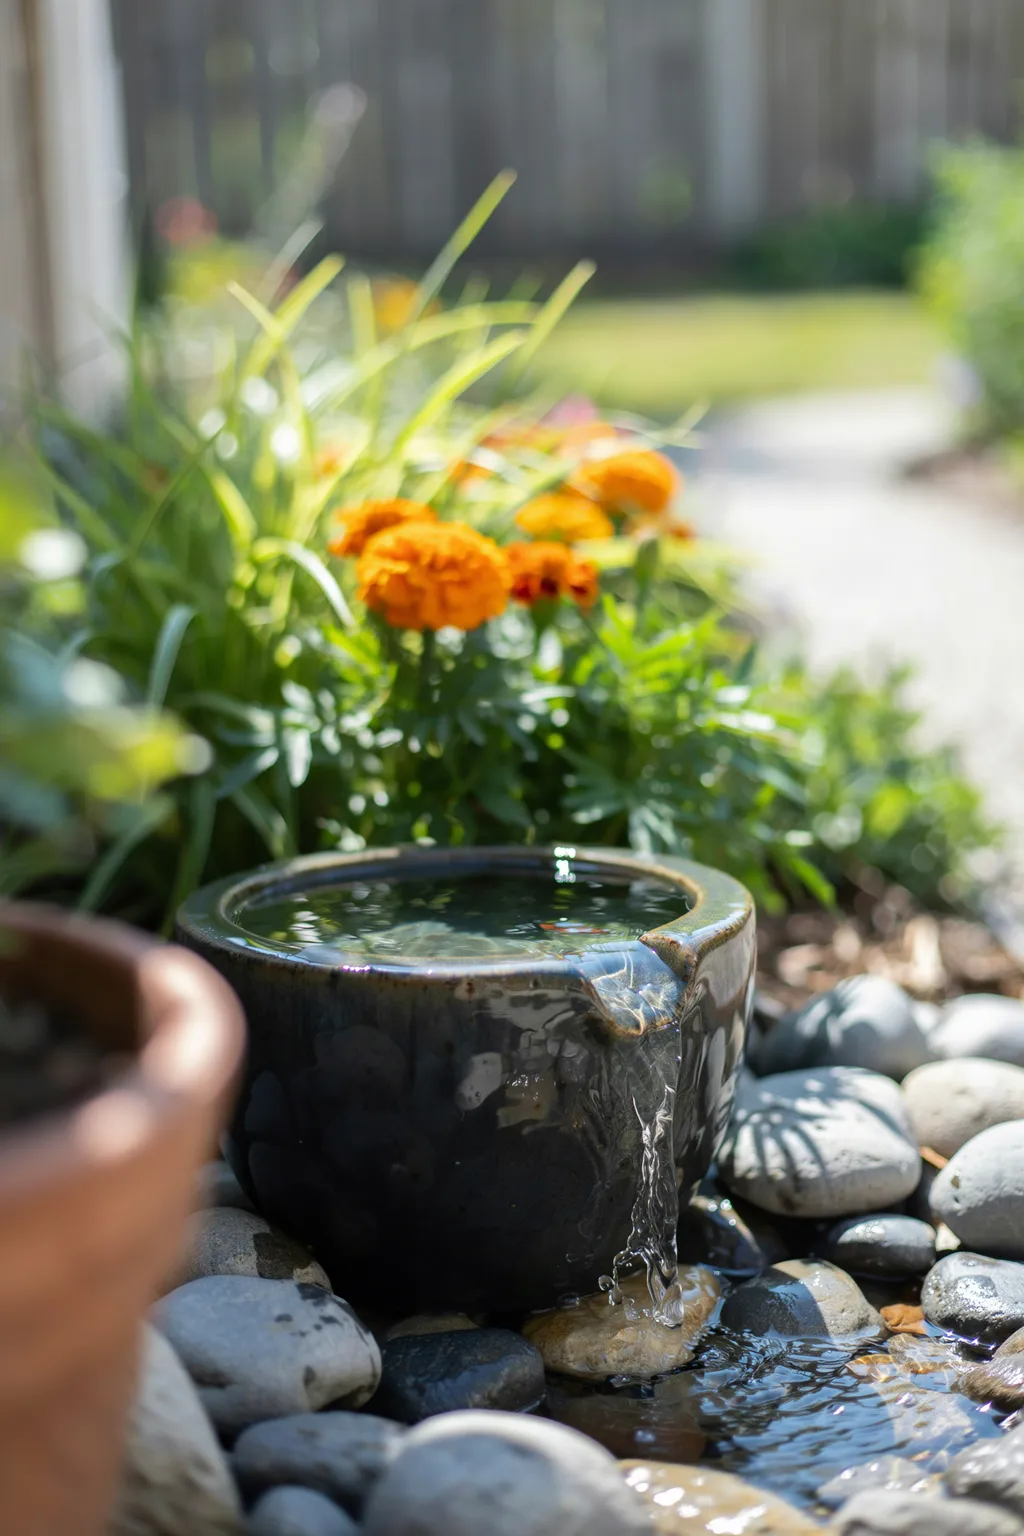
Moving water is the only sound that reliably covers road noise, and it costs a great deal less than a fence.
You do not need a pond. A glazed bowl or a stone basin with a small recirculating pump, run off an outdoor outlet, does the entire job. Water is where garden inspiration ideas usually turn expensive, and this is the version that does not.
Then there is the part nobody mentions. Still water in a warm yard breeds mosquitoes within about a week, because the larvae need a calm surface to develop on. Moving water denies them that. The pump is not a luxury item, it is the mosquito control.
Scrub the basin out every few weeks through summer. Algae builds faster in a shallow bowl than anyone expects.
Set it level, on something solid. A paver or compacted gravel under the basin. A bowl of water that settles on soft ground will tilt and spill within a month.
Match the pump to the height. Pumps are rated by how far up they can push water. Buy for a little more lift than your basin needs, never less.
Use a GFCI outdoor outlet. Water and electricity need the protected circuit. If there is no outlet nearby, a solar pump works, though it stops whenever a cloud passes.
Top it up weekly. Evaporation runs a shallow basin dry fast in heat, and a pump that runs dry burns out quietly and quickly.
7. Grow Upward on a Trellis When Ground Space Runs Out
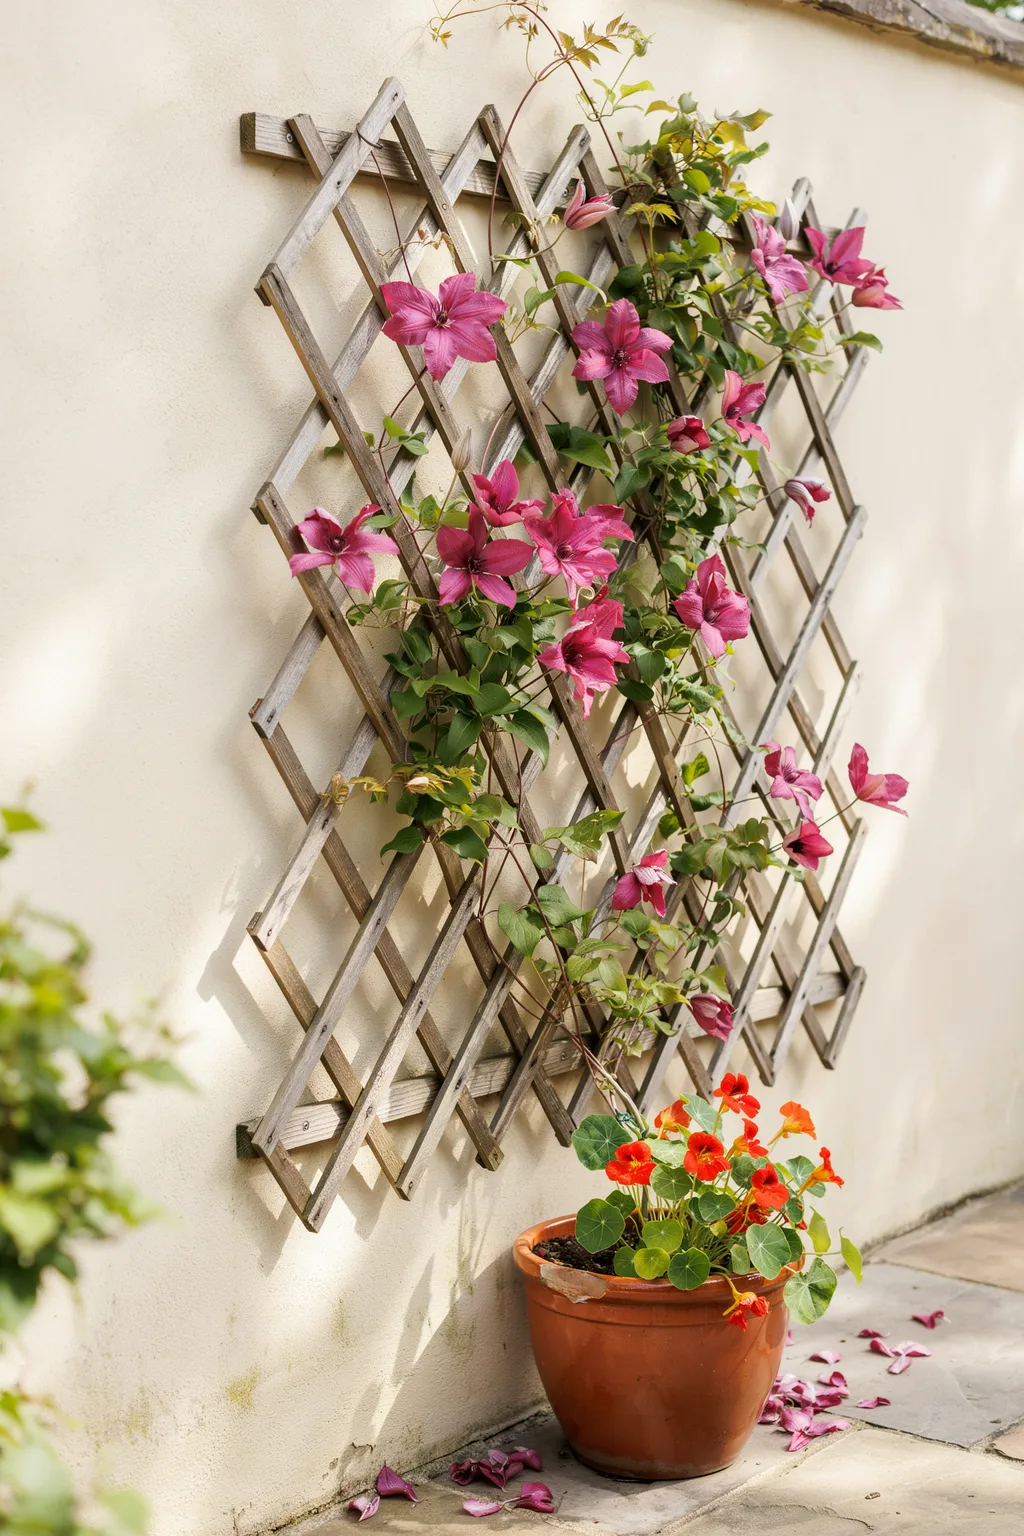
Match the vine to the support before you buy either one.
That sounds obvious, and it is still the single most common failure in vertical gardening. A clematis climbs by twining thin leaf stems around things, so it will scramble happily up wire or lattice and slide straight back off a thick post. Ivy and climbing hydrangea attach directly to masonry, which is fine on a garage wall and a real problem on painted siding.
Weight is the other half of it. A mature wisteria is heavy enough to pull an ordinary trellis clean off a fence, so it wants posts sunk into the ground rather than screws driven into a panel.
Start with the structure. The plant is the easy part.
Hold the trellis 2 to 3 in off the wall on spacers, so air moves behind it and the siding can dry.
Give twining climbers something thin: wire, string, or lattice under about 1 in thick.
Set posts in the ground for anything woody. Wisteria, grape, and climbing rose all get heavy.
Self-clinging ivy on painted wood or old mortar. It grips hard and takes the surface with it.
A lightweight fan trellis screwed to a fence panel and asked to hold a mature vine.
Planting tight against the wall base. That strip stays bone dry. Set the plant 12 to 18 in out.
8. Turn Part of the Lawn Into Wildflowers, and Survive Year One
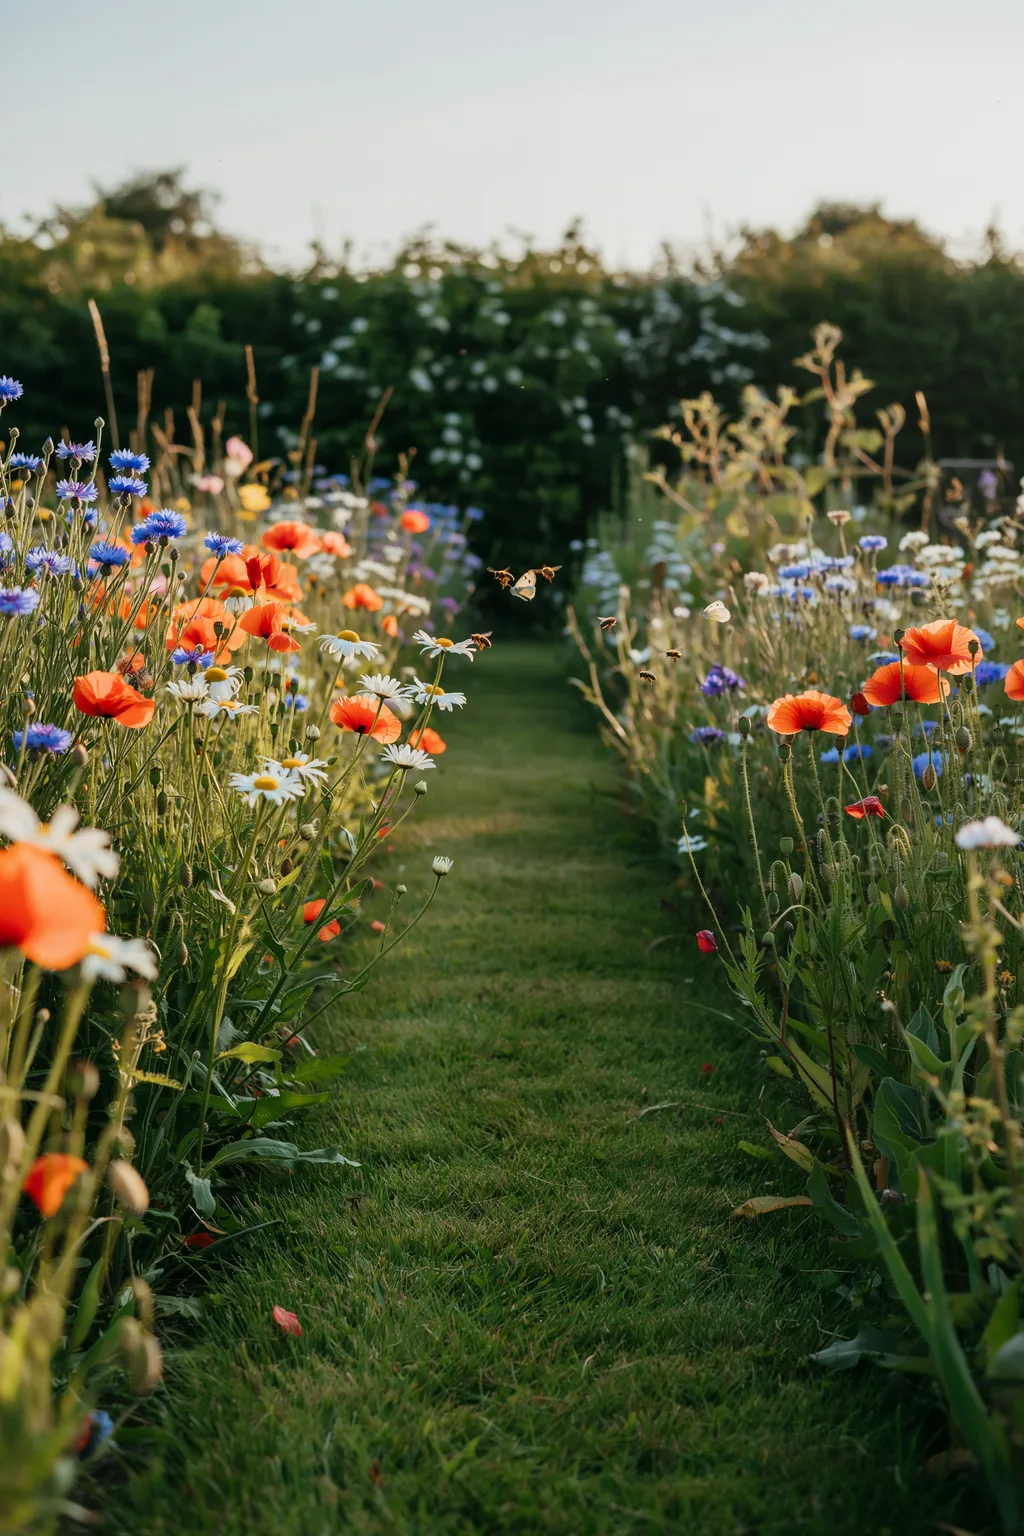
Year one of a wildflower patch looks like you gave up on the lawn.
Worth knowing before you start, because this is exactly when most people till it under and conclude that wildflowers do not work. The annuals bloom that first summer, but the perennials that make the patch genuinely good spend year one growing roots and producing almost nothing above ground. Year two is when it pays you back.
Wildflower meadows appear near the top of most garden inspiration ideas lists, and almost none of them mention that.
Two things decide whether it establishes at all: seed-to-soil contact, and no competition from existing grass. Scattering seed across a living lawn very rarely works, which is why so many hardware store seed packets disappoint.
Before you scatter a single seed
9. Combine Clipped Structure With Loose Grasses for the Modern Look
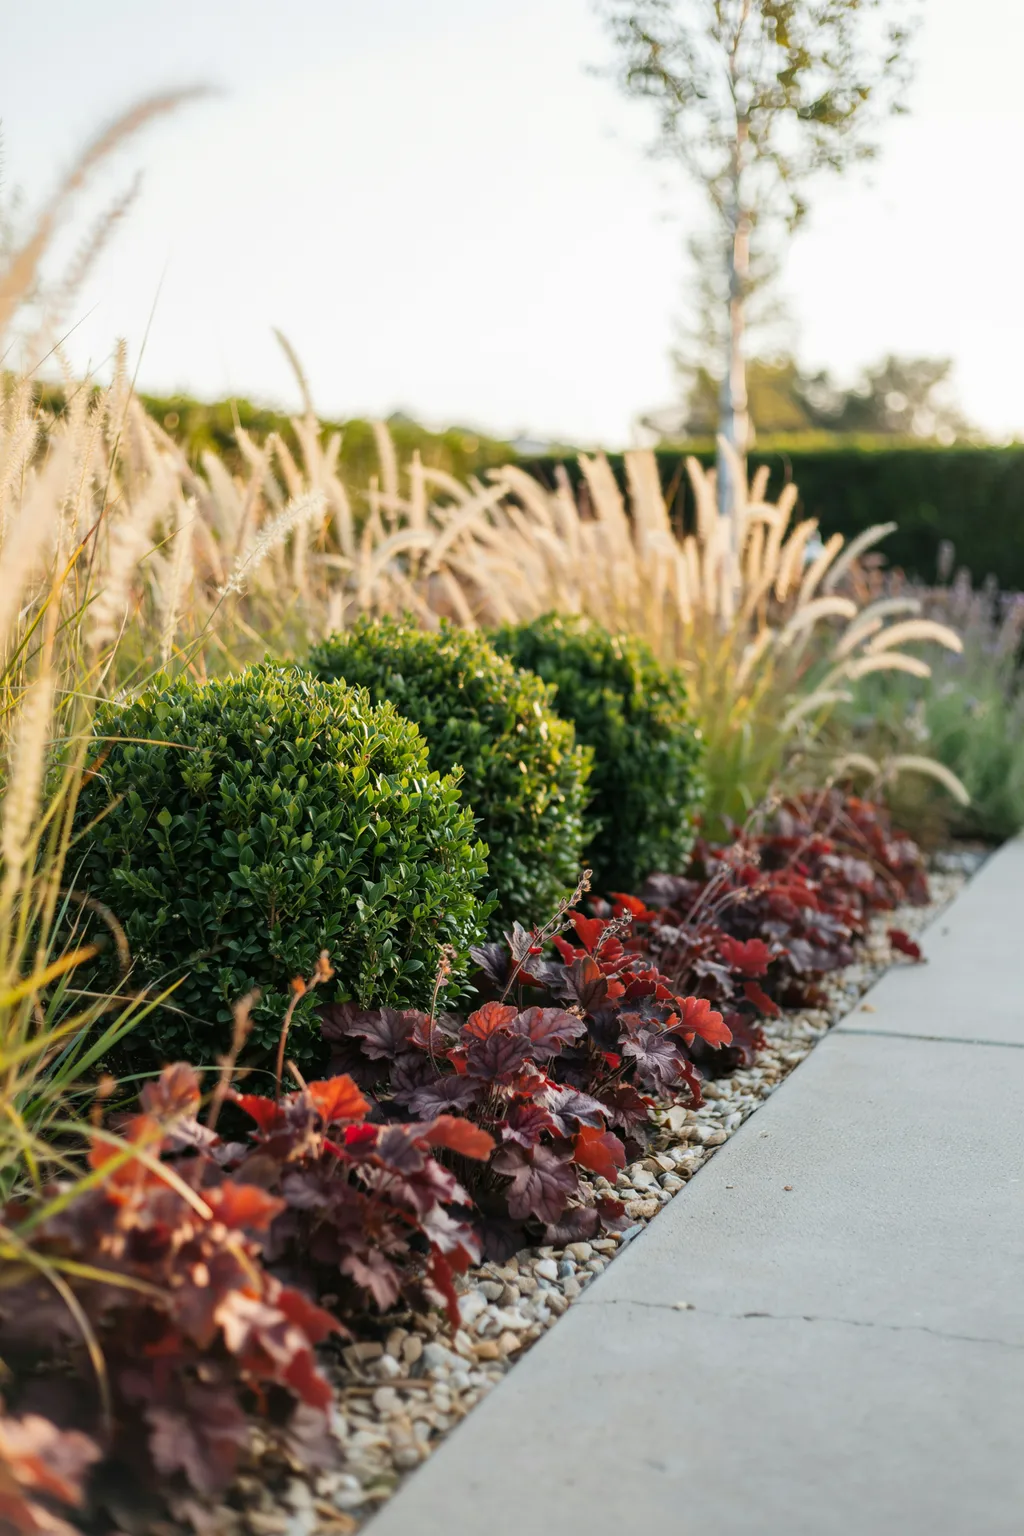
Modern gardens run on a ratio rather than a plant list. Roughly one third clipped geometry to two thirds loose movement.
The clipped third is boxwood, yew, or a low hedge, and its job is to stop the space looking abandoned in February when nothing is flowering. The loose two thirds is ornamental grass, and its job is to stop the space looking like the planting outside an office building in July.
Mexican feather grass and switchgrass both handle this well, and both move in wind, which is the actual reason to use them.
Black mulch is a stylistic choice, not a requirement. Plain shredded bark recedes and lets the plants do the talking.
Every modern garden that looks good in winter has something clipped in it. Grasses alone collapse into straw by December, and the geometry is the only thing left holding the design together until spring.
10. Give the Cottage Garden a Hard Path So It Reads Lush, Not Neglected
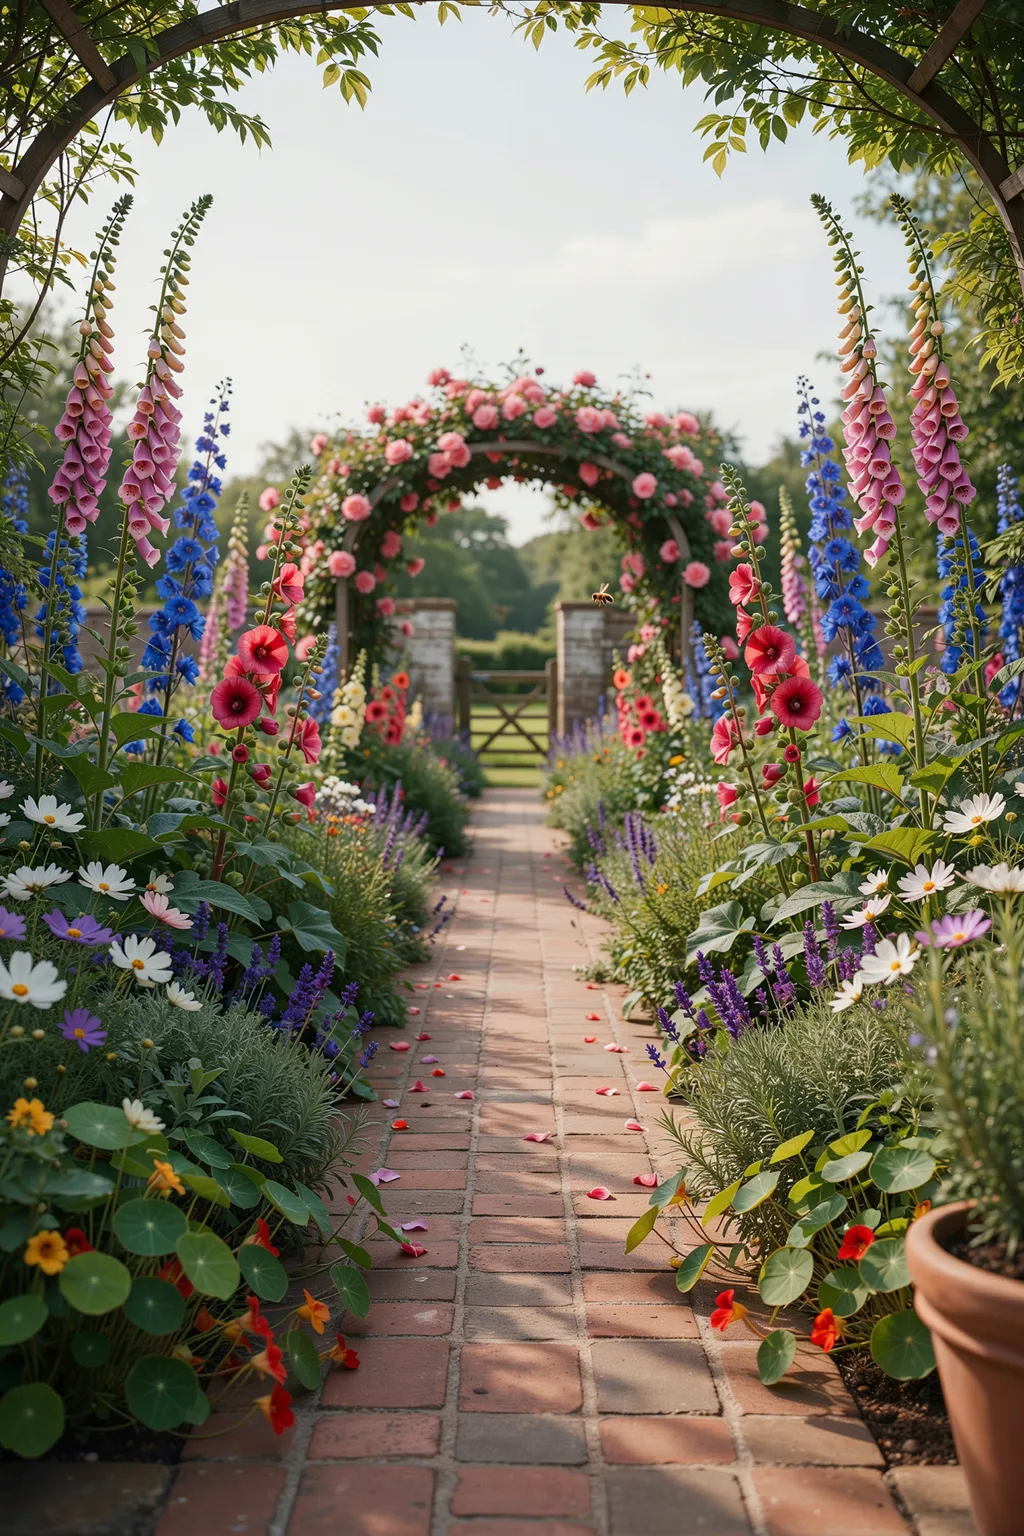
Cottage gardens are not unplanned. They just hide the plan better than other styles do.
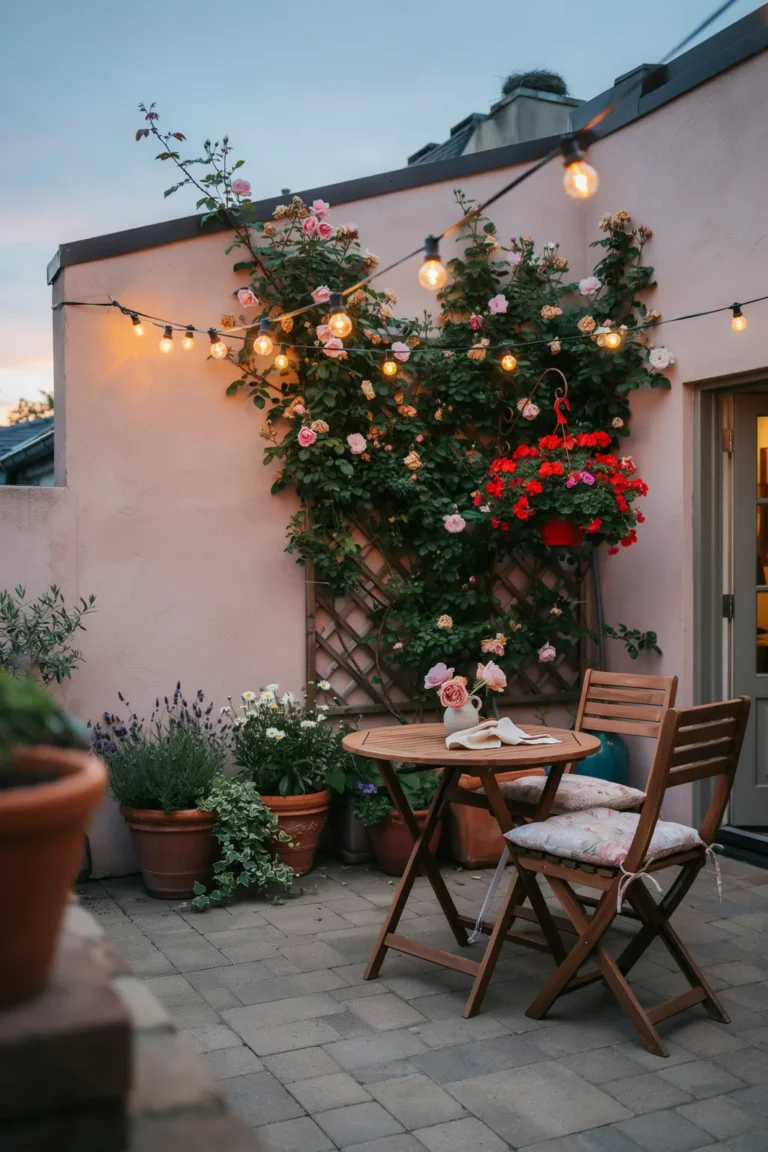
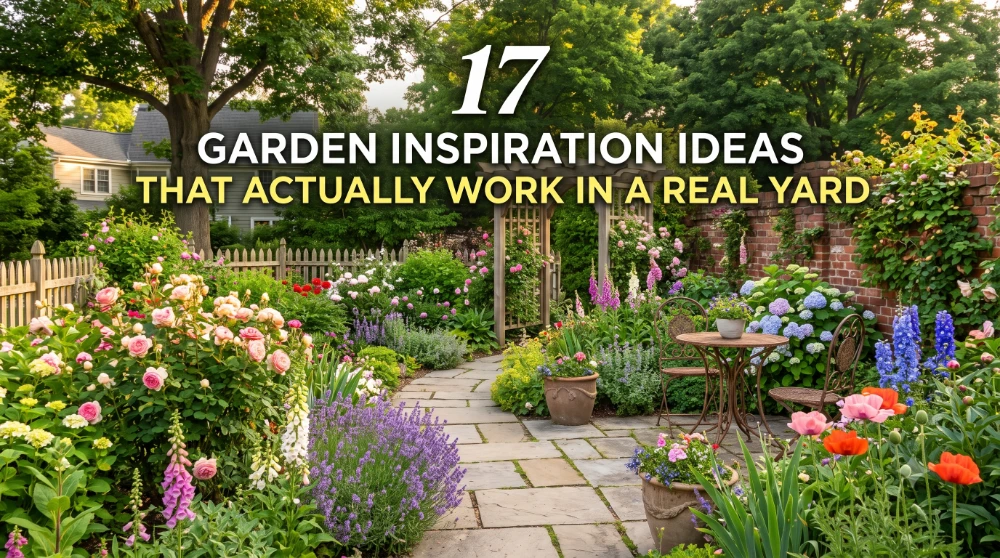
The whole trick is a hard edge containing soft contents. A defined path of brick, stone, or even closely mown grass gives the eye a clean line to hold onto, and against that line an overflowing bed reads as abundance. Take the path away and identical planting reads as a yard that got away from someone. Cottage borders drive a lot of garden inspiration ideas, and the path is the part that gets cropped out of the photo.
Plant tighter than the tag advises here, around two thirds of the recommended spacing. Crowding is the entire aesthetic. Just accept that you will be dividing clumps every couple of years to keep it healthy.
- ▸Foxglove and hollyhock for the vertical spikes at the back. Both self-seed, which saves you money.
- ▸Peony and catmint through the middle. Catmint flops over the path edge on purpose.
- ▸Climbing rose on an arch or over a doorway. One is plenty. Two starts to look staged.
- ▸Lady’s mantle and hardy geranium along the front to blur the hard edge you just built.
- ▸Sweet pea on twine for scent. Cut them constantly or they stop producing flowers.
11. Build Raised Beds You Can Reach Across Without Standing in Them
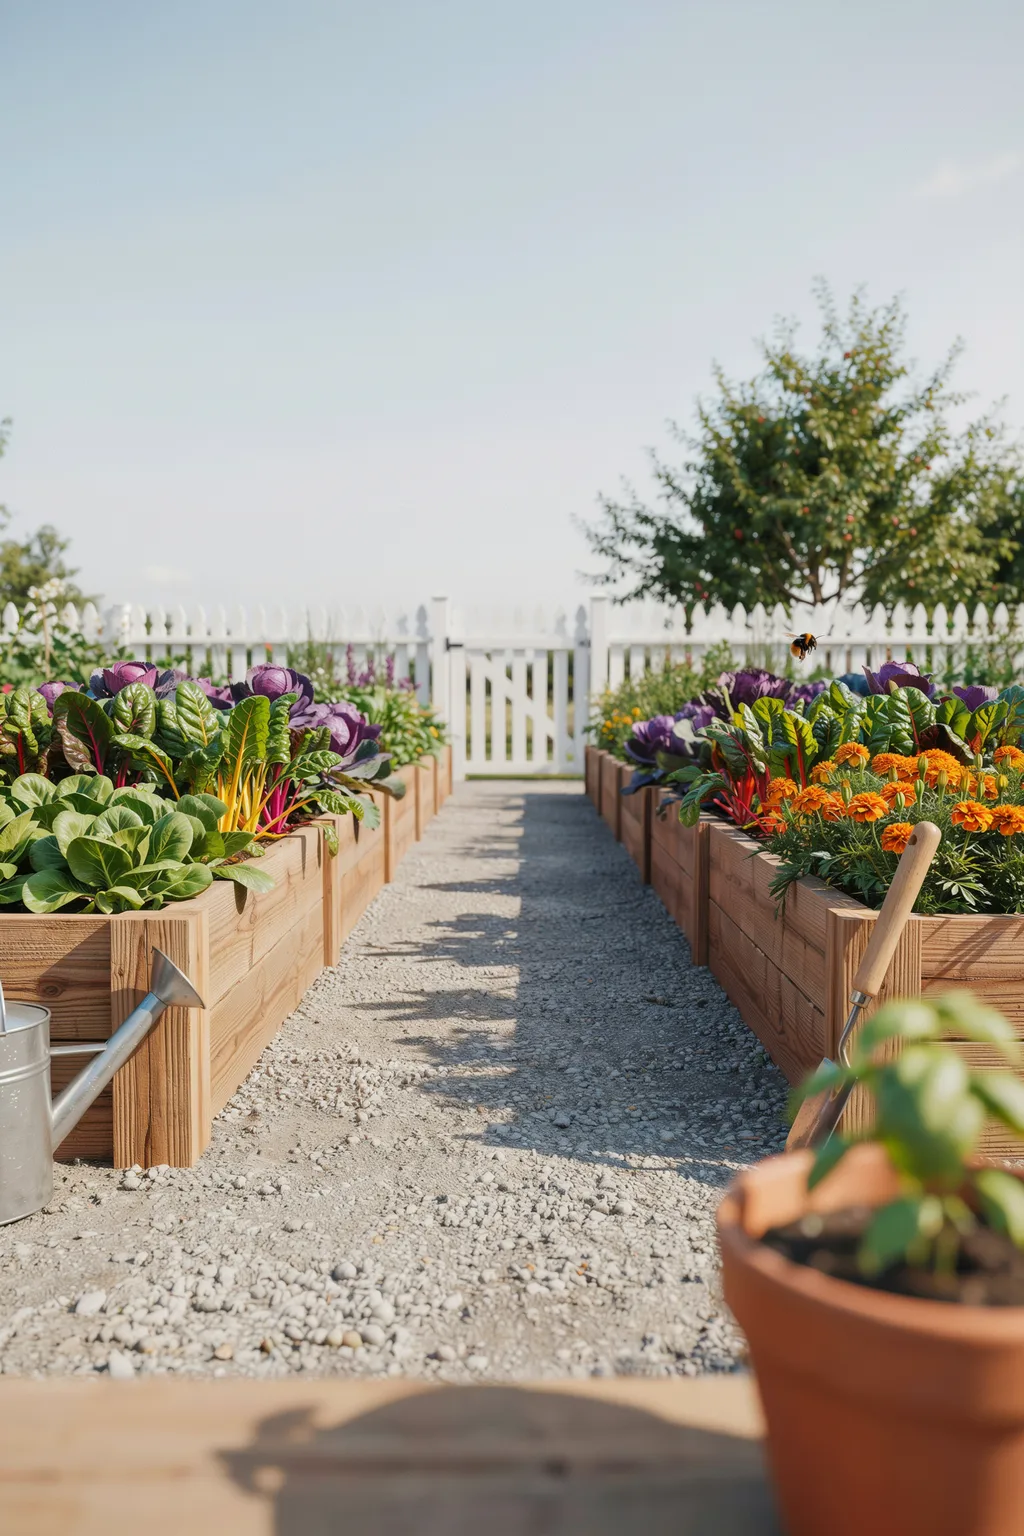
Four feet is the working width for a raised bed, and the number comes from arm length rather than looks.
Most adults reach about two feet comfortably, so a four-foot bed can be worked from both sides without anyone ever stepping onto the soil. That matters more than it sounds. Standing on soil compacts it, and compacted soil is precisely the thing you built a raised bed to escape.
Height is a question about your back and your crops. Twelve inches suits most vegetables. Eighteen to twenty-four inches spares you the bending and gives root crops honest depth.
Cedar lasts for years untreated. Avoid old railroad ties and any salvaged pressure-treated lumber from before the mid-2000s if food is going in it.
12. Light in Three Layers, Warm and Low
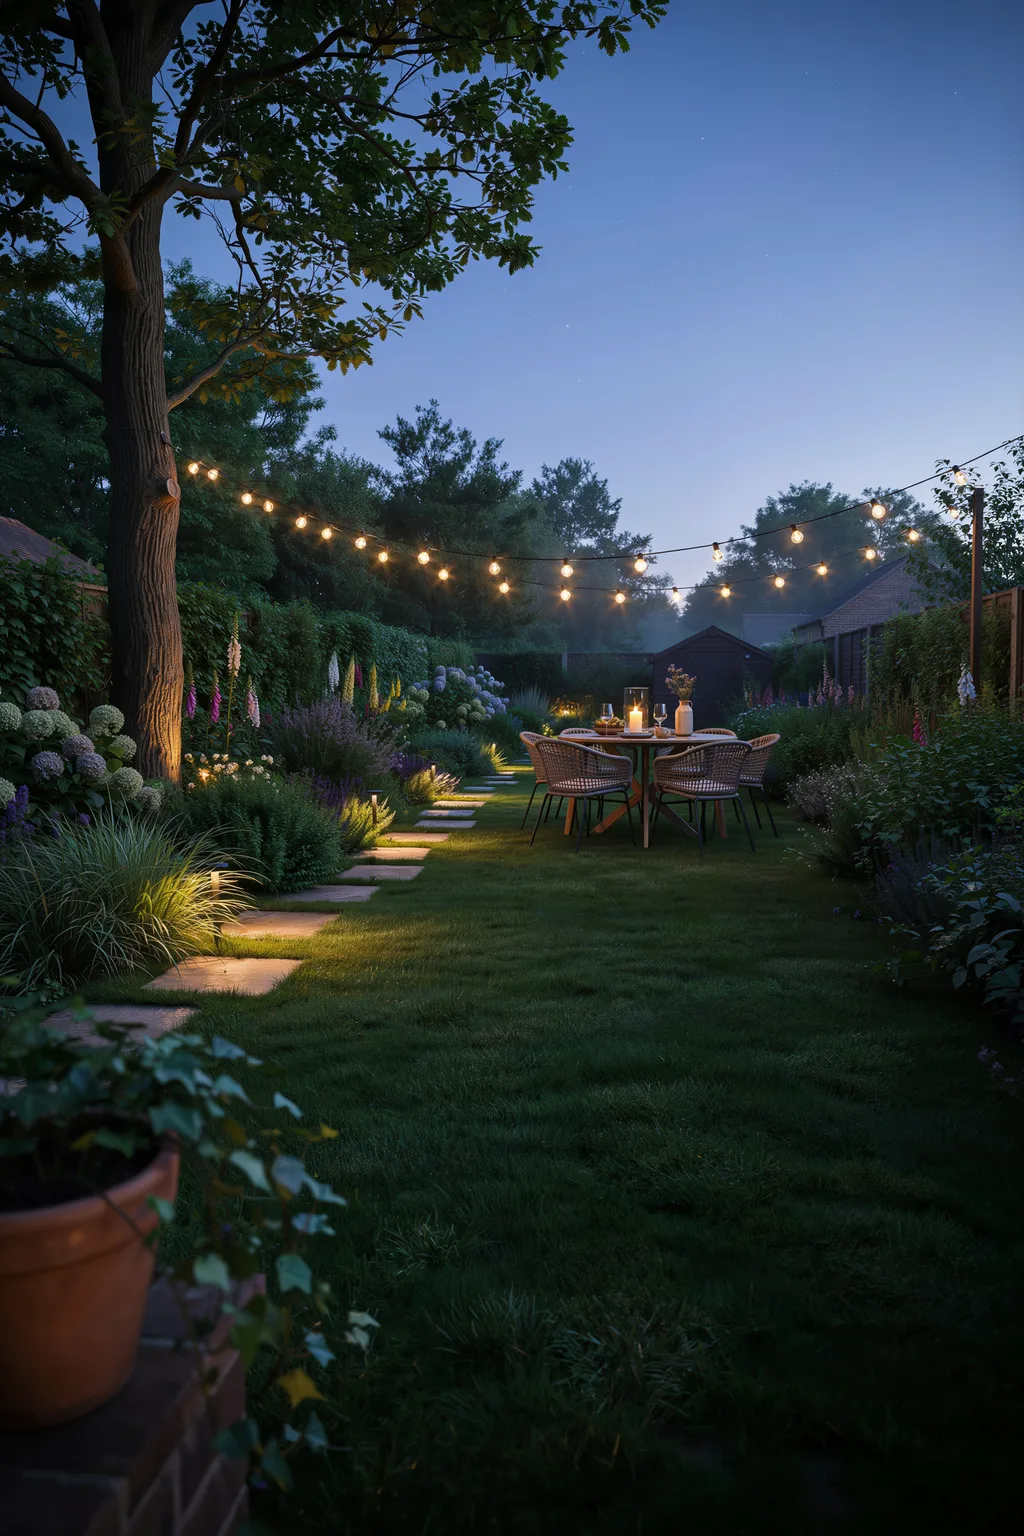
One floodlight ruins more gardens than bad planting does.
Bright white light flattens everything it touches and throws hard shadows behind it, turning a garden into a parking lot the moment the sun goes down. Warm, low, and layered is the entire answer. Lighting is the cheapest of the garden inspiration ideas on this list and the one that changes the most after dark.
Three types cover almost every yard:
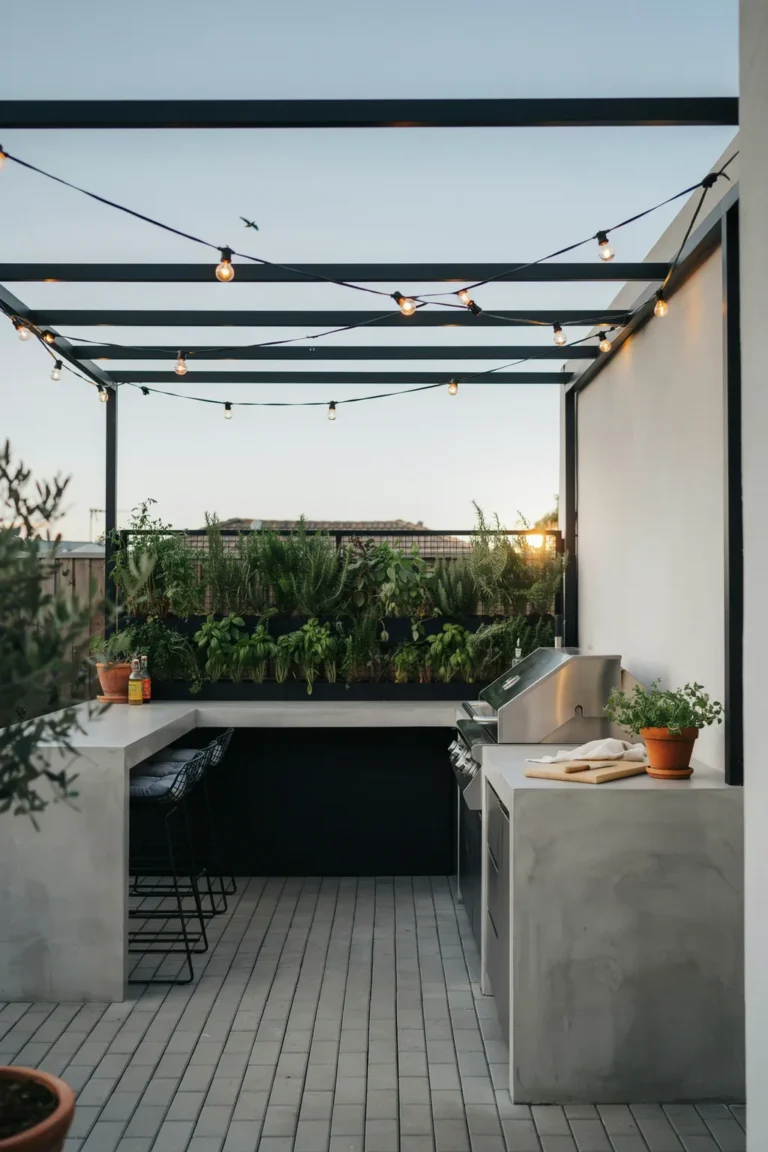
- String lights over a seating or dining area, hung around 8 ft up
- Path lights spaced far enough apart to leave dark gaps between the pools
- One uplight aimed at a tree trunk or a textured wall, for depth
Space path lights 8 to 10 ft apart, not 3. Continuous light down a walkway reads as a runway. The dark gaps are what make it feel like a garden.
💡 Quick Tip
Buy bulbs at 2200K to 2700K. That is the warm amber end, close to candlelight, and it flatters foliage and skin alike. Anything from 4000K up goes blue-white, makes green leaves look grey, and carries much further into a neighbour’s window than you expect. Warmer light is also less disruptive to moths and other night insects.
13. Set the Fire Pit With Real Clearance From the House
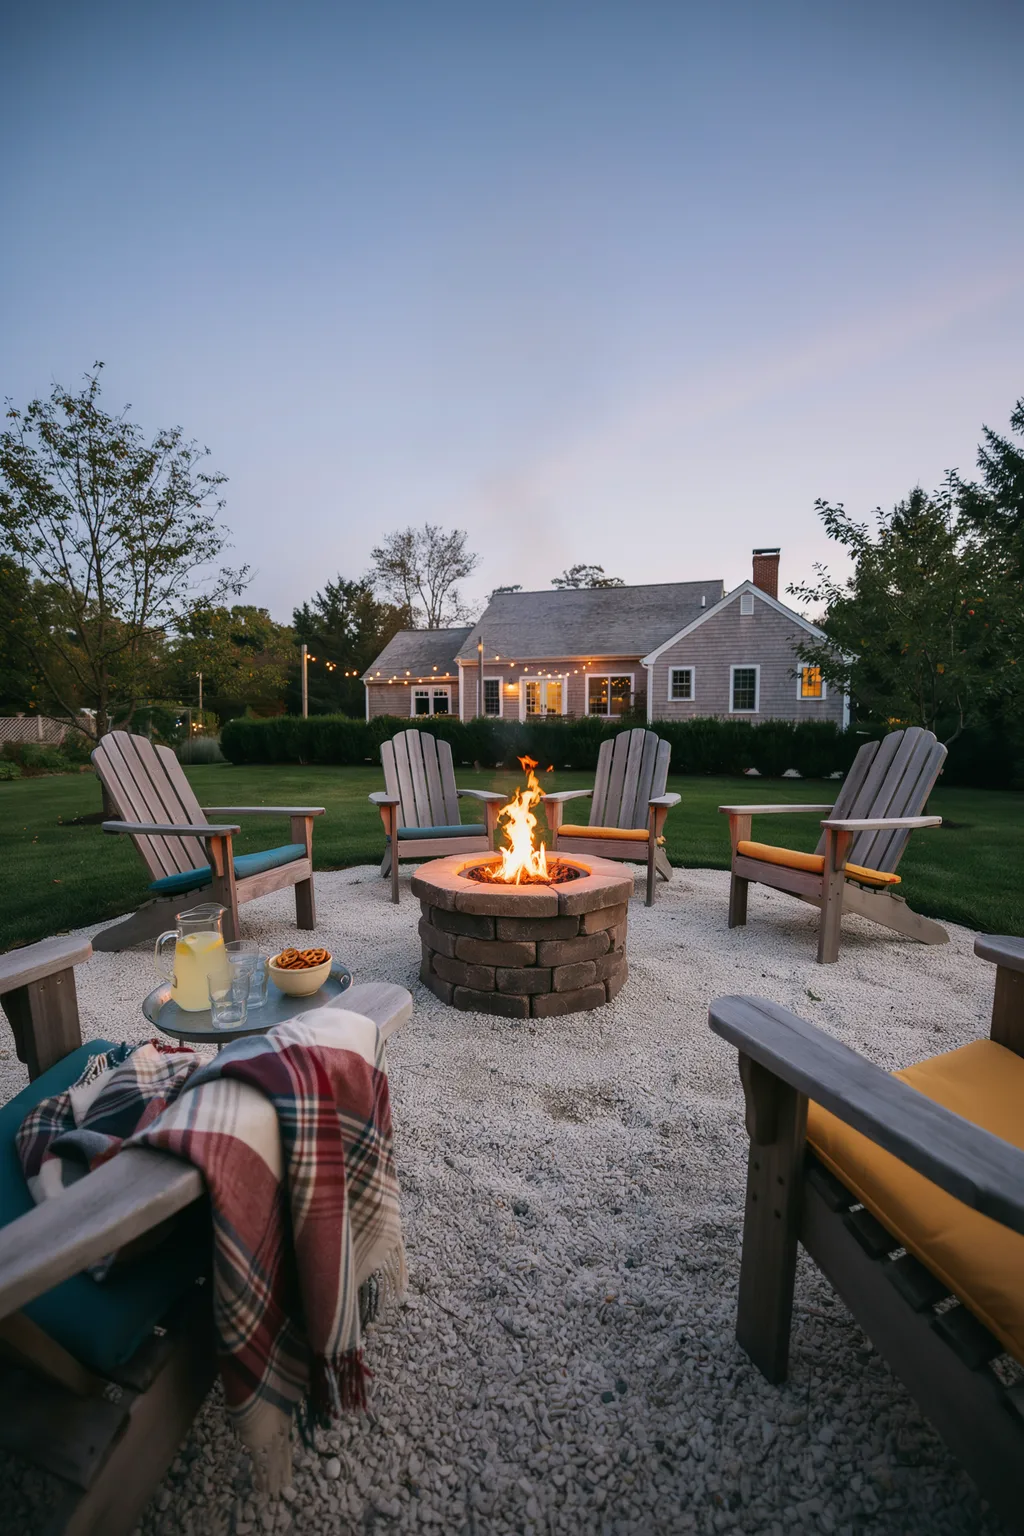
A fire pit needs considerably more room than most yards give it. Fire pits headline plenty of garden inspiration ideas without a word about clearance, and clearance is the part that matters.
Check your local rules before buying anything. Required distances, and whether open wood burning is permitted at all, vary by city, and plenty of HOAs ban it outright. That is a ten-minute phone call standing between you and a several-hundred-dollar mistake.
Then think about what sits above it, not only around it. A low branch or a fabric umbrella over a wood fire is the hazard everyone forgets, and it is the one that actually causes damage.
Gas pits need much less clearance and throw no embers, which on a small patio is often the deciding factor.
14. Size the Pergola to the Table It Is Sheltering
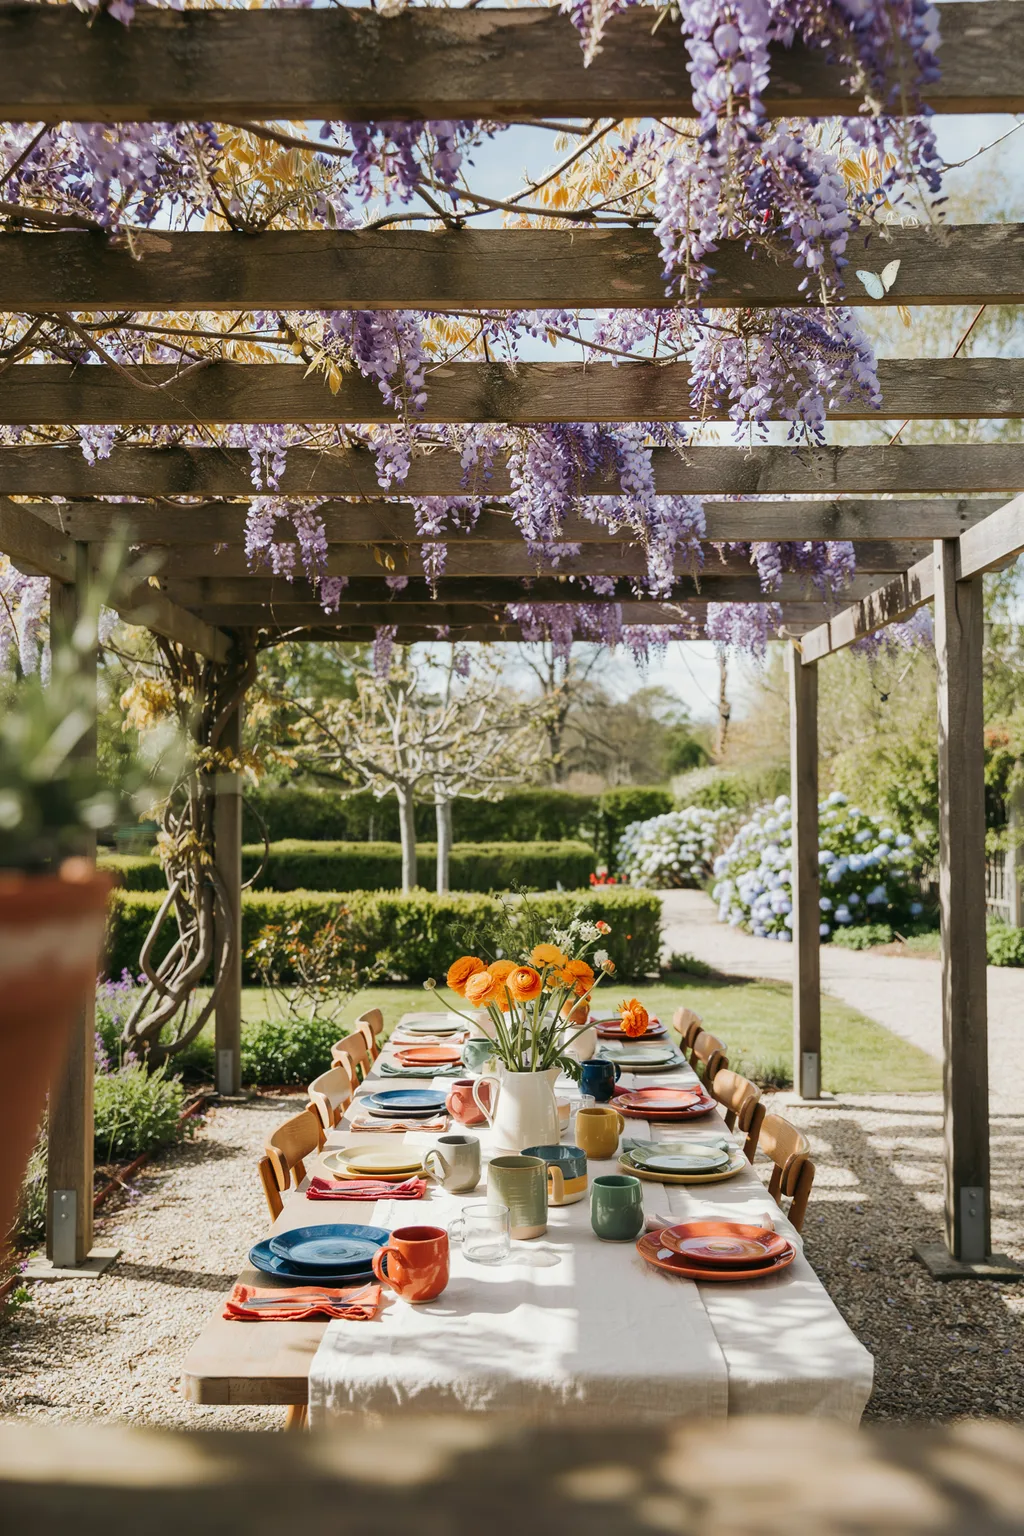
Most pergolas end up too small for the table they were built to cover.
The rule is straightforward. The structure should extend at least two feet past the table on every side, so that people who are actually seated are still underneath it rather than in the sun. A standard six-seat table wants roughly a 12 by 12 ft pergola, and a four-seat setup works at about 10 by 10.
Posts belong in concrete footings set below your local frost line, which varies a great deal by region. Skipping that step is why some pergolas develop a lean after their second winter.
Measure the table with chairs pulled out. Not pushed in. That is the footprint people actually occupy while eating.
Add 2 ft on all four sides. That margin is the difference between shade over the table and shade over the middle of it.
Run the beams east to west. The rafters then cast moving stripes across the table through the afternoon rather than one solid block of shade.
15. Screen for Privacy in Layers, and Never Put Running Bamboo in the Ground
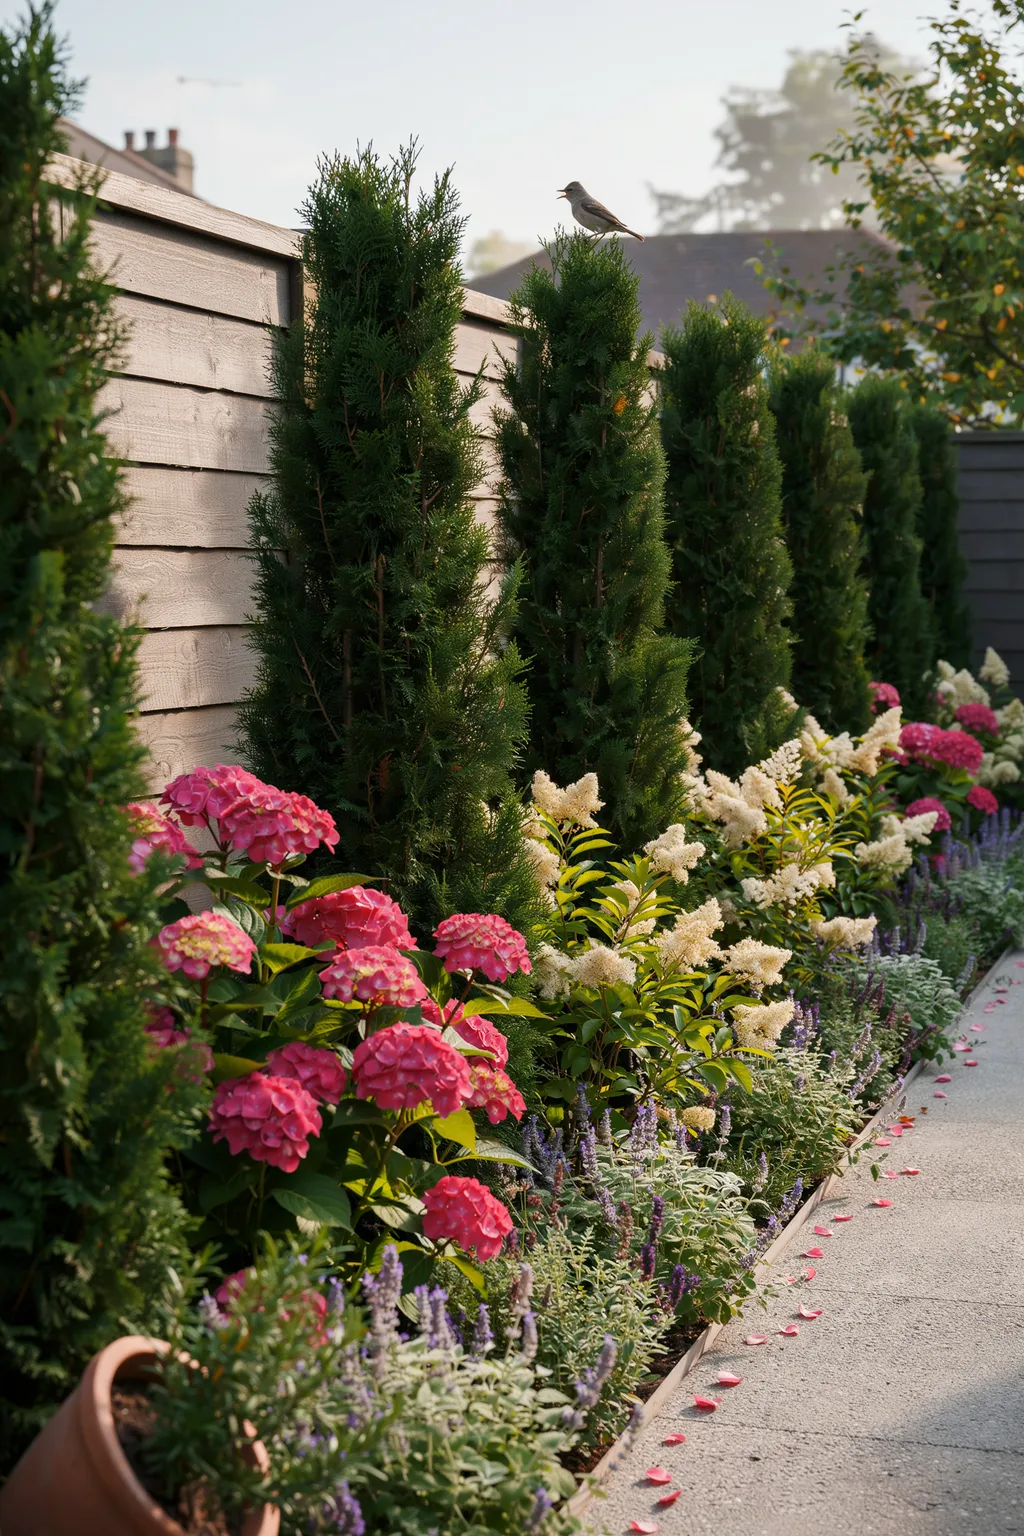
A solid fence is the least effective privacy screen you can build.
It handles sightlines at ground level and does nothing whatsoever about the upstairs windows next door, which is usually the exact thing people wanted blocked. Height limits cap most fences around six feet anyway. Privacy is what sends a lot of people looking for garden inspiration ideas in the first place, and a taller fence is rarely the answer.
Layered planting solves what a panel cannot. A row of tall narrow evergreens standing in front of the fence, with something mid-height ahead of that, blocks angles a flat surface never reaches.
Screen the specific angle. Stand where you feel overlooked and plant to block that line, not the whole boundary.
Use narrow evergreens: Italian cypress, columnar hornbeam, or skip laurel, set 3 to 5 ft apart.
Choose clumping bamboo if you want bamboo. It stays where you put it.
Running bamboo in open ground. Its rhizomes travel underground, surface in neighbouring yards, and cost a great deal to remove.
A single row of one species. One disease or one bad winter and the whole screen goes at once.
Fast growers with no plan. Leyland cypress hits 60 ft and becomes somebody’s problem.
16. Choose Plants Native to Your Zone Instead of Fighting Your Climate
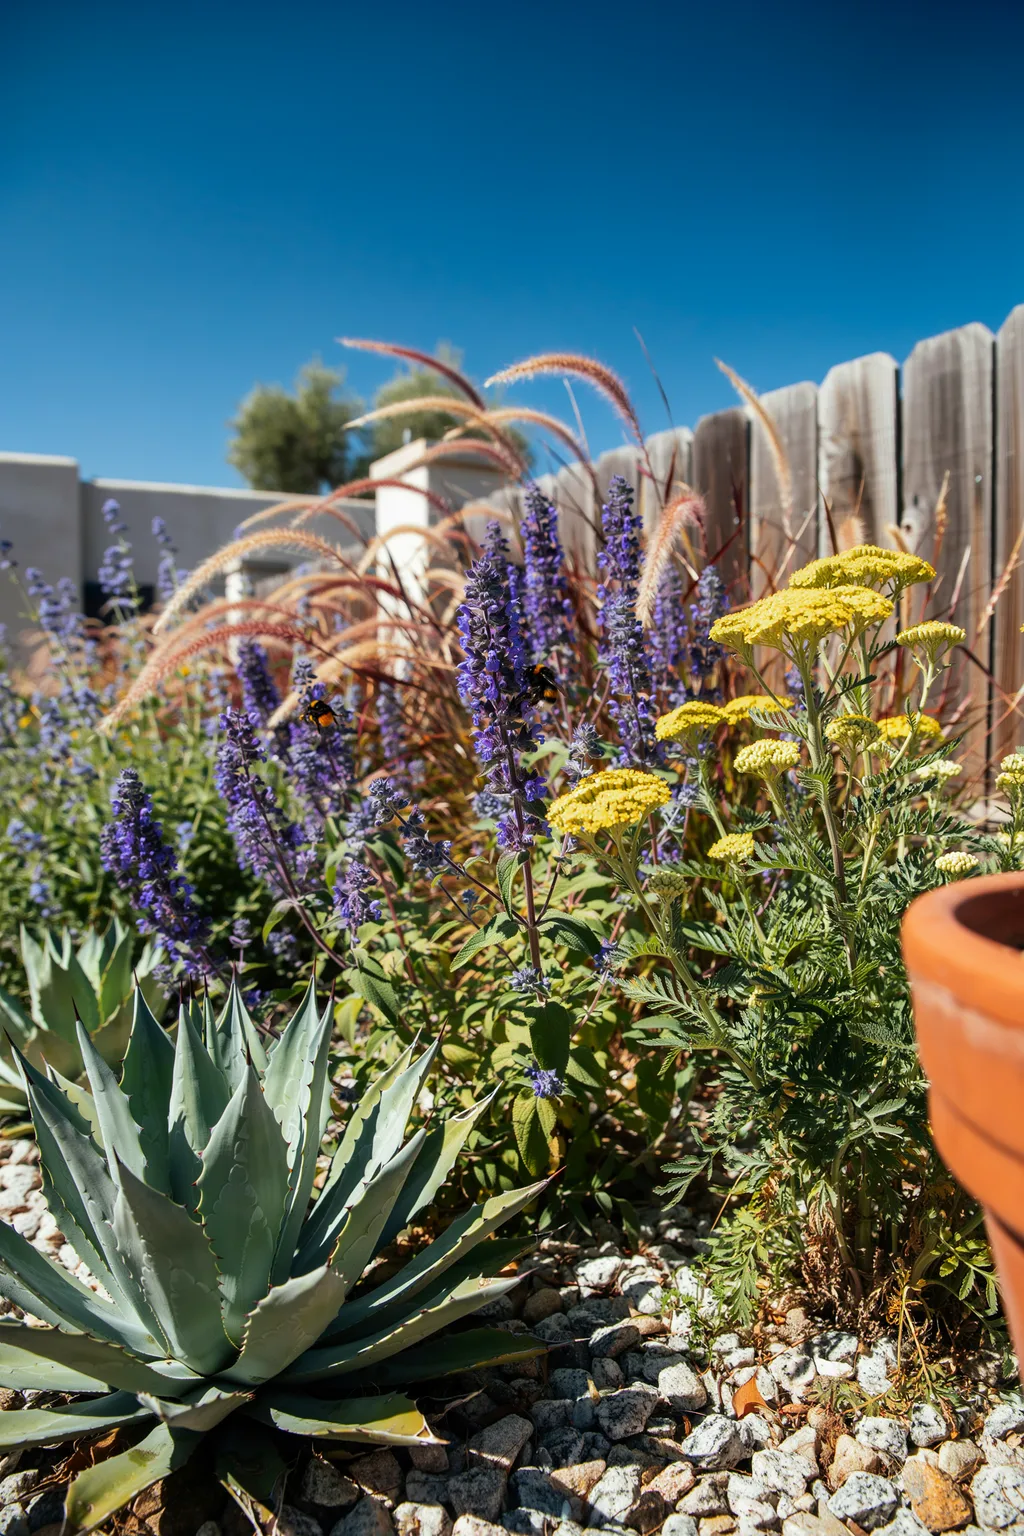
Plants native to your area survive the weather that quietly kills everything else in the bed.
They evolved alongside your rainfall, your soil, and your winter, so they want less water, less feeding, and far less rescuing during a heatwave. It happens to be an environmental argument. It is mostly a laziness argument, which is the more persuasive one.
Start by finding your zone. The USDA Plant Hardiness Zone Map takes a zip code and returns the number every plant tag refers to. Then ask your local extension office or a native plant society for species lists, because zone alone says nothing about your soil or your rainfall.
Drought-tolerant does not mean gravel and cactus. A great many native gardens are genuinely lush.
| Works with your climate | Works against it |
|---|---|
| Natives and regionally adapted plants. Established ones often need no summer watering at all. | Thirsty exotics in a dry climate. They live, but only while the irrigation keeps running. |
| Deep-rooted perennials that reach water for themselves after year two. | Shallow-rooted annuals replanted every spring, at full price each time. |
| Plants that feed local pollinators, which brings the whole yard to life. | Sterile double-flowered cultivars. Beautiful, and useless to bees. |
17. Budget the Maintenance Before You Plant Anything
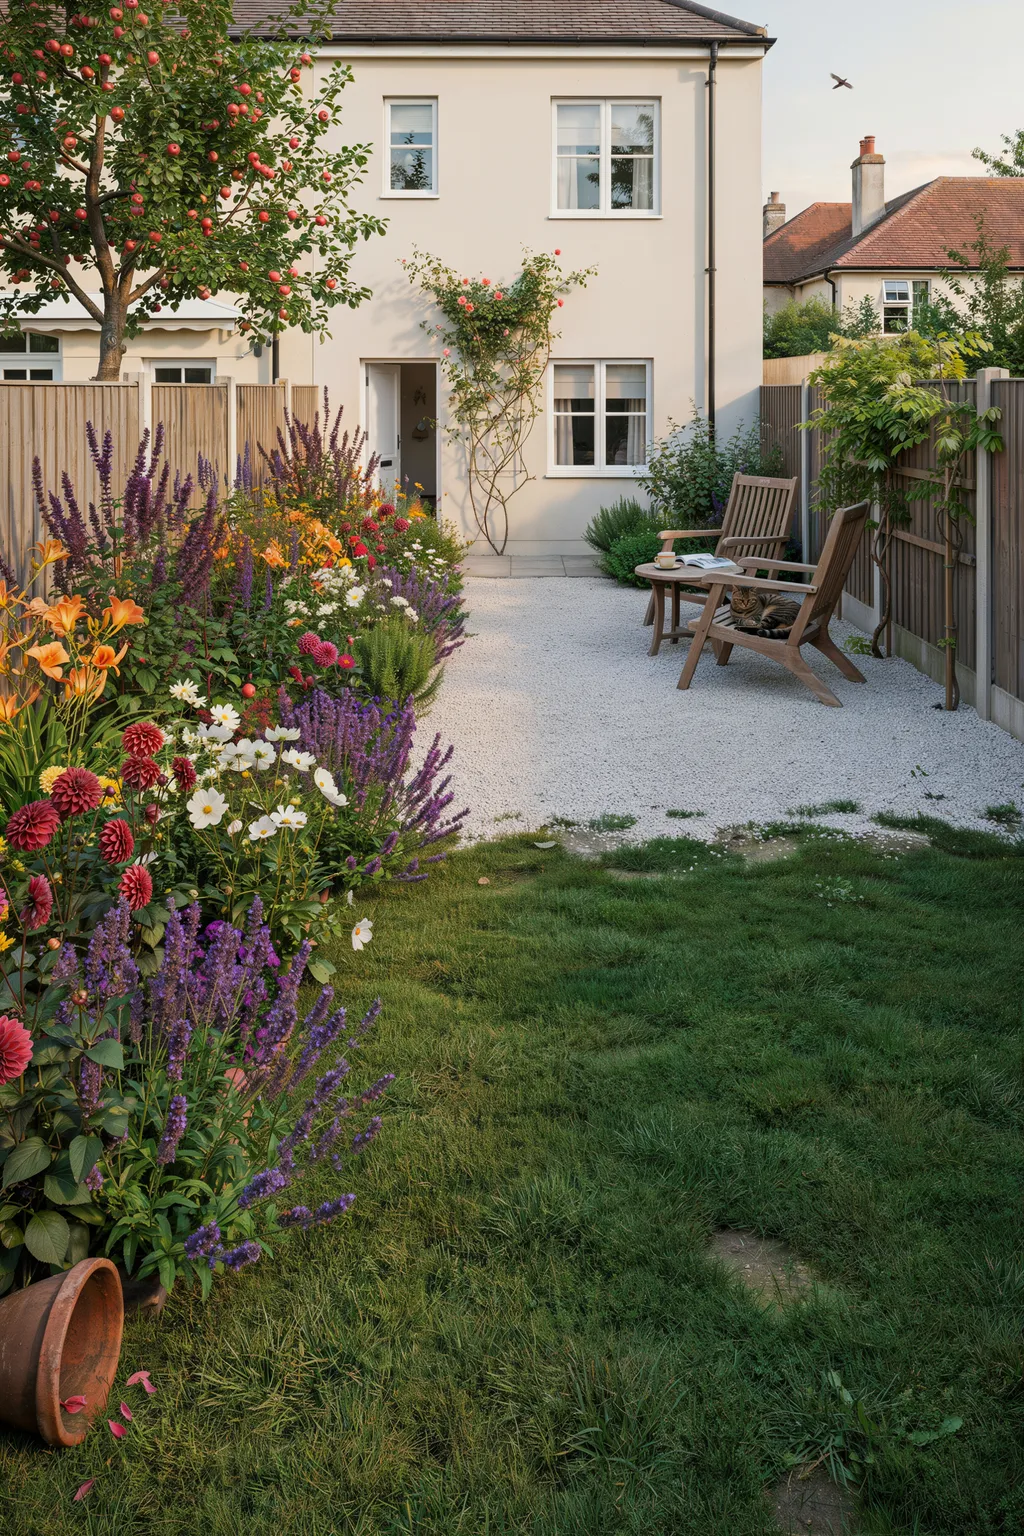
The garden worth having is the one that still looks good in year three.
That is a maintenance question rather than a design question, and it is the one almost nobody asks before the plants are in the cart. A wildflower patch takes a single mow a year. A clipped boxwood parterre takes trimming twice a season, permanently. Both are perfectly good choices. They are not remotely the same commitment.
The garden inspiration ideas that survive contact with real life are the ones matched to the hours you actually have. Total them honestly, then build in phases. One bed finished properly beats four beds started and abandoned.
And a practical one: if you go away every August, do not plant anything that needs daily watering in August.
Four beds, a path, and a pergola all at once. Peak cost in a single month, every plant needing water in its first summer at the same time, and no idea yet where the sun actually falls.
The seating area this spring, one bed in fall, the screen next year. Cost spreads out, each planting gets proper attention, and you learn the yard before committing the rest of it.
Bringing It Together
A garden does not become good over one weekend. It becomes good when a few unglamorous decisions get made early: where the sun actually falls, how wide the paths are, and which plants suit the climate you have rather than the one in the photograph you saved.
If you take three things from this list, map your sun, widen your paths, and plant in phases. Those three prevent most of the money that gets wasted out there.
The best garden inspiration ideas are the ones you can still maintain in year three, once the novelty has worn off and everything has doubled in size.
Your first weekend, in order
Save this to your garden board so the measurements are with you next time you are standing in the nursery aisle deciding.