20 Wall Paneling Ideas for Modern and Classic Homes
Paneling does not look expensive because of the panels. It looks expensive because of two things most tutorials skip: the proportions, and the finish.
You can spend a whole weekend and a fair amount of money on strips of MDF and still end up with something that reads as a DIY project. Not because the material was cheap, but because the panels landed at the wrong height, the spacing was slightly off, and the joints were never filled properly. Meanwhile a plain board and batten wall, set at the right height with its seams caulked until they disappear, looks like it came with the house.
That is genuinely good news. Proportion costs nothing. Filler and caulk cost very little. The decisions that make the biggest difference are the ones you make before cutting anything.
These wall paneling ideas cover both halves. Fourteen looks worth copying across modern and classic rooms, then the practical calls that decide how the finished wall actually reads.
Start with the style that suits your room, then check the height before you buy a thing.
1. Vertical Slats for a Clean Modern Wall
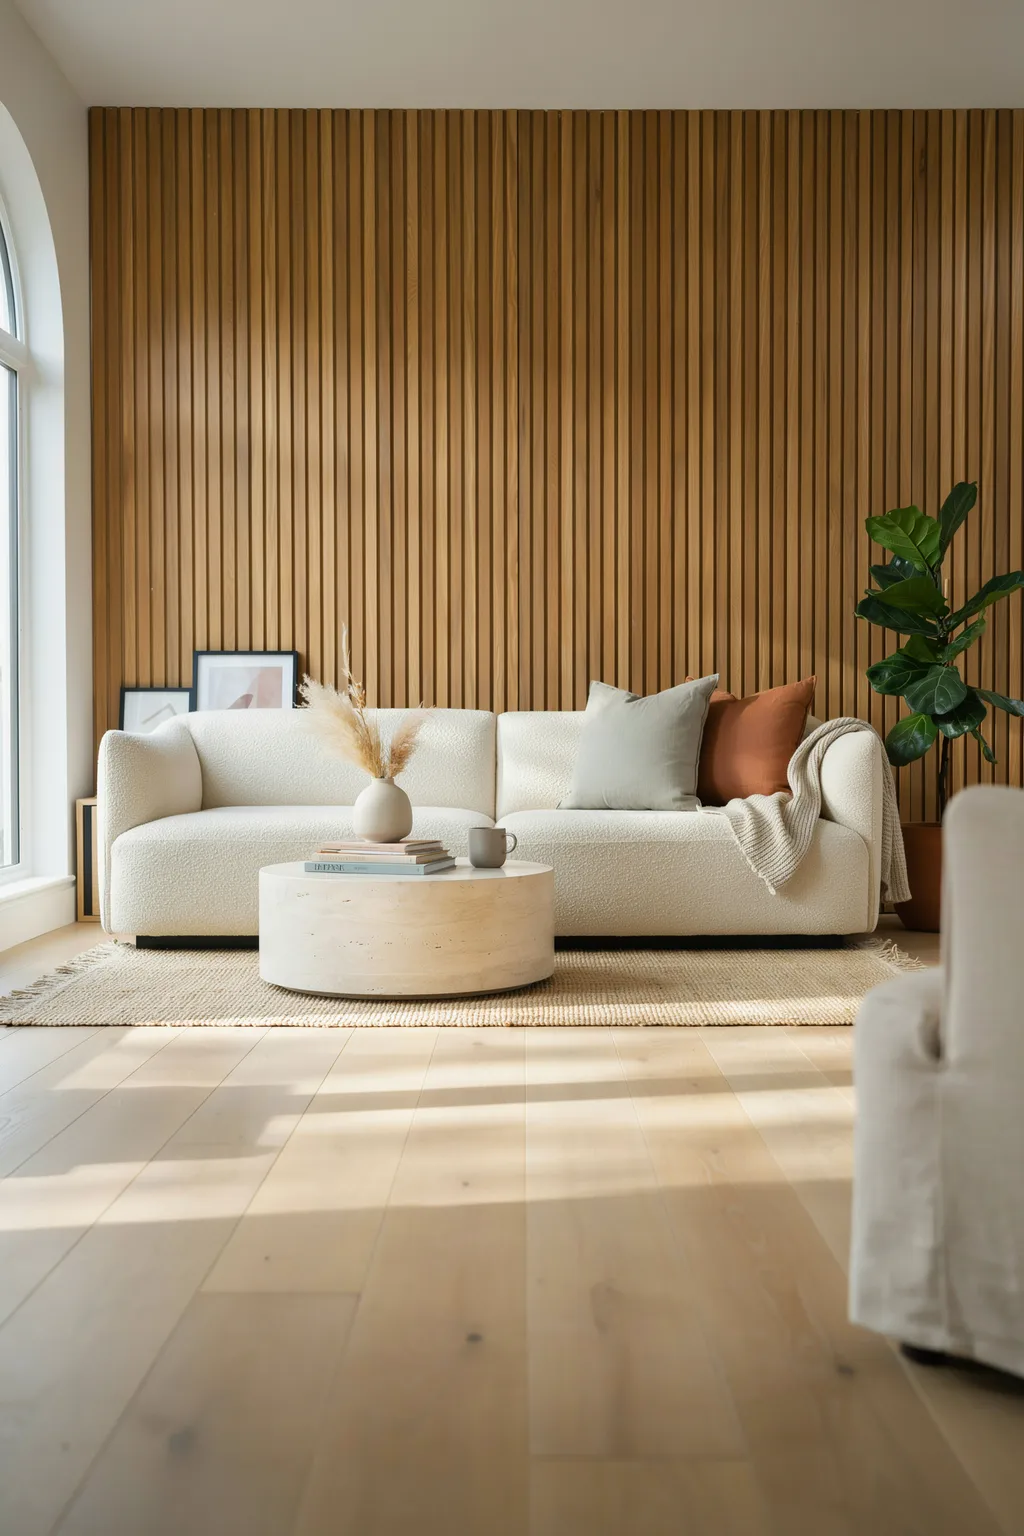
Thin wood strips running floor to ceiling do something to a room’s height that paint cannot.
Vertical slats pull the eye upward, so a standard ceiling reads taller than it measures. They also throw soft shadow lines that shift through the day, which keeps a flat wall from looking flat. Oak and walnut suit modern rooms, and painted MDF slats give you the texture without committing to a wood tone.
Slat width changes the entire feel. Narrow strips read busy and contemporary, wider boards read calmer and more traditional. Settle that before you buy, because it is not something you can adjust afterwards.
2. Board and Batten at the Right Height
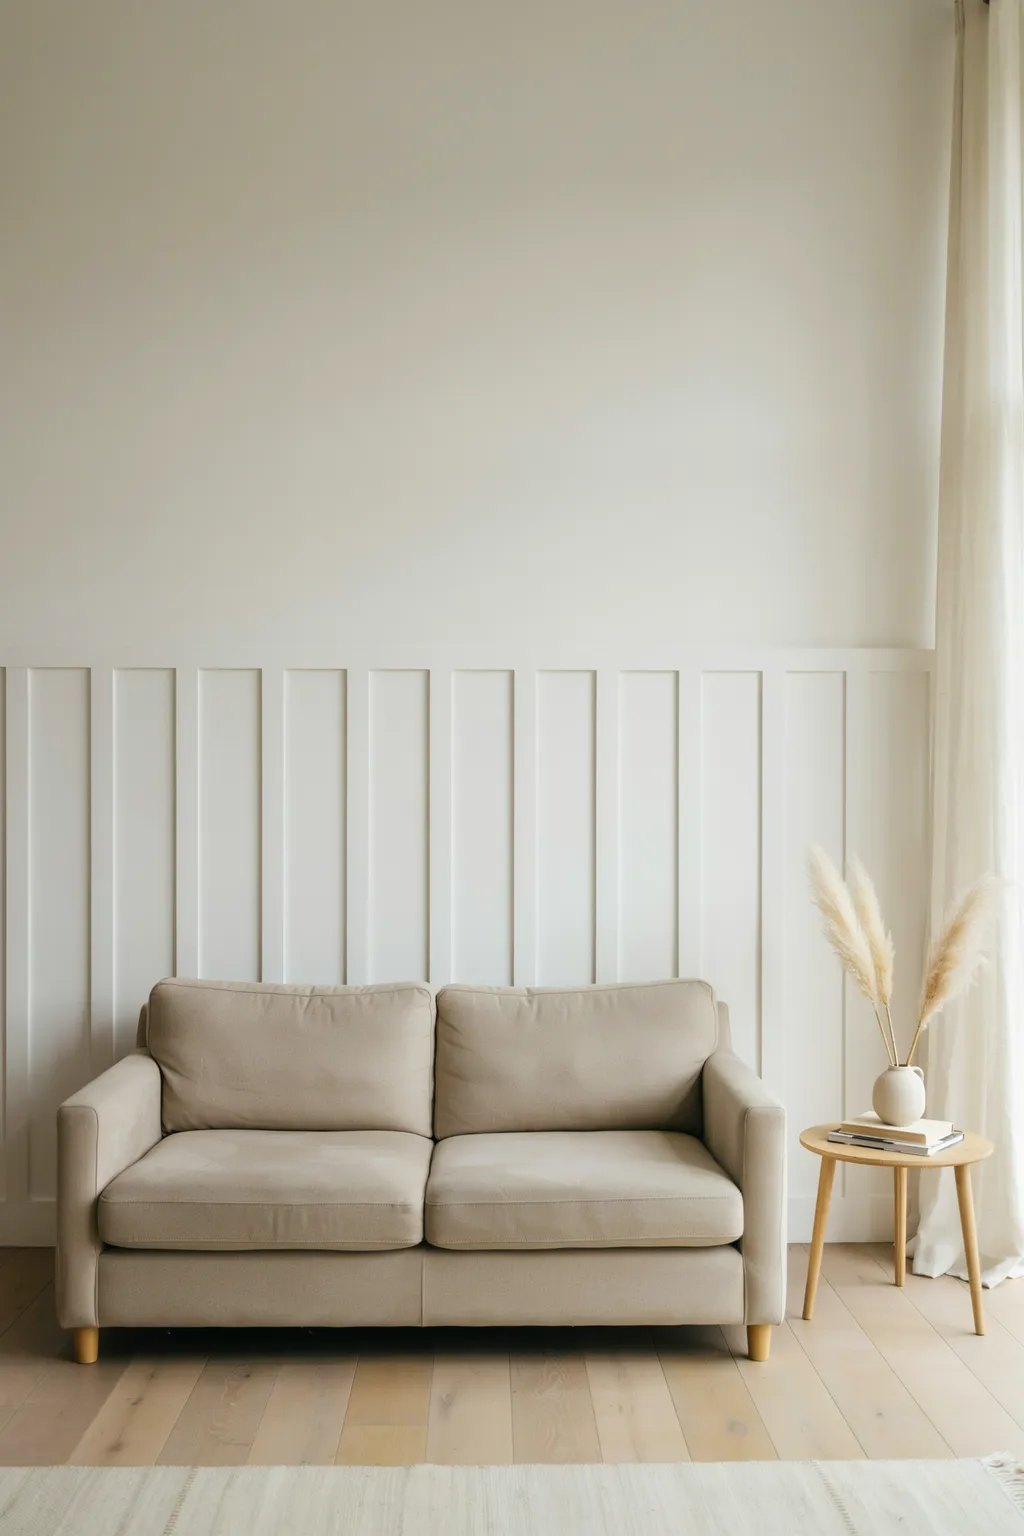
Height is the single decision that makes board and batten look designed or accidental.
Most wall paneling ideas skip straight past this, which is why so many finished walls feel slightly off. The safest proportion is roughly one third of the wall, measured up from the floor. On a standard 8 foot ceiling that lands somewhere near 32 to 36 inches, which is also a comfortable chair-rail height. Take it two thirds up the wall instead and you get a bolder, more traditional look that suits taller rooms.
The height to avoid is dead center. Splitting a wall exactly in half makes both halves look like a mistake, and no amount of careful finishing rescues it.
| Ceiling height | Where to land the panel top |
|---|---|
| 8 ft, standard | About one third up, near chair-rail height |
| 9 ft or more | One third, or two thirds for a bolder period look |
| Low or sloped | Keep it low, or run slats vertically instead |
| Any height | Never exactly halfway. It reads as an error |
3. Shiplap That Does Not Look Dated
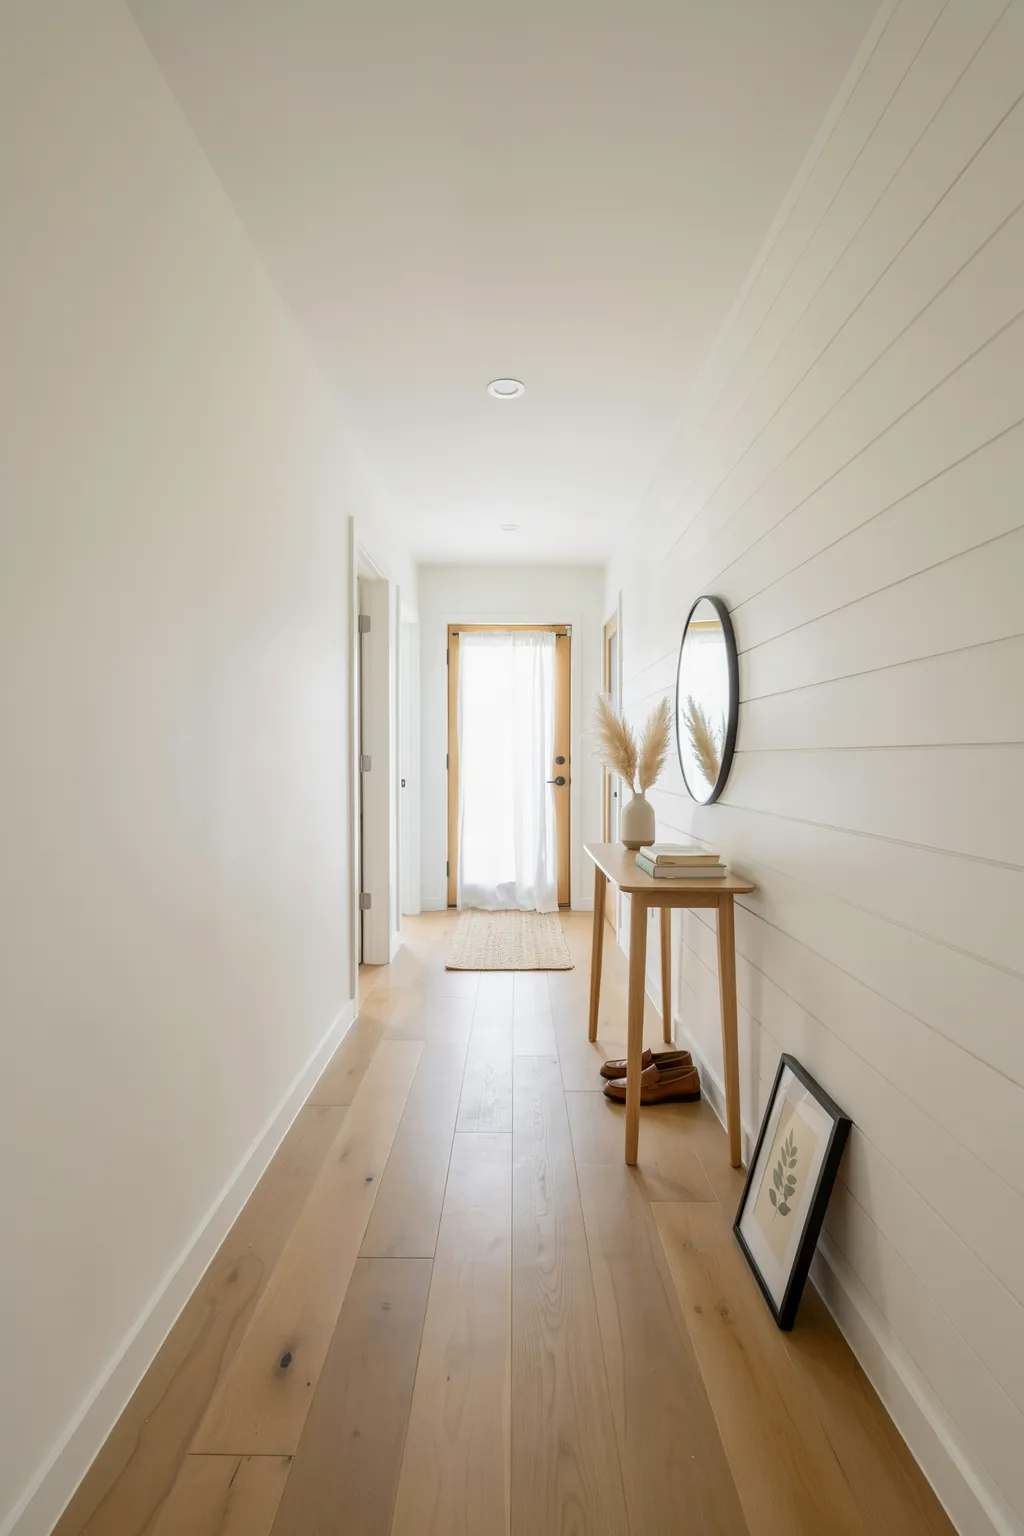
Shiplap got overexposed, not bad.
Shiplap is among the most familiar wall paneling ideas going, and that familiarity is the whole problem. The version that dates is bright white horizontal boards across every wall of an open plan room, which is exactly why it now reads as one particular decade. Used sparingly it still holds up. One wall, in a warm off-white or a soft color rather than stark white, in a room where a horizontal line genuinely helps, such as a narrow hallway or the wall behind a bath.
Run the same boards vertically and it stops reading as shiplap altogether. Identical material, completely different result.
One wall only, not the whole room.
Warm off-white, greige, or a muted color.
Try it vertically for a fresher, less familiar look.
Stark white boards on every wall at once.
Shiplap in a room with no horizontal to emphasize.
Pairing it with barn doors and signs with words on.
4. Deep Moody Paneling for a Dark Room
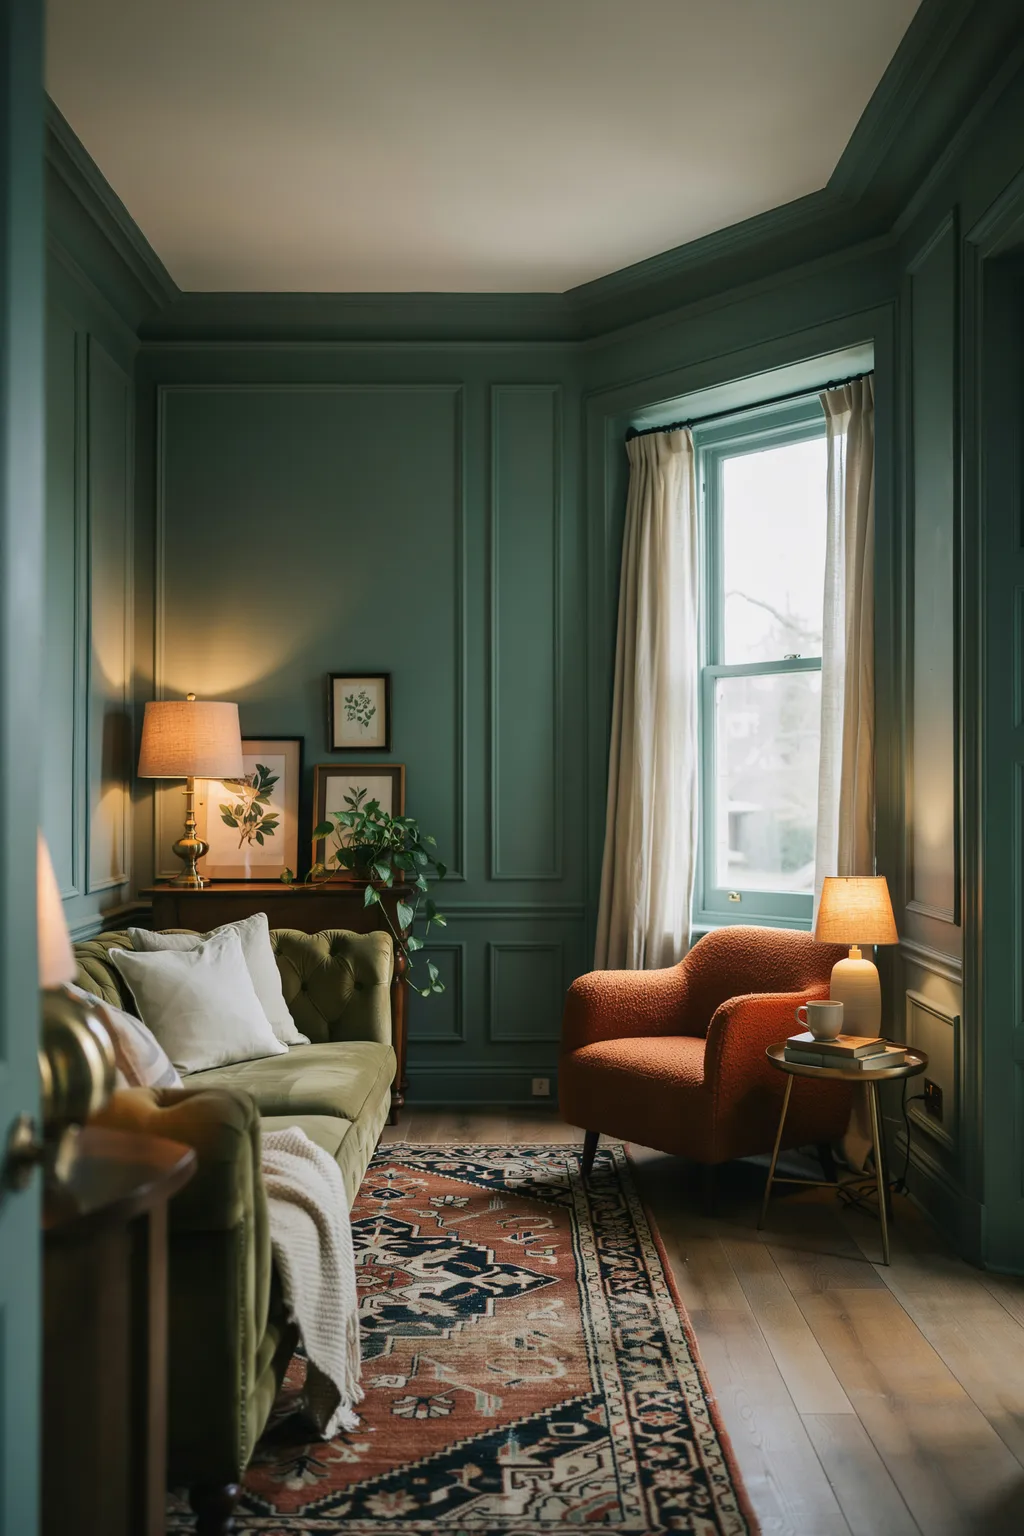
A dark room fights you when you paint it light. Paneling gives you a reason to stop fighting.
Deep green, charcoal, or oxblood panels in a north-facing room turn a lighting problem into a deliberate choice. The relief of the panels catches whatever light there is and casts its own shadow, so the wall keeps depth even at its dimmest. Matte and eggshell hold that depth. Gloss bounces light around in a way that flattens the detail you just paid for.
Paint the trim and the panels the same color. White trim around dark panels chops the wall into pieces.
💡 Quick Tip
Paint a test panel and look at it after dark under your actual lamps, not just in daylight. Deep colors shift more than pale ones under warm bulbs, and a green that looks sophisticated at noon can read almost black at nine at night.
5. Classic Beadboard in a Bathroom
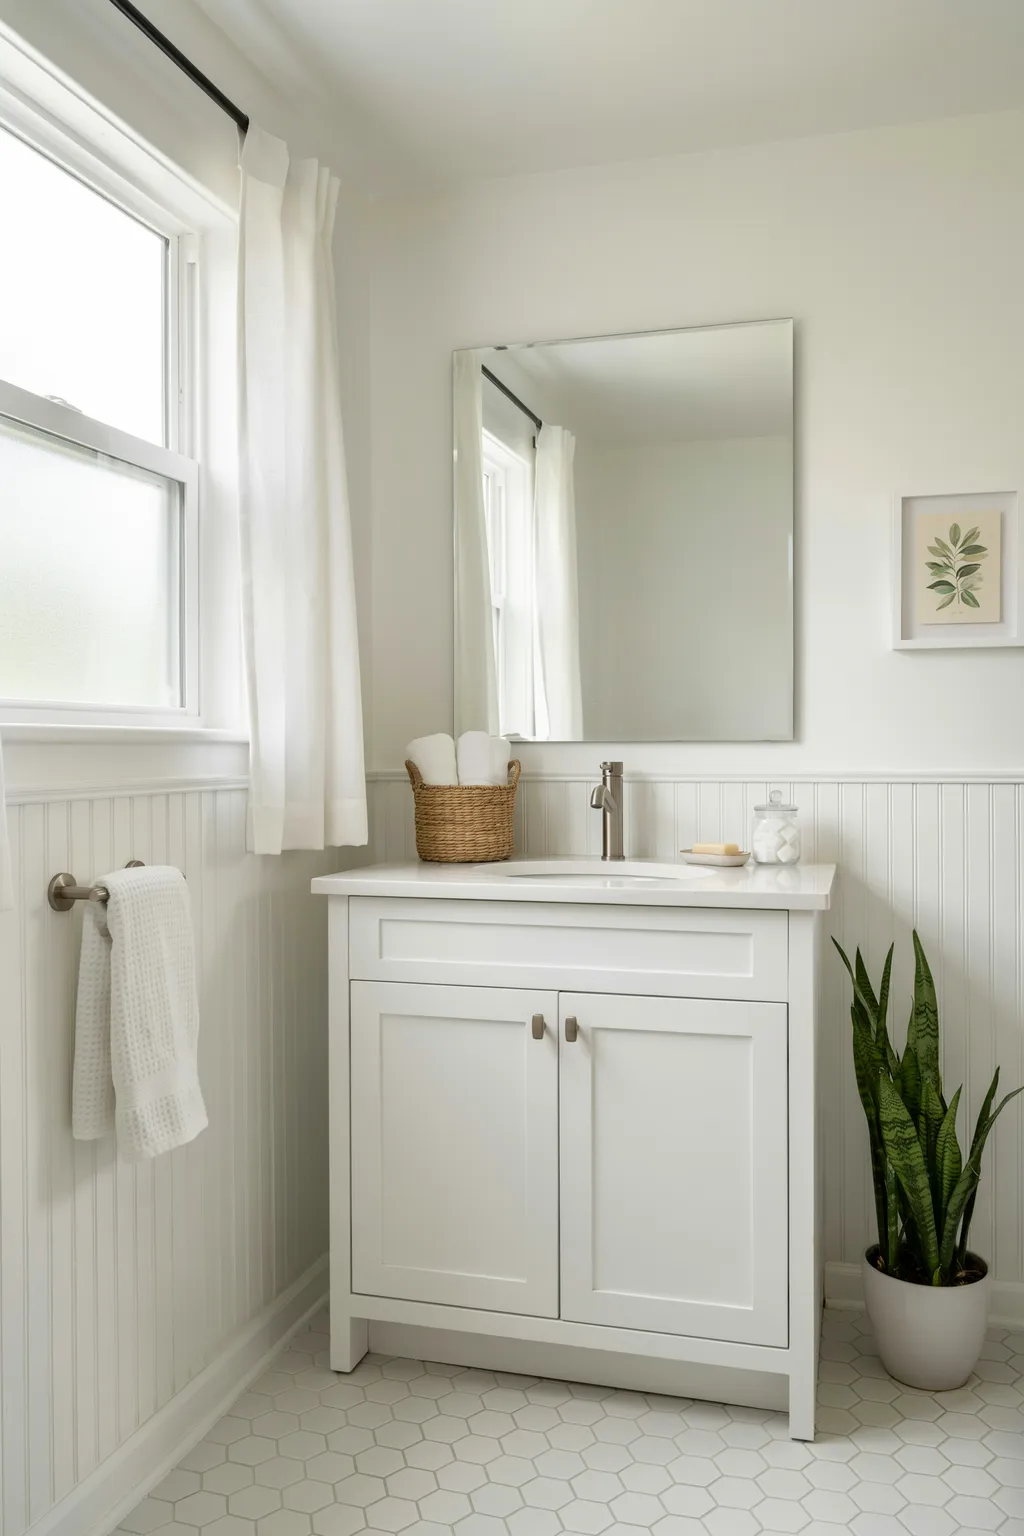
Standard MDF beadboard in a bathroom will swell along its bottom edge within a couple of years.
Bathroom wall paneling ideas live or die on material choice rather than profile. Moisture-resistant MDF, marine plywood, and PVC beadboard all cope with steam. Standard MDF does not, particularly the raw cut edge sitting closest to a wet floor. Seal every cut edge before anything goes on the wall, and leave a small gap at the bottom for the baseboard to cover.
Run it to chair-rail height rather than full height. The room stays feeling open and the top joint sits well clear of splash level.
6. Victorian Raised Panels in a Period Room
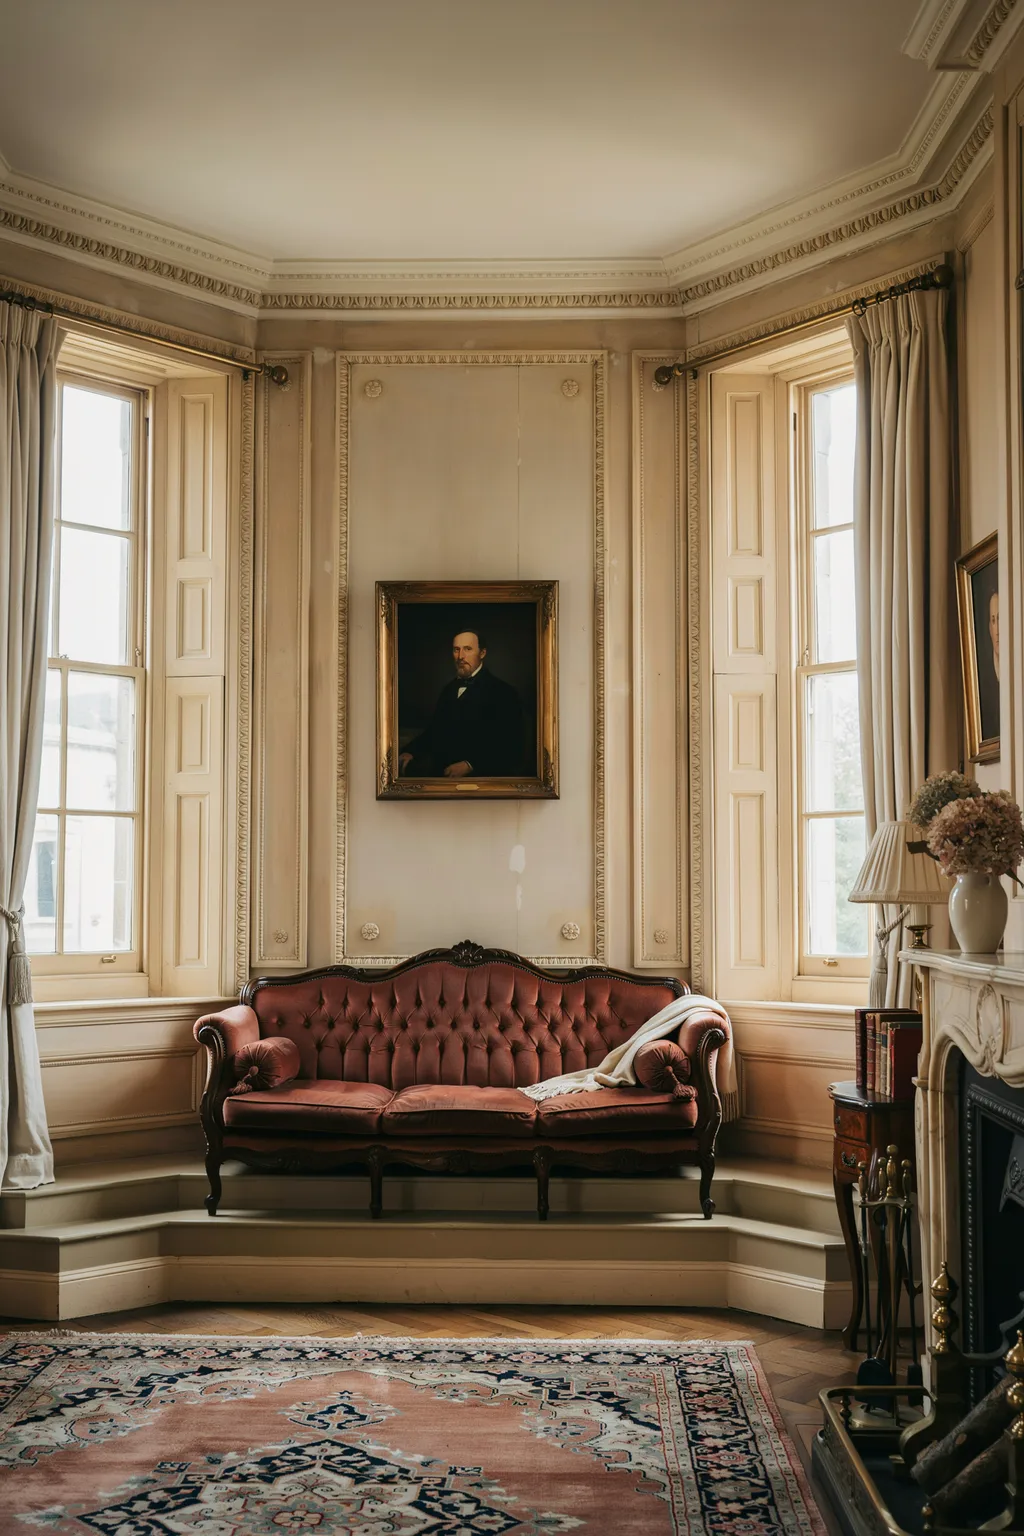
Older houses often carry the ghost of their original paneling somewhere on the wall.
Victorian raised panels sit proud of the wall rather than recessed, with a molded frame around each one and a chunkier profile than anything modern. Getting the look right comes down to the details: a proper dado rail, a deeper baseboard than you think you need, and panel widths that repeat evenly along the run.
Reproduction moldings are widely available and cost far less than salvage. Skip this one in a new-build with low ceilings, where heavy profiles look pasted on rather than original.
- ▸Dado rail: the horizontal cap along the top, thicker than modern trim.
- ▸Panel molding: a shaped frame around each panel, mitered at the corners.
- ▸Deep baseboard: taller than a modern one, which anchors the whole wall.
- ▸Even repeats: panels the same width along the run, adjusted at the corners.
7. Half-Height Wainscoting in a Dining Room
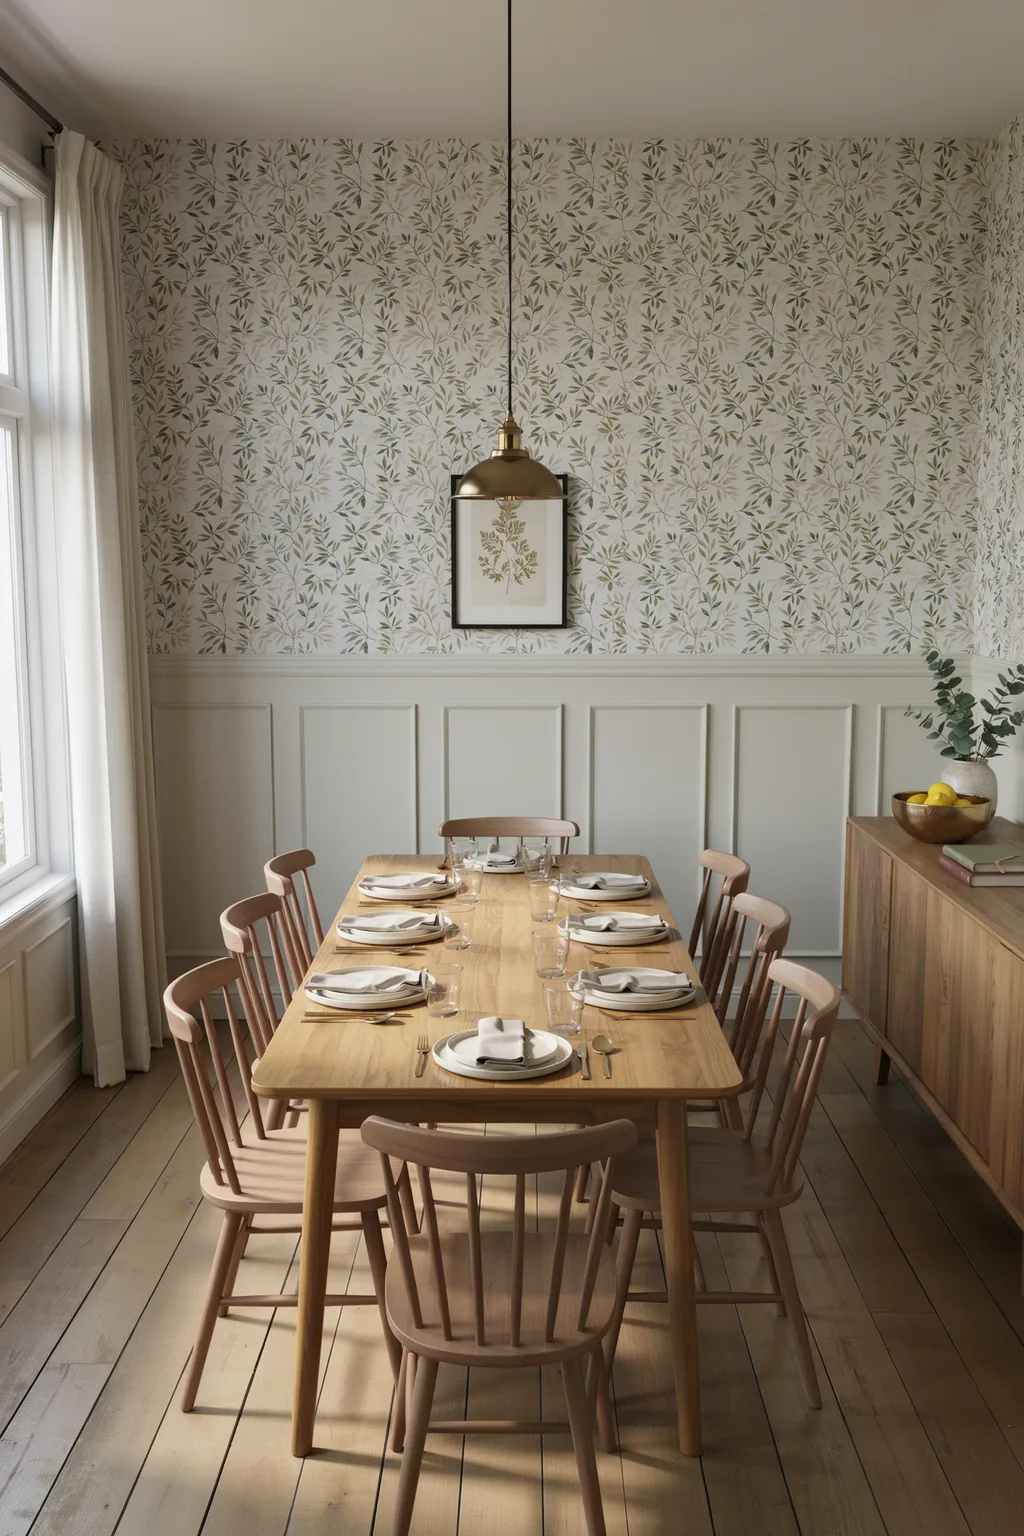
A dining room takes more abuse than almost any room except the kitchen.
Chair backs knock the wall, and paint wears through at precisely that height. Half-height wainscoting solves the practical problem and the decorative one in the same move. Below the rail you get a hard-wearing painted surface that wipes clean. Above it you can hang wallpaper or use a deeper color without the room feeling closed in.
Set the rail so the chair backs sit below it rather than against it. Measure your actual chairs instead of guessing.
Flat painted wall with a worn gray line where every chair back has hit it. Repainted twice, marked again within a year.
Wainscoting to just above chair height in hard-wearing paint. Wipes clean, and the wall above finally takes wallpaper.
8. Fluted and Reeded Panels for Soft Texture
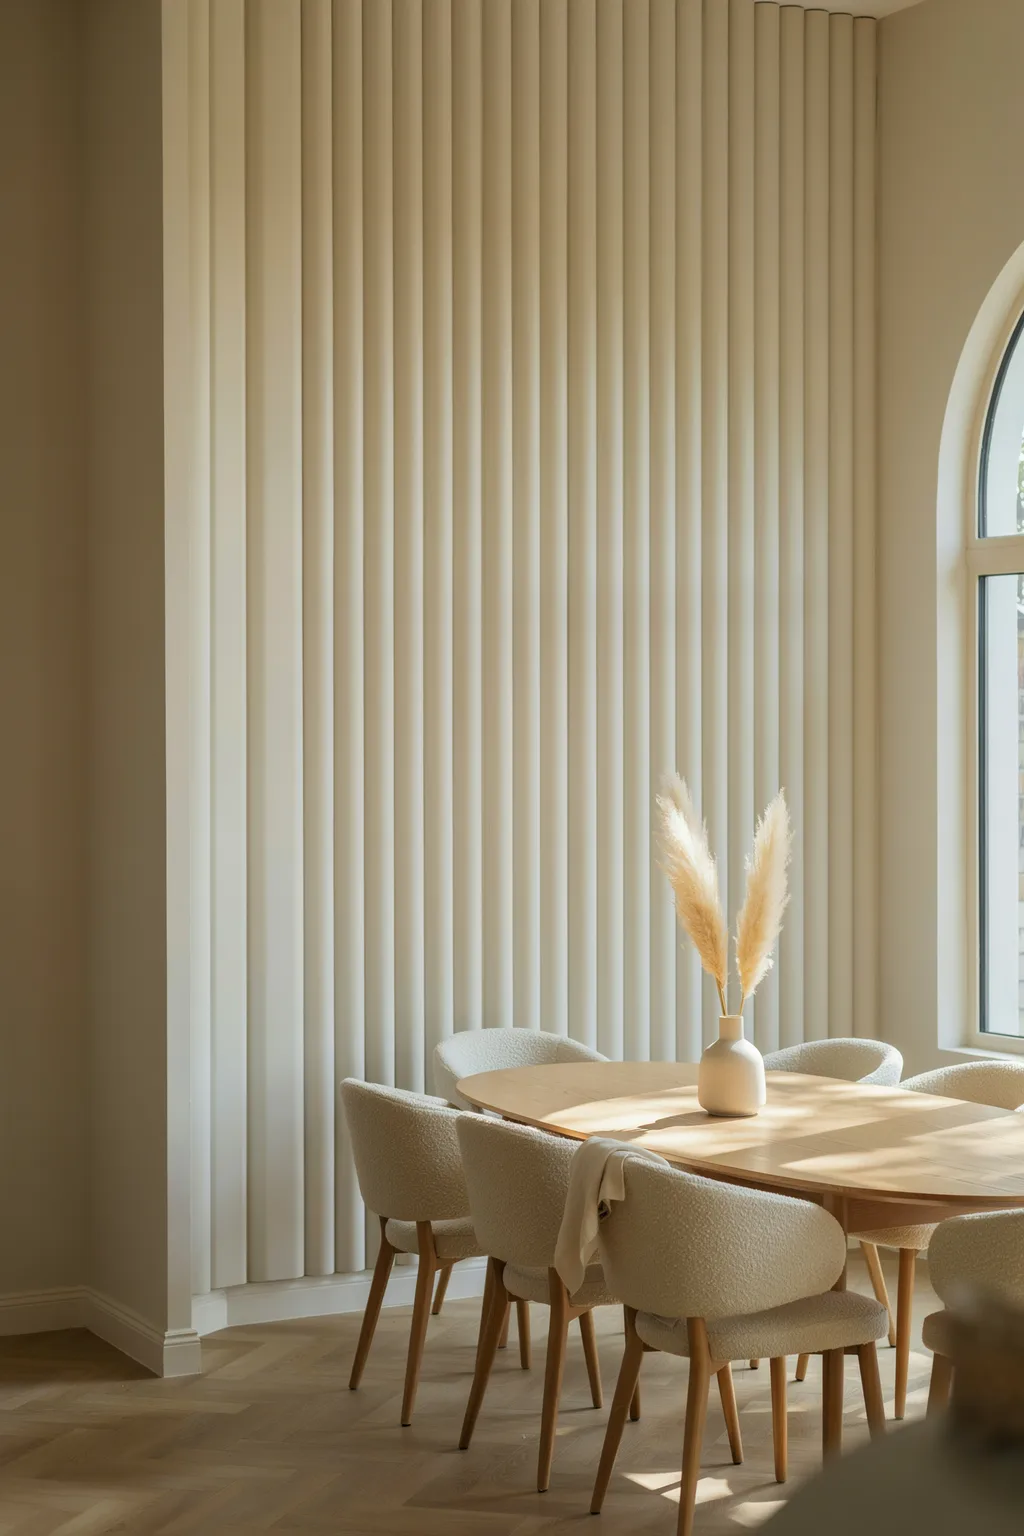
Buy a single sample length before committing to a whole wall of fluting.
Fluted panels have rounded grooves cut into them, reeded ones have half-round ribs standing proud. Both cast softer shadow than square slats, which suits curved furniture and warmer rooms. They also photograph beautifully, and that is precisely why people order a full wall online without ever seeing one in person.
The catch is dust. Every groove collects it, and a flute is harder to wipe than a flat board. Fine in a dining room, less fun behind a bed you rarely pull out.
Check before you order a full wall
9. A Full-Height Slat Wall Behind the Bed
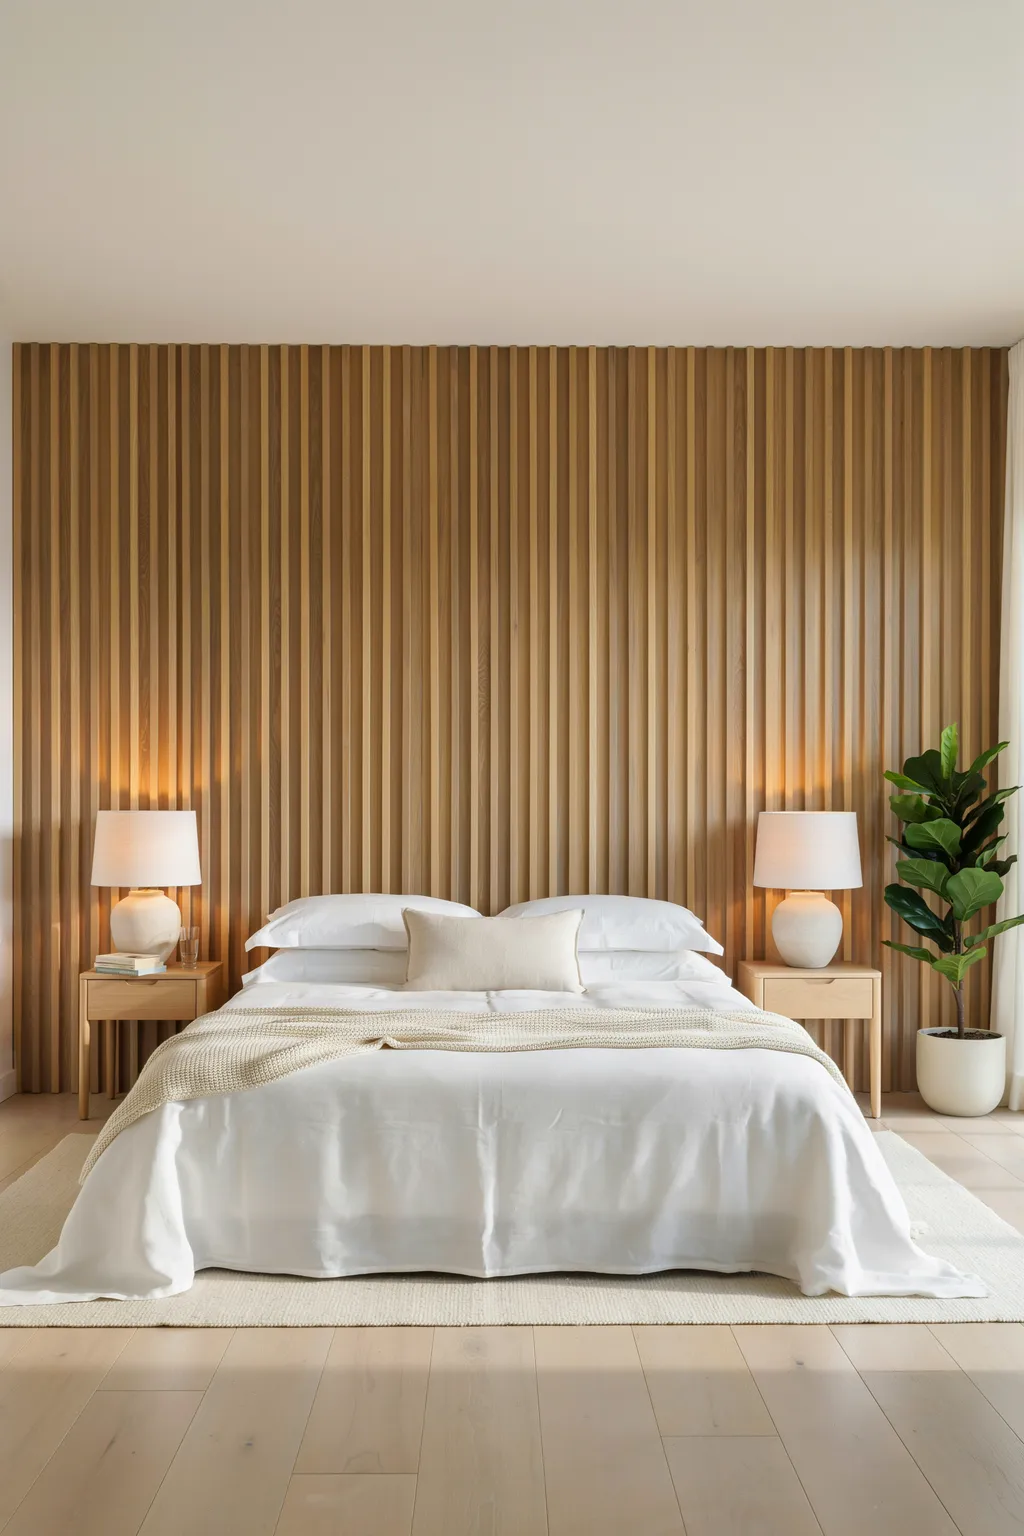
The wall behind a bed is the one place paneling almost never goes wrong.
Of all the wall paneling ideas here, this is the most forgiving. It gives a headboard something to sit against, it fills the awkward stretch above the mattress, and because you lie in front of it rather than looking at it, busy texture causes no problem at all. Run slats the full height for a hotel feel, or stop them at headboard height for something quieter.
Take the slats wider than the bed by about a foot on each side. Stopping flush with the frame makes the bed look too big for its wall.
Run the paneling wider than the bed, not flush with it. A foot of breathing room on each side is what makes it look built in.
10. Painted Paneling in an Unexpected Color
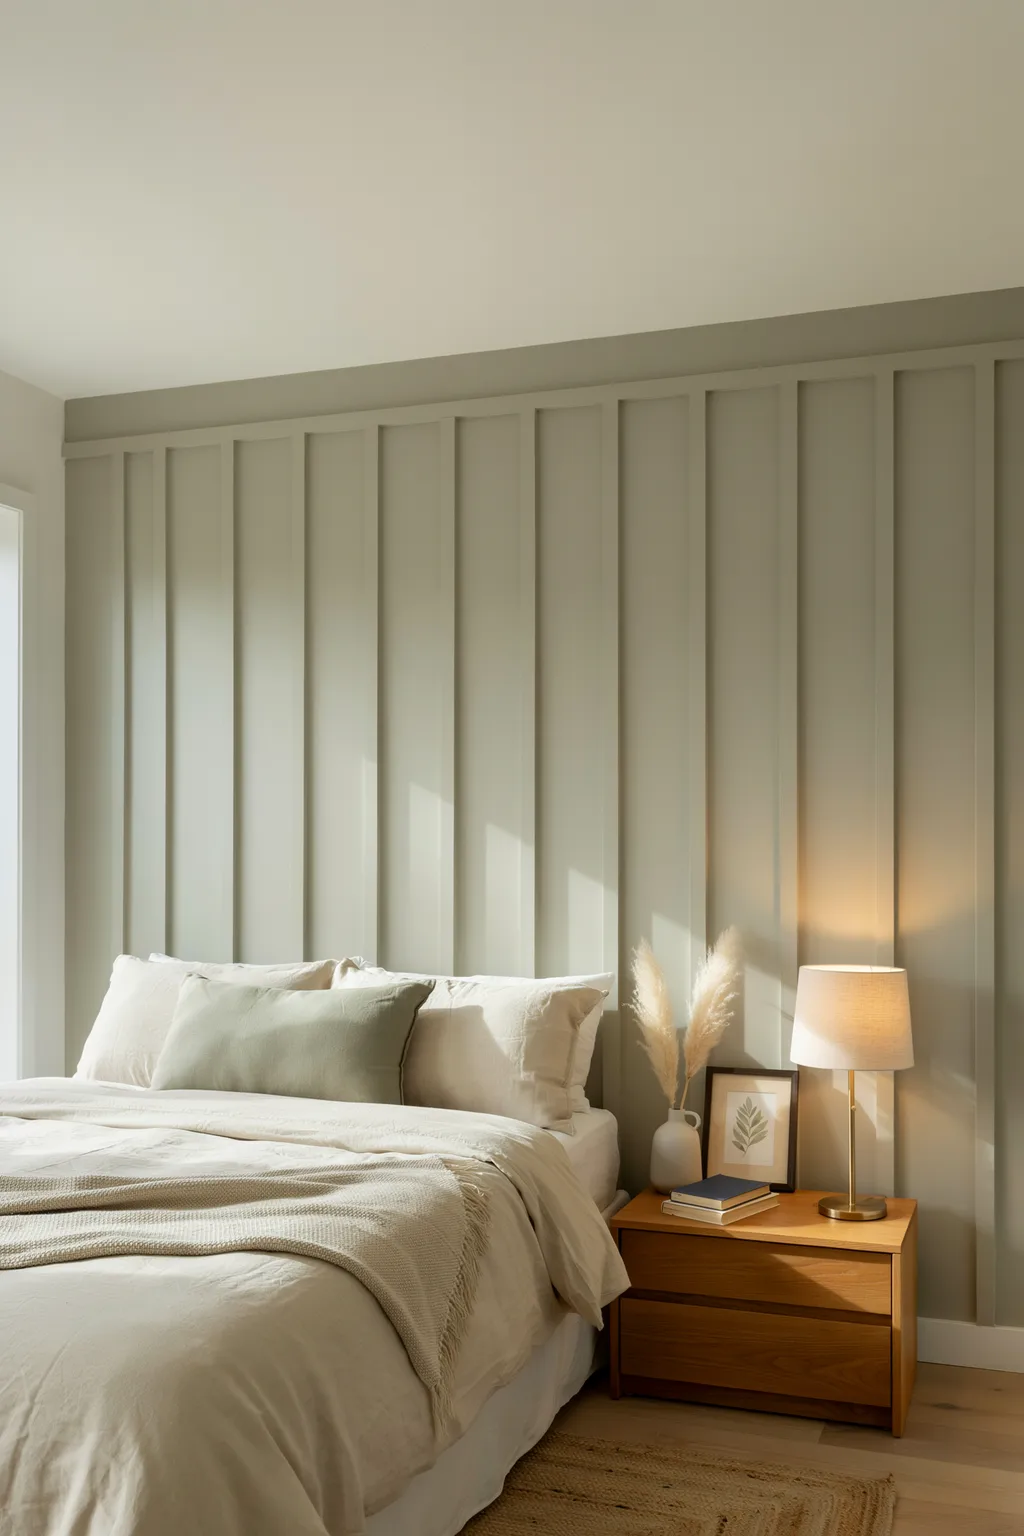
Most people paint new paneling the same white as the ceiling, then wonder why it disappears.
Paneling is relief, and relief needs light and shadow to be visible at all. A color with some depth in it, muted olive, clay, plaster pink, or a soft blue, catches that shadow and makes the profile readable from across the room. Even half a shade darker than the wall above will do the job.
Paint the panels before you fit the final trim where you can. Cutting in around fitted molding is slow, fiddly work.
Prime bare MDF edges first. They drink paint and go furry without it.
Fill nail holes and caulk every seam, then sand smooth before color.
Brush the profiles and grooves first, then roller the flat areas.
Two thin coats beat one thick one. Thick paint fills the detail in.
11. Monochrome: Wall and Trim in One Shade
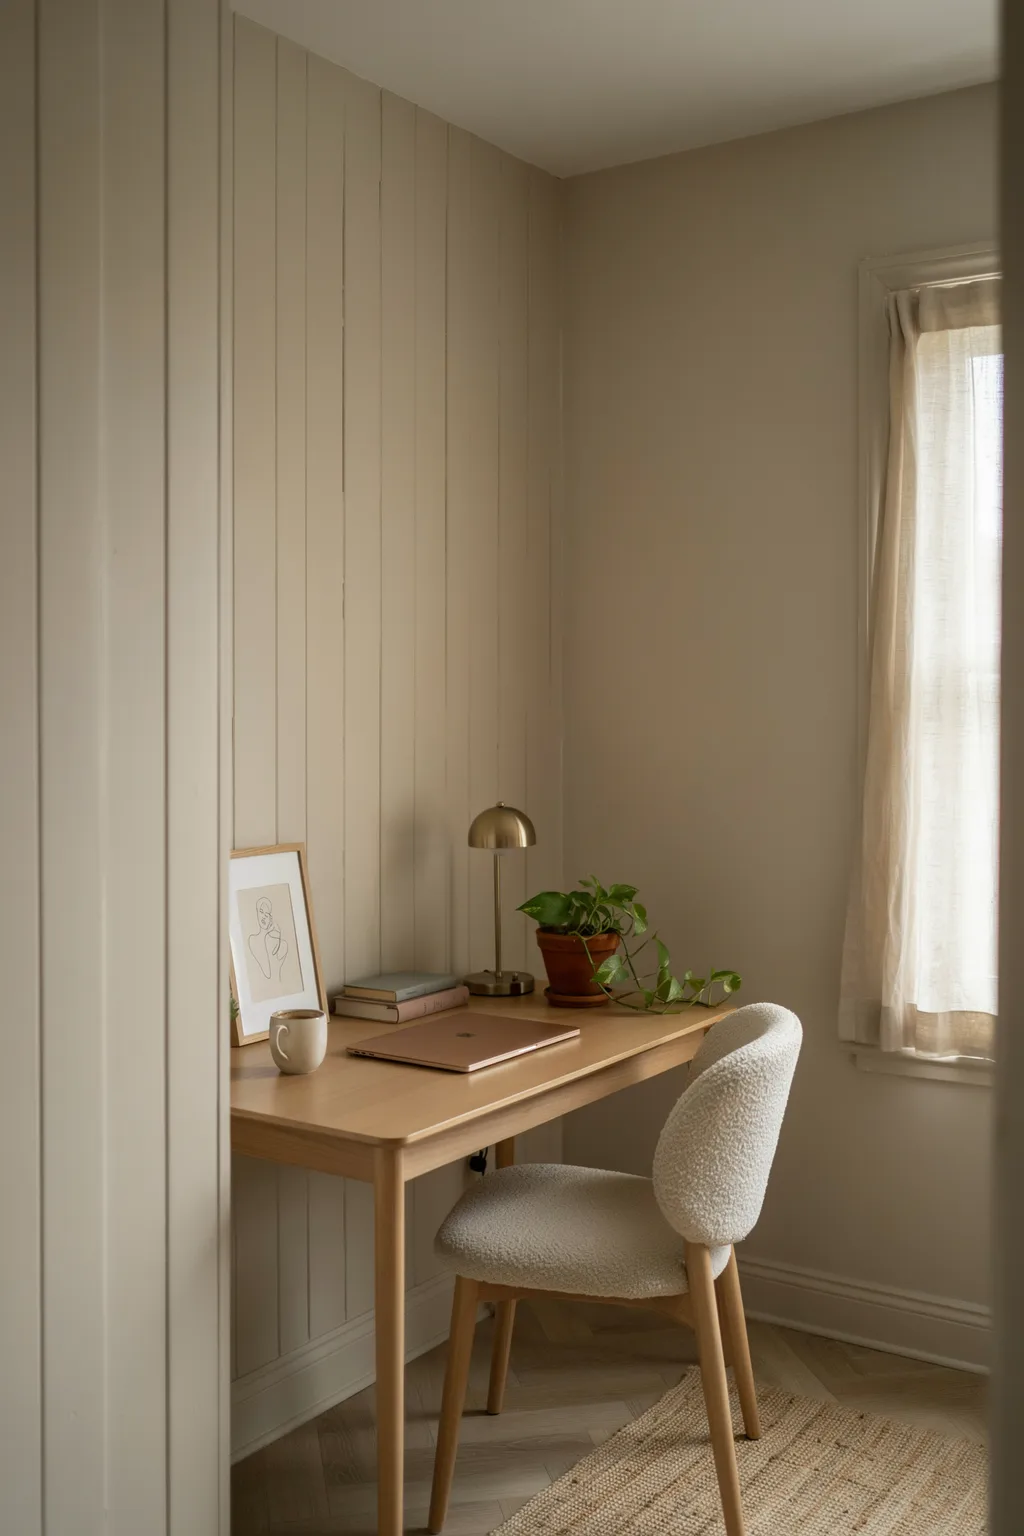
Painting the trim white is a habit, not a rule.
Running one color across the paneling, the wall above, the baseboard, and even the door frame makes a room feel larger rather than smaller. Without contrasting trim breaking things up, the eye reads the walls as one continuous surface and stops measuring the edges. Monochrome is also one of the cheapest wall paneling ideas to get right, because you buy a single can of paint.
Vary the sheen instead of the color. Eggshell on the walls with satin on the trim gives you definition without a hard line.
One color on panels, wall, baseboard, and frames.
Change sheen, not shade, to separate trim from wall.
Works hardest in small rooms and hallways.
Bright white trim framing a deep colored panel.
Matte on trim, which marks and cannot be wiped.
Monochrome in a room with no natural light at all.
12. Coastal Tongue and Groove
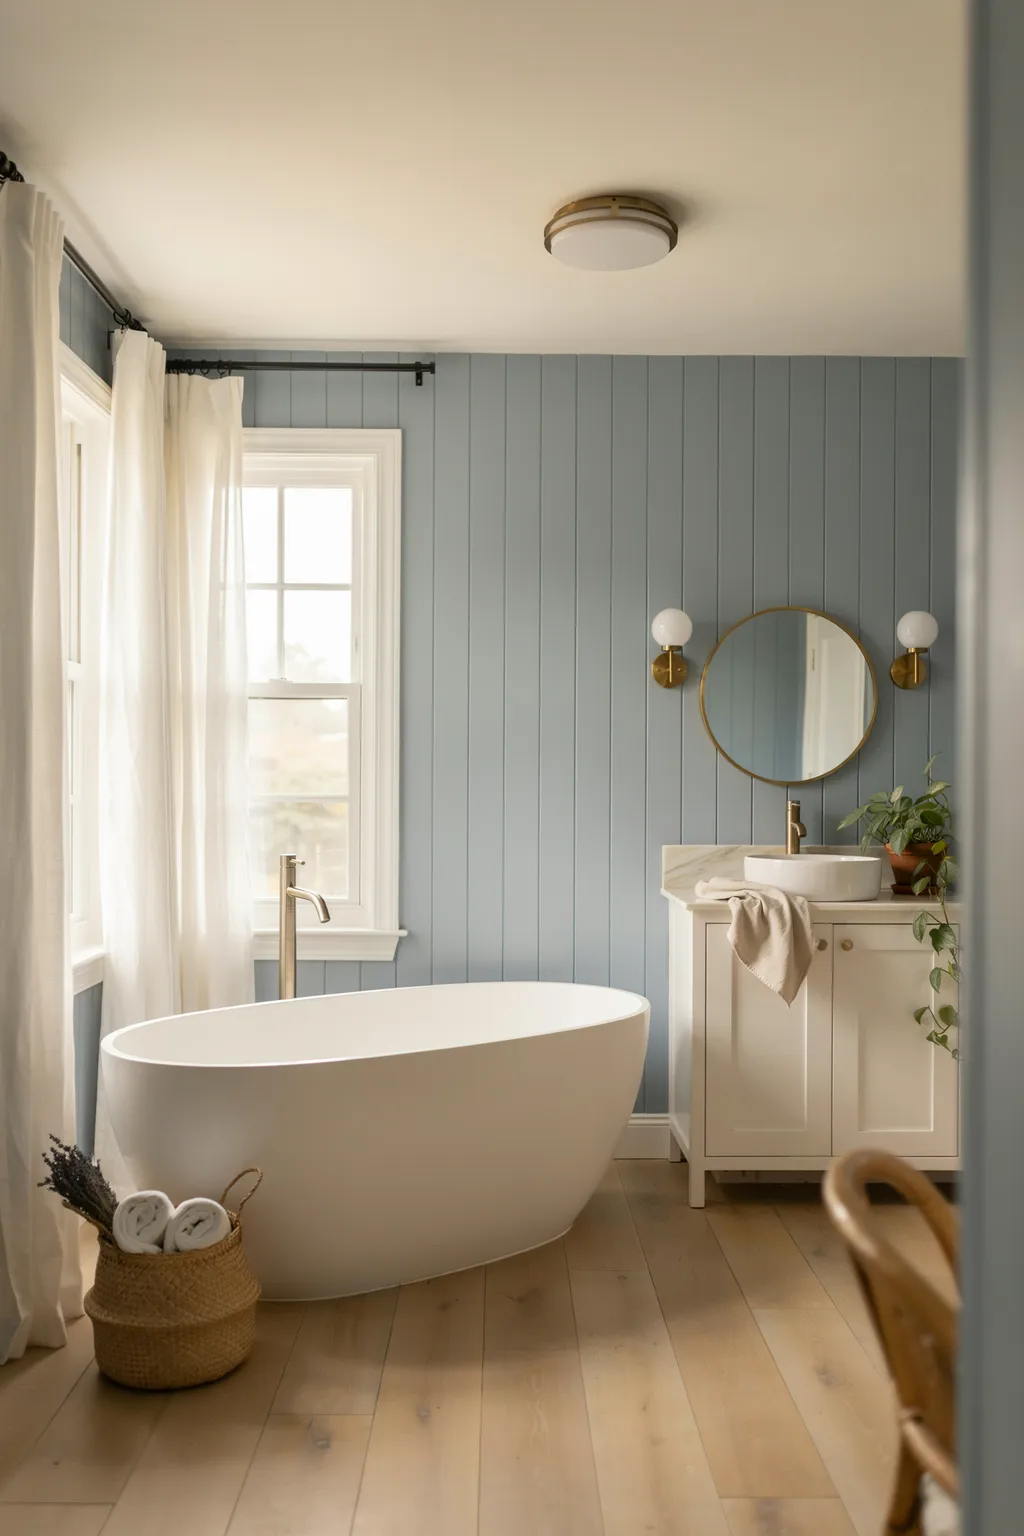
Tongue and groove gives you the horizontal line of shiplap with a tighter, cleaner joint.
Each board slots into the next, so there is no open gap collecting dust and no shadow line unless you deliberately choose one. In a coastal scheme it sits well with soft blue-grays, sand, and warm whites, and it works especially hard in a hallway or small bathroom, where boards make a space feel purposefully cottage-like instead of cramped.
Let the boards acclimate in the room for a few days before fitting. Timber moves, and boards fitted straight off the truck will open up gaps come winter.
📌 Good To Know
Stack the boards flat in the room they will live in, with spacers between them so air reaches every face. A few days is usually enough. This one step prevents the gapping that makes a board wall look badly fitted a year later.
13. Textured Plaster and Concrete-Look Panels
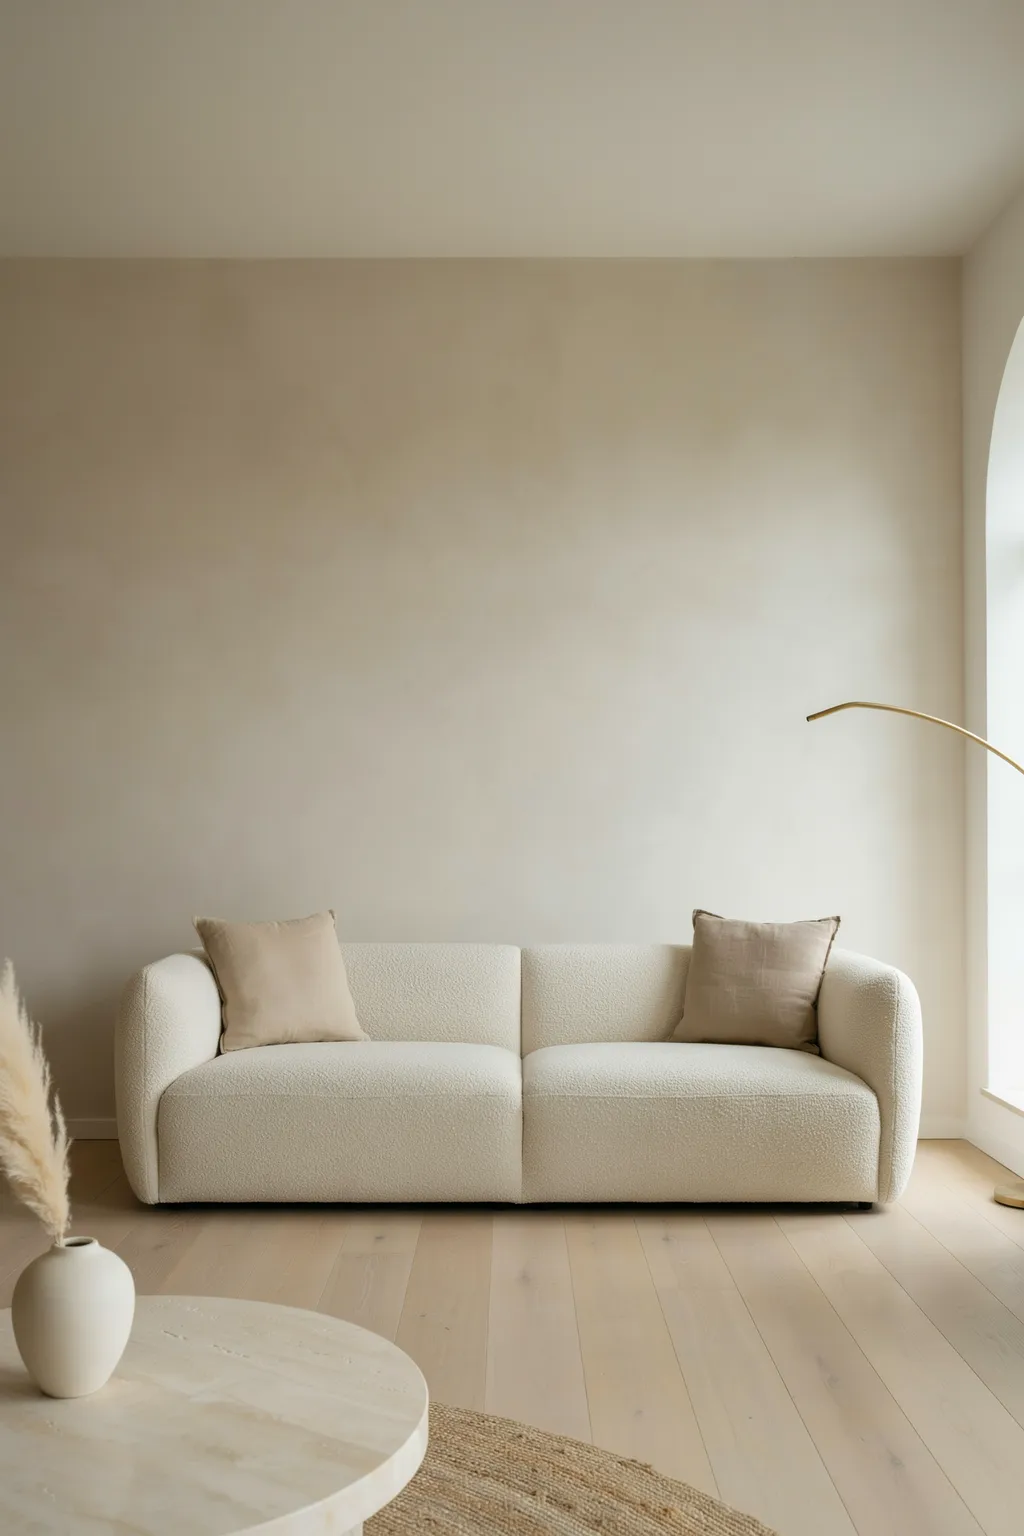
Not all paneling is made of wood.
Large-format panels in a plaster, microcement, or concrete finish give you a flat, near-seamless surface with subtle mottling instead of joints and profiles. The result is quiet and modern, and it suits rooms where you want texture without the cottage associations that boards inevitably carry.
These panels are heavy. Check what your wall is built from and how the panels fix to it before ordering, because a stud wall and a masonry wall call for completely different approaches.
14. Paneling in a Small or Awkward Space
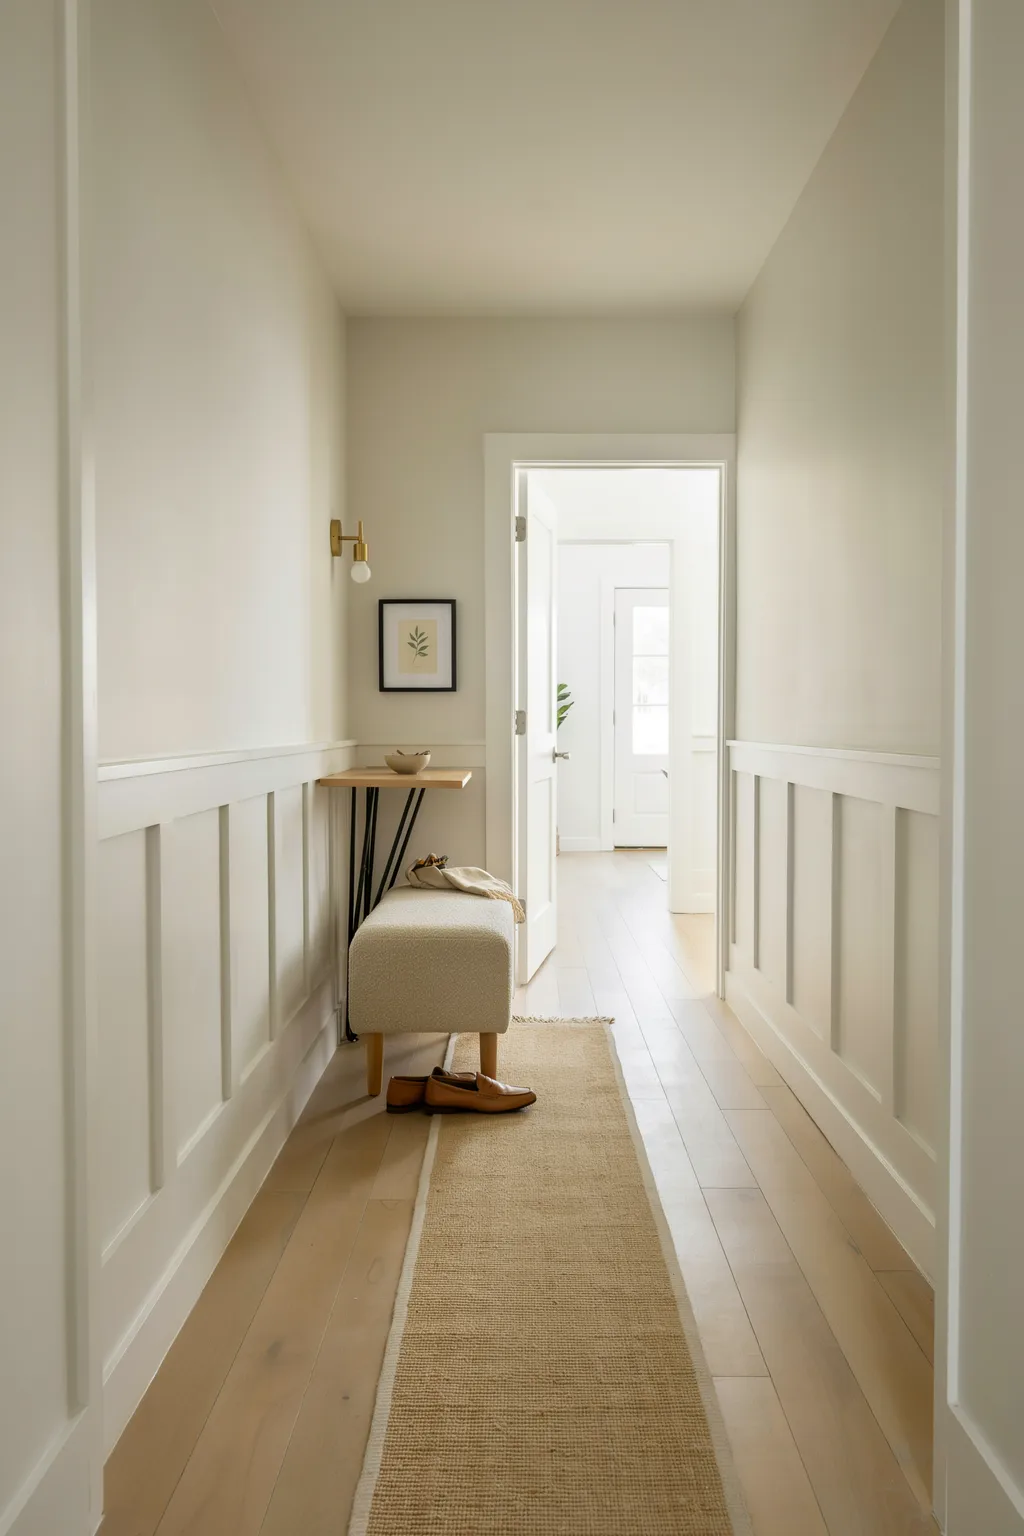
Small rooms are where people talk themselves out of paneling, usually for the wrong reason.
Small-space wall paneling ideas work far better than people expect. The worry is that adding depth to the walls will shrink the room. In practice a shallow profile takes up almost nothing, and the repeating vertical or horizontal lines give a small space a sense of order it was missing. Downstairs bathrooms, hallways, and boot rooms are some of the best places to try it.
Keep the profile shallow and the color light in a genuinely tiny room. Deep Victorian moldings in a narrow hallway do feel like walls closing in.
| Awkward space | What works there |
|---|---|
| Narrow hallway | Shallow half-height panels, light color, full length |
| Downstairs bathroom | Beadboard to chair height in a moisture-safe material |
| Sloped or attic wall | Vertical boards following the slope, no dado rail |
| Under-stairs nook | Full-height slats, which hide an uneven wall neatly |
15. Pick the Right Material for the Room
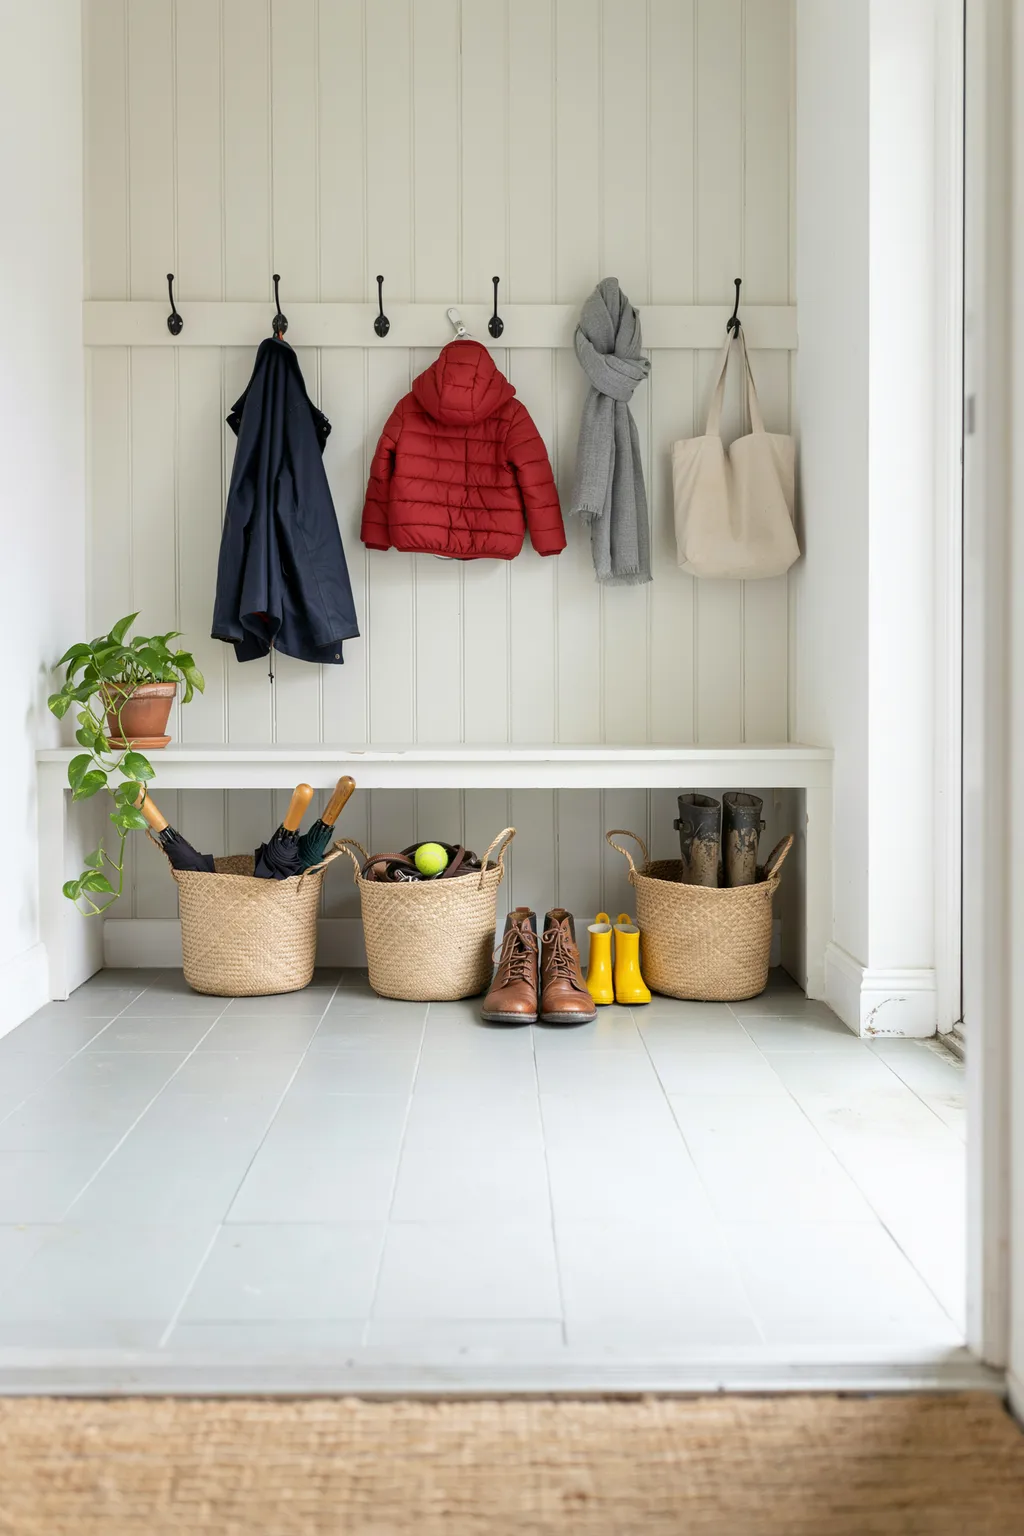
Choose the material for the room’s conditions first, then pick the profile you like.
MDF takes paint better than anything else and cuts cleanly, which is why most painted paneling uses it. Plywood copes with damp far better and can be left with its grain showing. Solid timber suits stained or oiled finishes and genuine period work. PVC is the one to reach for where water is a real, ongoing problem rather than an occasional splash.
Material is also the main thing driving your total spend, more than the design is. Staying with painted MDF in dry rooms keeps a project affordable without looking it.
16. Work Out Panel Spacing Before You Cut
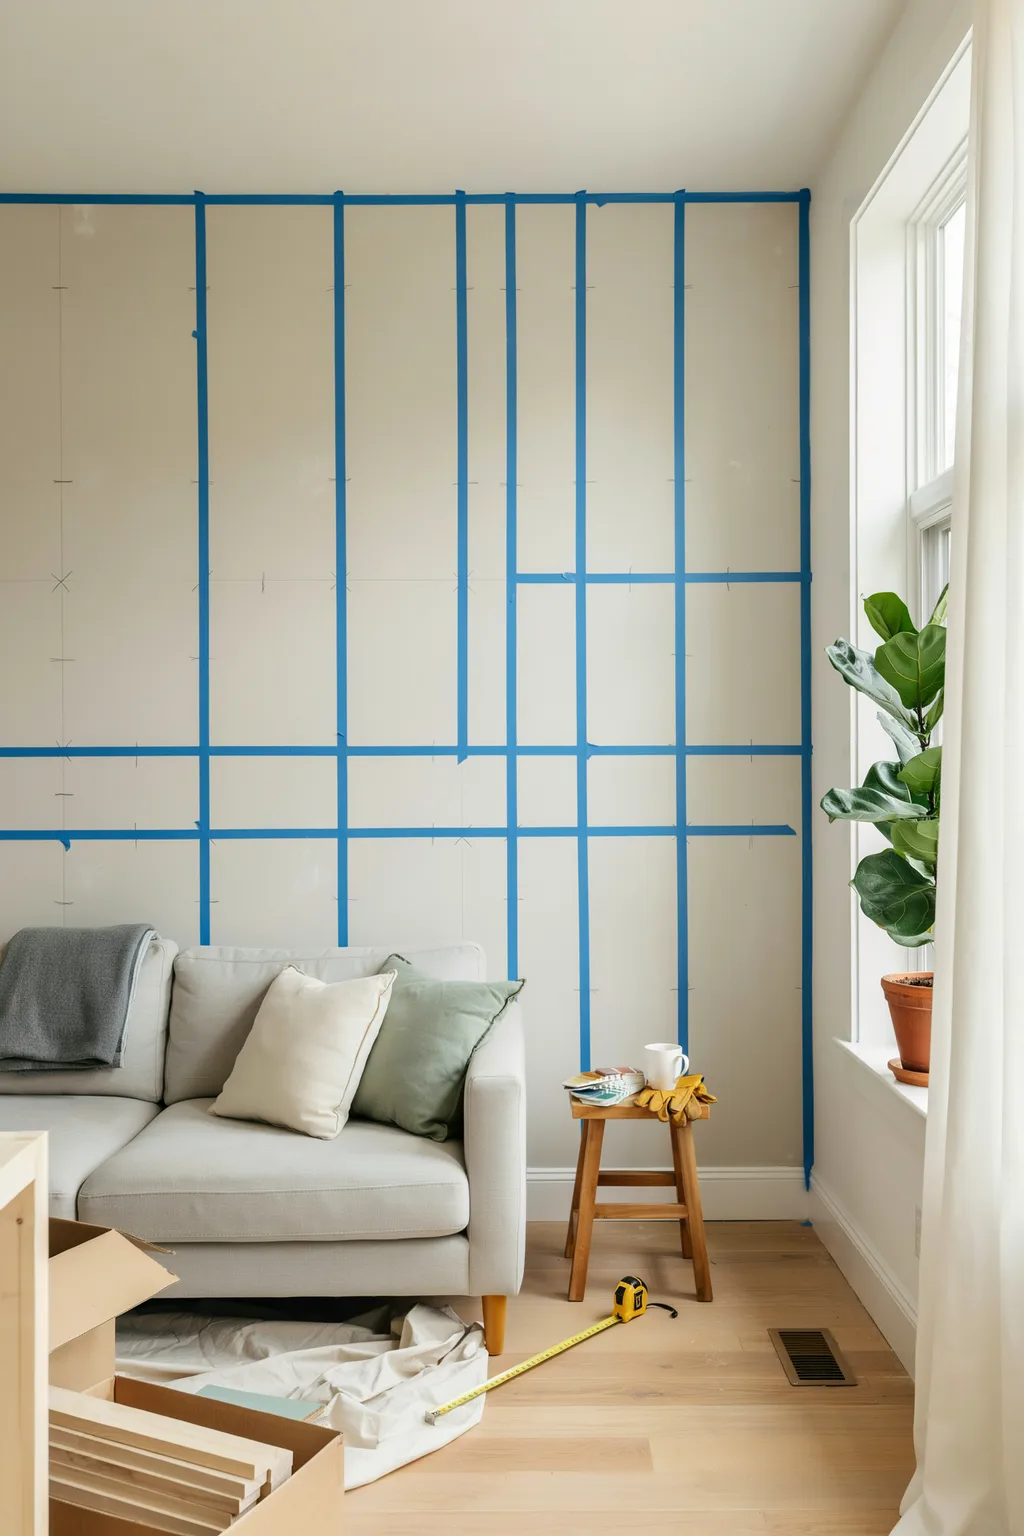
Map the whole wall in painter’s tape before making a single cut.
The best wall paneling ideas get decided with tape rather than a saw. Tape is free and mistakes in MDF are not. Lay out every batten position, stand back, and live with it for a day. What looks correct on paper often looks wrong once it is up at full size, particularly near a window or a door where the spacing has to adjust to fit.
Aim for equal gaps and accept one uneven gap in the least visible corner. A wall of perfect repeats with a single odd spacing tucked behind a door reads far better than a wall where every gap is slightly different.
Measure the wall at the top and the bottom. They are rarely identical.
Divide the width into equal bays on paper, then tape those lines up.
Leave it overnight and look again in daylight before committing.
Cut one batten, fit it, check it, then cut the rest to match.
17. Handle Outlets, Switches, and Baseboards
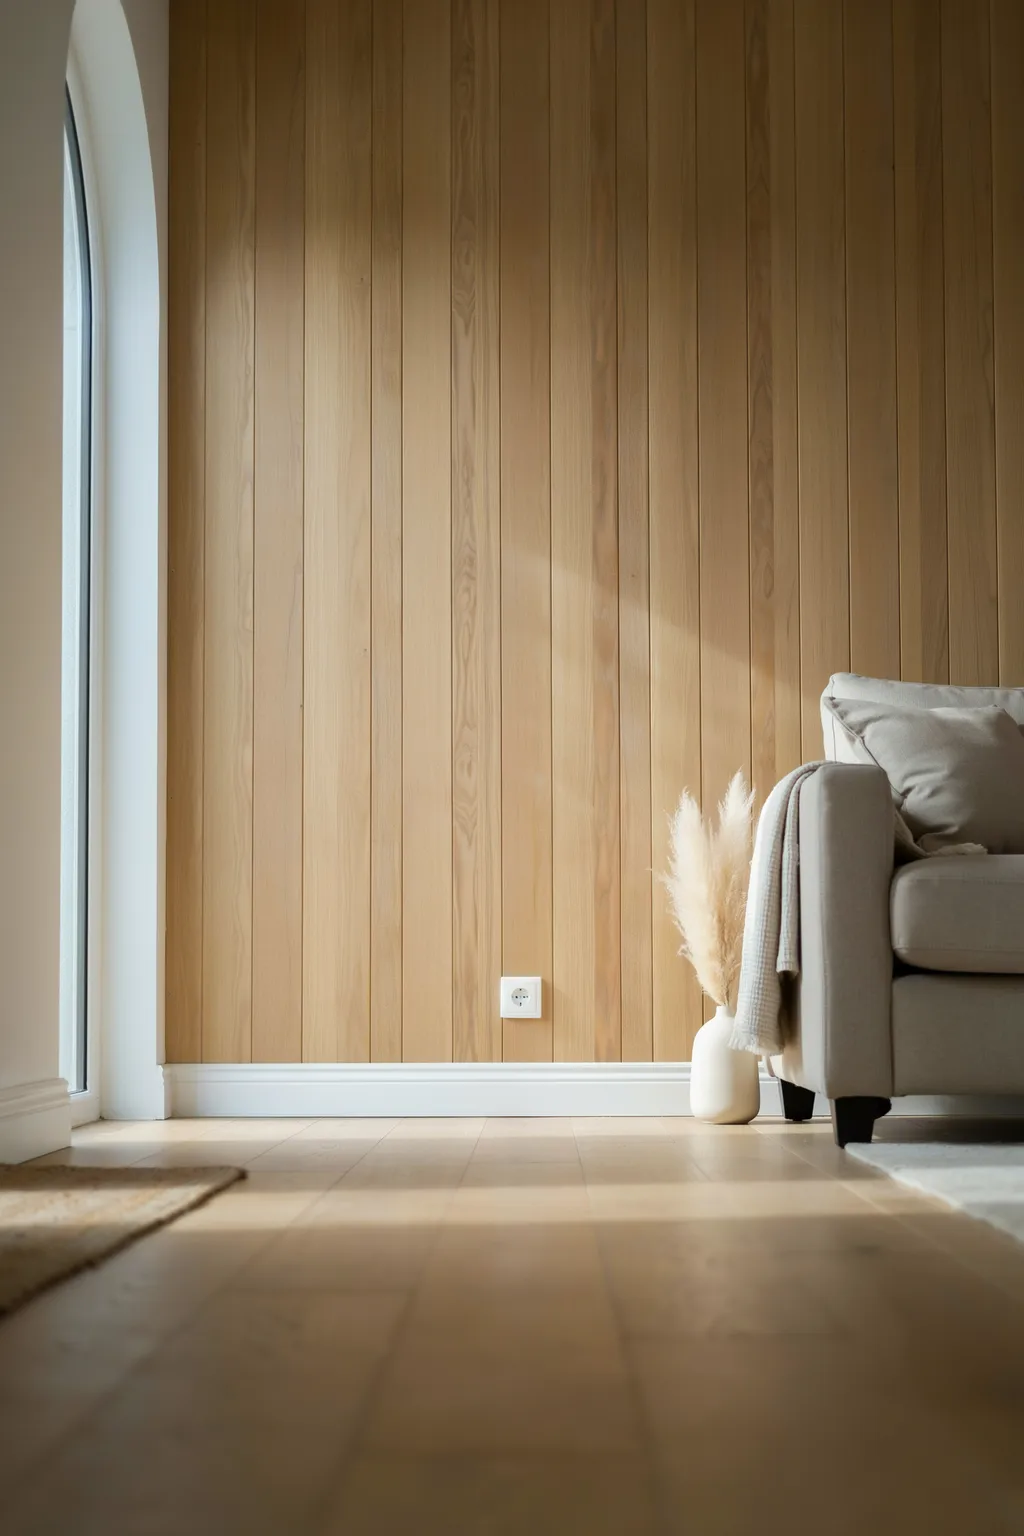
The detail that gives away a rushed paneling job is almost always an outlet.
Adding paneling makes the wall thicker, so sockets and switches end up sitting recessed behind the new surface. Box extenders bring the fitting forward to sit flush again and cost very little. The same problem appears at floor level, where the existing baseboard either comes off and goes back on over the panels, or gets scribed around.
Turn the power off at the board before touching anything electrical, and bring in an electrician for anything you are not certain about.
Panels cut roughly around a sunken socket, baseboard left sitting proud of the new surface. The eye goes straight to it.
Box extender brings the socket flush, baseboard refitted over the panels. Nothing catches the eye, which is the point.
18. Prime, Fill, and Caulk So Joints Vanish
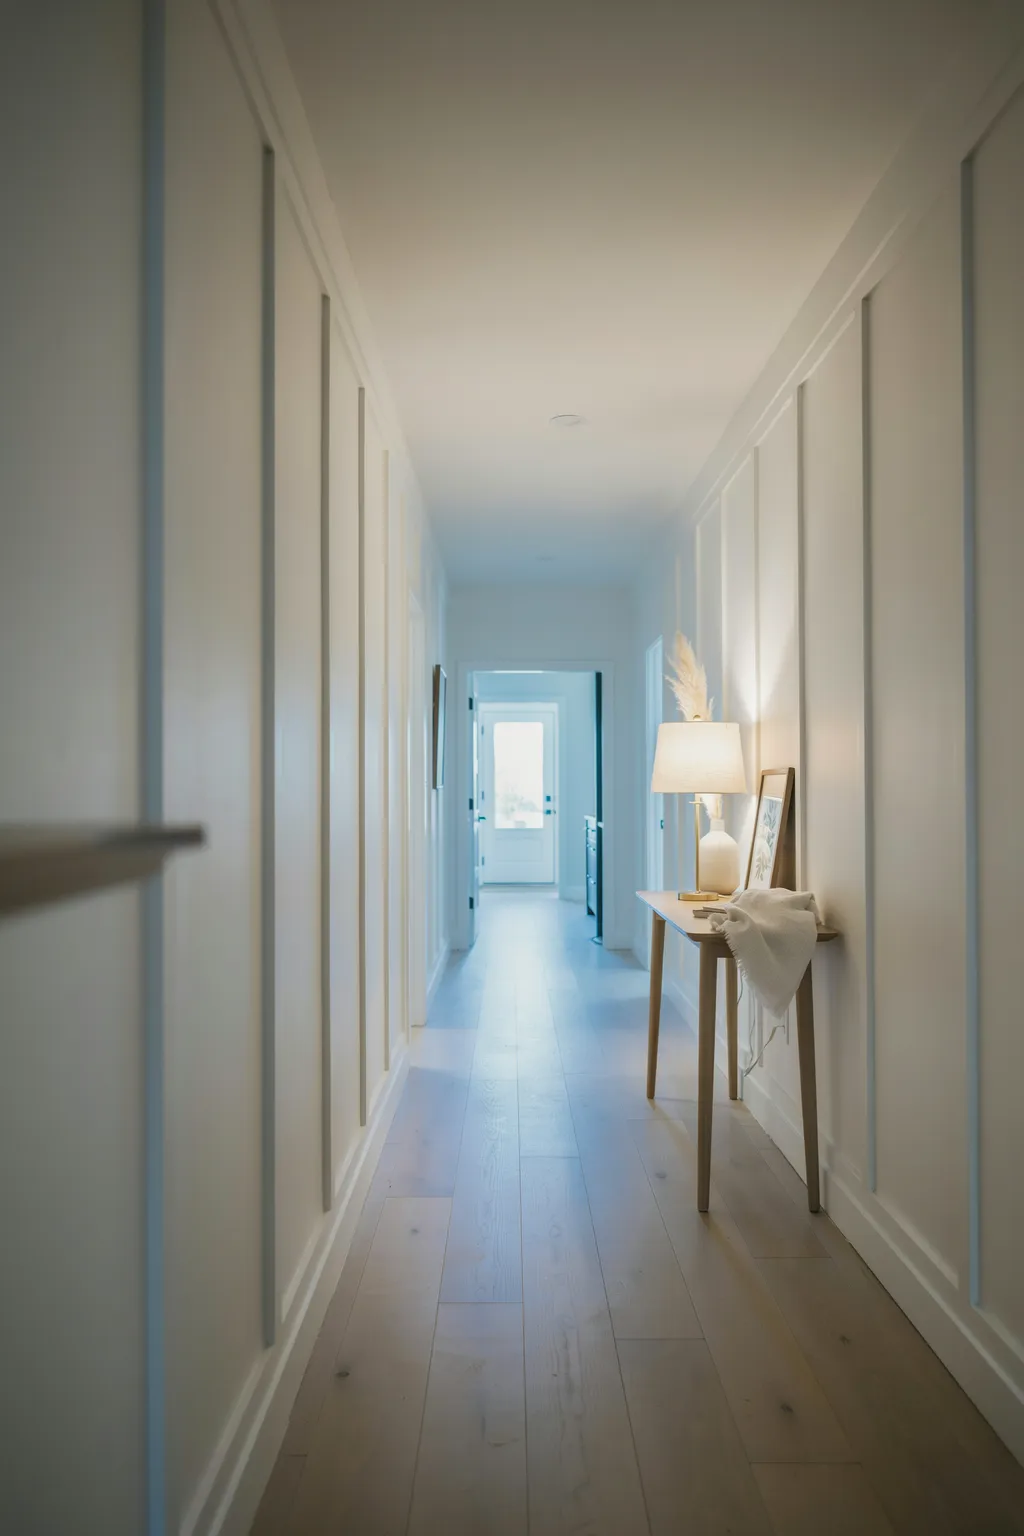
About two hours of filling separates a wall that looks built in from one that looks stuck on.
Every nail hole needs filler, every internal corner needs caulk, and every joint where panel meets wall needs one or the other. Sand it back smooth, prime it, then hold a lamp at a sharp angle to the wall and look along the surface. Raking light like that shows every dip you cannot see straight on.
MDF dust is fine enough to take seriously. Wear a proper mask, and the EPA’s guidance on formaldehyde in pressed-wood products is worth reading if you are cutting a lot of it indoors.
The finishing pass, in order
19. Panel Over a Wall That Is Not Flat
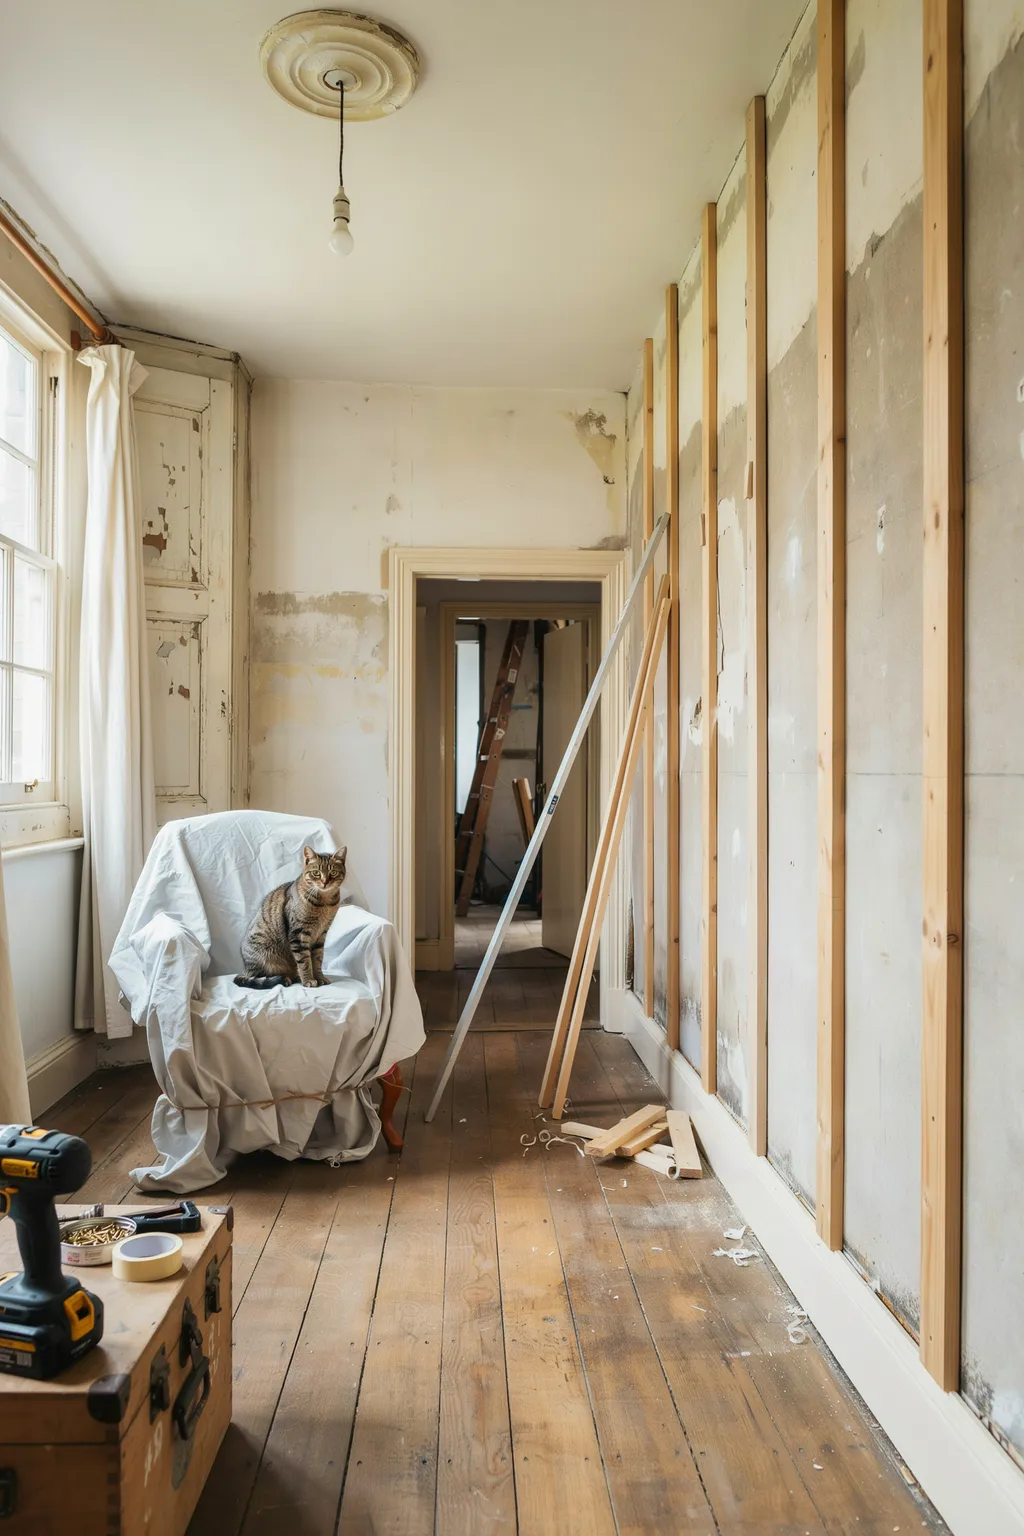
Old walls are rarely flat, and paneling is one of the few honest ways to deal with that.
Most wall paneling ideas quietly assume a flat, plumb surface to work from. A bowed or bumpy wall shows through paint and wallpaper immediately. Battens fixed to the wall first, packed out with thin shims wherever the wall dips away, give you a genuinely flat plane to fix the panels onto. The finished surface ends up straighter than the wall hiding behind it.
Run a long straight edge across the wall in both directions before starting, and mark every low spot. Guessing where the dips are is how you end up with a panel that rocks.
Do not fight an uneven wall. Batten and shim it flat first, then panel onto that. The battens are what make the finish look professional.
20. Renting? Use Removable Paneling
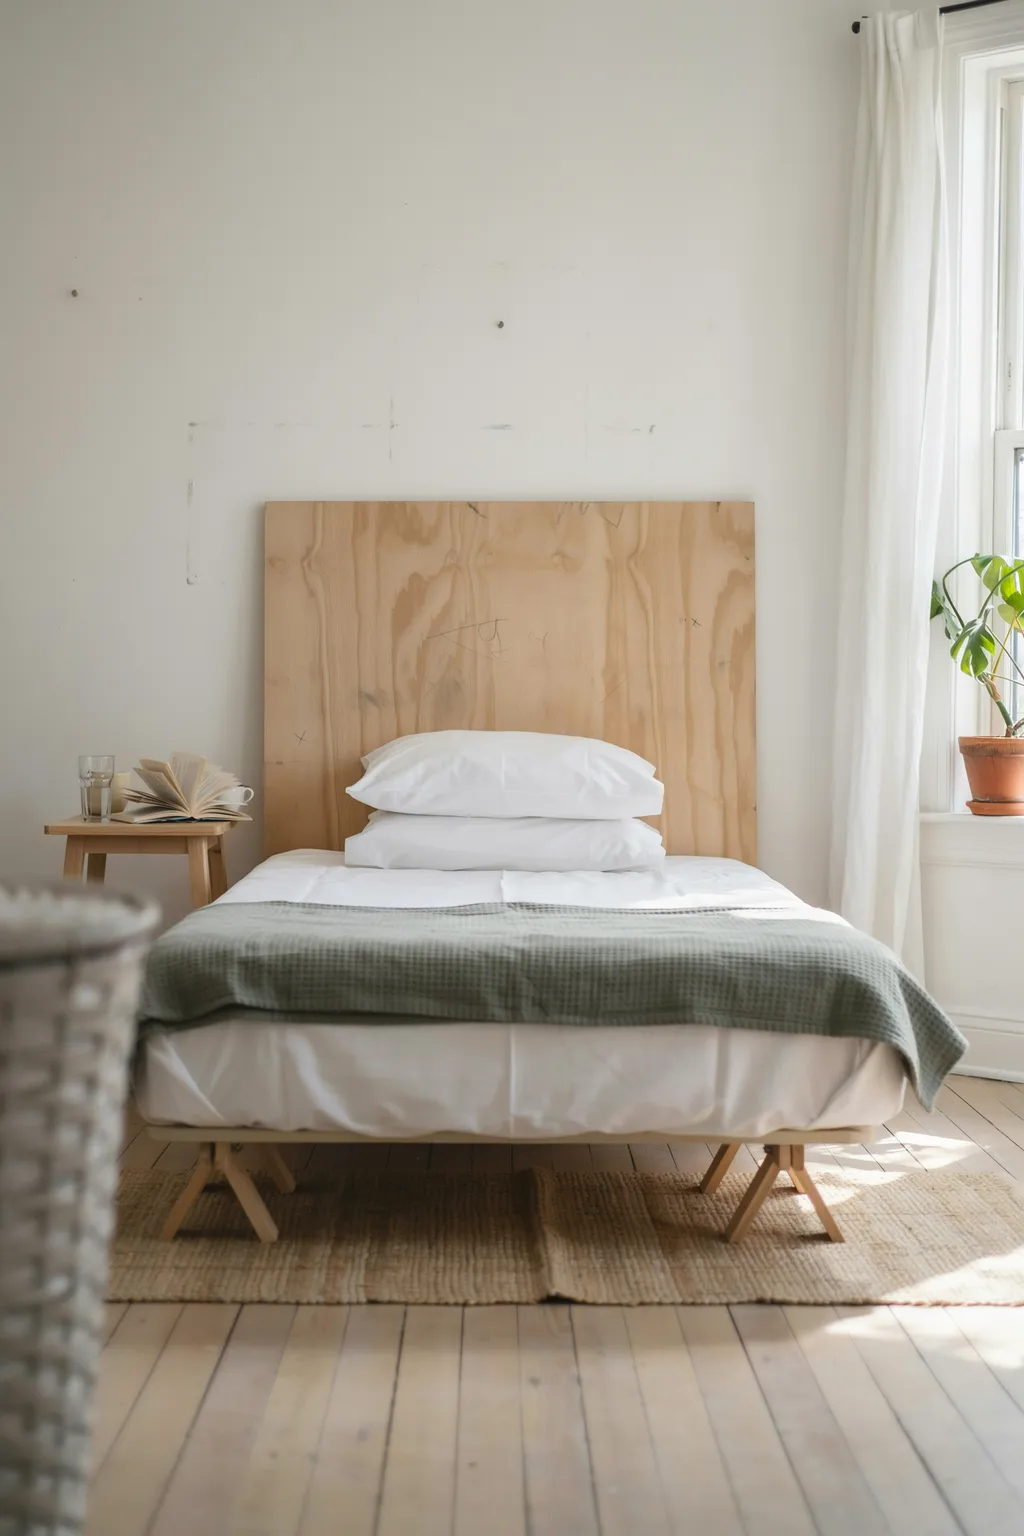
Renters get two options here, and only one of them survives a checkout inspection.
Most wall paneling ideas quietly assume you own the place. Adhesive foam or PVC panels stick straight to the wall and peel off later, though they can lift paint on the way out. The safer route is freestanding: build the paneled section onto a thin plywood backer, then lean or bracket it against the wall so nothing is permanently fixed. It moves out with you when you go.
Whichever you pick, photograph the wall before you start and check your agreement. Adhesive that takes the top layer of paint with it costs more than the paneling did.
- ▸Safest: a paneled plywood backer that leans or brackets, fixed to nothing.
- ▸Middle ground: removable adhesive strips rated for the panel weight.
- ▸Riskiest: permanent adhesive, which usually takes paint with it.
- ▸Always: photograph the wall first and keep a copy of your agreement.
Before You Pick Up a Saw
Paneling rewards planning far more than it rewards budget. The wall that looks custom is almost always the one where somebody worked out the height first, taped the spacing before cutting anything, and then spent an unglamorous couple of hours filling and caulking at the end.
Pick your style by room and ceiling height. Pick your material by how much moisture it will actually meet. Then slow down at the finishing stage, because that is where the whole thing is won or lost.
Save this list of wall paneling ideas for the next time you are standing in front of a blank wall holding a tape measure and no plan.
If you only do three things